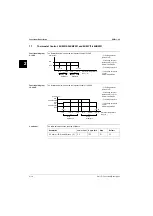
Wiring Layout
ESIE11-02
1–74
3
11
4
5
Dipswitches and
pushbuttons
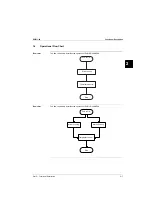
The illustration below shows the dipswitches and pushbuttons on the PCB.
Function
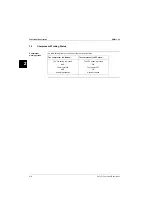
The table below describes the function of the dipswitches and pushbuttons on the PCB.
LED’s
The table below describes the LEDs.
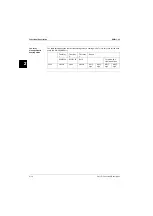
Status H1P and H2P
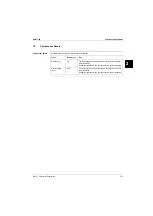
The table below describes the status of H1P and H2P.
X11
PE (GRN/YLW)
To earth
Connector
Wiring diagram
symbol
Description
1
2
3
S1A
4
1
2
S2A
S1A
Dipswitch 1
S2A
Dipswitch 2
1
0 = 1 circ.
1 = 2 circ.
1
Defrost setting (only for
EUWY*5-24KBZW1)
0 = Start condition 1 & fan defrost 1
(5HP, 8HP, 16HP)
1 = Start condition 2A/B & fan defrost 2
(10HP, 12HP, 20HP, 24HP)
2
3
4
010 = EUWA
100 = EUWY (without defrost com-
pressor stop)
101 = EUWY (with defrost
compressor stop)
2
Fan setting
0 = Fan setting 1
(5HP, 8HP, 16HP)
1 = Fan setting 2
(10HP, 12HP, 20HP, 24HP)
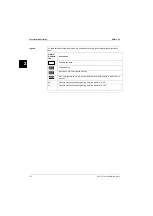
Symbol
LED
Meaning
HAP
Light emitting diode
(Service monitor - Green)
Blinking = CPU OK
Not blinking = CPU NOK
H1P
Light emitting diode
(Service monitor - RED)
-
H2P
Light emitting diode
(Service monitor - RED)
-
Meaning
H1P
H2P
No error
OFF
OFF
Safety device
ON
OFF
Reverse phase
OFF
ON
Sensor broken
ON
ON
Содержание EUWY 24KBZW1 Series
Страница 2: ......
Страница 8: ...ESIE11 02 vi Table of Contents 3 1 4 5...
Страница 10: ...Introduction ESIE11 02 viii 3 1 4 5...
Страница 12: ...ESIE11 02 1 2 Part 1 System Outline 3 1 1 5...
Страница 86: ...Wiring Layout ESIE11 02 1 76 Part 1 System Outline...
Страница 88: ...ESIE11 02 2 2 Part 2 Functional Description 3 1 2 5...
Страница 128: ...The Digital Controller ESIE11 02 2 42 Part 2 Functional Description 3 1 2 4 5...
Страница 130: ...ESIE11 02 3 2 Part 3 Troubleshooting 3 1 3 5...
Страница 168: ...ESIE11 02 4 2 Part 4 Commissioning and Test Run 3 1 4 5...
Страница 198: ...Test Run and Operation Data ESIE11 02 4 32 Part 4 Commissioning and Test Run 3 1 4 5...
Страница 200: ...ESIE11 02 5 2 Part 5 Maintenance 3 1 5...
Страница 210: ...ESIE11 02 4 Index 3 1 4 5...


