


User's Manual
291
Parameter
Description
Picture Storage
Select the Snapshot check box to take a snapshot of the selected channel.
To use this function, select
Main Menu
>
CAMERA
>
Encode
>
Snapshot
,
select
Event
in
Type
list.
Buzzer
Select the check box to activate the buzzer when an alarm occurs.
Alarm Tone
Check the box and then select the corresponding audio file from the drop-
down list. System plays the audio file when the alarm occurs.
Refer to "4.17.1 File Management" to add audio file first.
Step 3
Click
Apply
to save the settings.
●
Click
Default
to restore the default setting.
●
Click
Copy to
, in the
Copy to
dialog box, select the additional channel(s) that you want
to copy the motion detection settings to, and then click
Apply
.
●
Click
Test
to test the settings.
4.8.5.1.1 Setting the Motion Detection Region
Procedure
Step 1
Next to
Region
, click
Setting
.
The region setting screen is displayed.
Step 2
Point to the middle top of the interface.
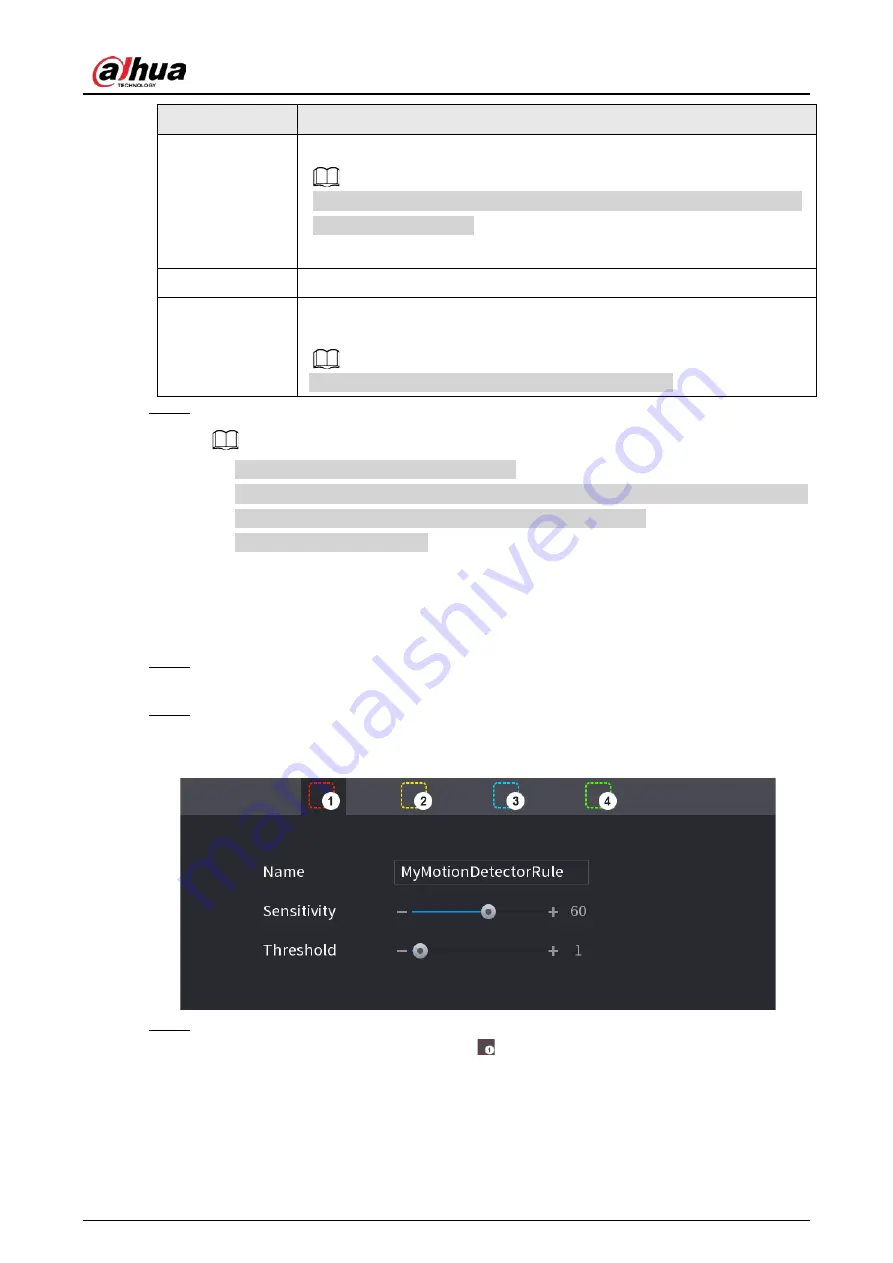
The setting interface is displayed. See Figure 4-182.
Figure 4-182
Step 3
Configure the regions settings. You can configure totally four regions.
●
Select one region, for example, click
.
●
Drag on the screen to select the region that you want to detect.
●
The selected area shows the color that represents the region.
●
Configure the parameters. See Table 4-58.
Содержание NVR41-4KS2 Series
Страница 1: ...Dahua Network Video Recorder User s Manual ZHEJIANG DAHUA VISION TECHNOLOGY CO LTD V1 1 0 ...
Страница 74: ...User s Manual 58 Figure 2 79 Alarm input port Figure 2 80 Alarm input port ...
Страница 101: ...User s Manual 85 Figure 3 41 Step 9 Secure the HDD bracket and put the top cover back ...
Страница 114: ...User s Manual 98 3 6 15 NVR616 4KS2 Series The following figure is for reference only Figure 3 58 ...
Страница 132: ...User s Manual 116 Figure 4 19 Modify IP Step 3 Set parameters See Table 4 5 ...
Страница 147: ...User s Manual 131 Figure 4 29 Period Step 3 Set record type See Figure 4 30 ...
Страница 319: ...User s Manual 303 The Exception interface is displayed See Figure 4 190 Figure 4 190 Figure 4 191 Figure 4 192 ...
Страница 420: ...User s Manual 404 Figure 4 290 File management Step 2 Click Add The Add interface is displayed See Figure 4 291 ...
Страница 452: ...User s Manual ...


