DKVM-IP8 User Manual
7 / 104
10. Connect one green end of 3-in-1 cable to PS/2 keyboard port on the host
computer/KVM, and the other end of 3-in-1 cable to the host PS/2 keyboard port on the
DKVM-IP8 switch.
11. (Optional) Connect the type A connector of USB A - mini USB 5P cable to the host
computer,
while using remote mass storage control.
12. Connect Ethernet to LAN port and/or modem to serial port, depending on how you want
to access DKVM-IP8 switch
13. Power on the computer.
1.2 Initial IP configuration
In factory default, DHCP mode is disabled (IP auto configuration = None), and the IP
settings are as below:
IP address
192.168.0.70
Subnet mask
255.255.255.0
Default Gateway
None
If DHCP mode is enabled (IP auto configuration = DHCP), the DKVM-IP8 will try to
contact a DHCP server in the subnet to which it is physically connected. If a DHCP
server is found, it may provide a valid IP address, gateway address and net mask.
Before you connect the device to your local subnet, be sure to complete the
corresponding configuration of your DHCP server. It is recommended to configure a
fixed IP assignment to the MAC address of the DKVM-IP8 unit. You can find the MAC
address labeled on the bottom side of the metal housing.
Содержание DKVM-IP8
Страница 1: ...D Link DKVM IP8 8 Port KVM Switch Over IP V1 0 2011 2 23 ...
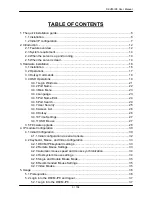
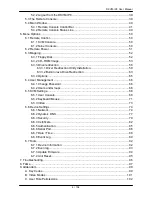
Страница 5: ...DKVM IP8 User Manual 5 104 D DKVM IP8 port table 102 E Bandwidth Consumption 103 F Cable diagrams 104 ...
Страница 57: ...DKVM IP8 User Manual 57 104 Figure 6 13 Nero selection dialog ...
Страница 64: ...DKVM IP8 User Manual 64 104 3 Click Connect Drive or Connect ISO 4 Select a drive to redirect if Connect Drive ...
Страница 104: ...DKVM IP8 User Manual 104 104 F Cable diagrams CAT5 5E 6 Straight Through UTP STP Cable ...


