Web Interface Configuration Guide — Doc. 9211A
HD-RX-4K-x10-C-E(-SW4) • 7
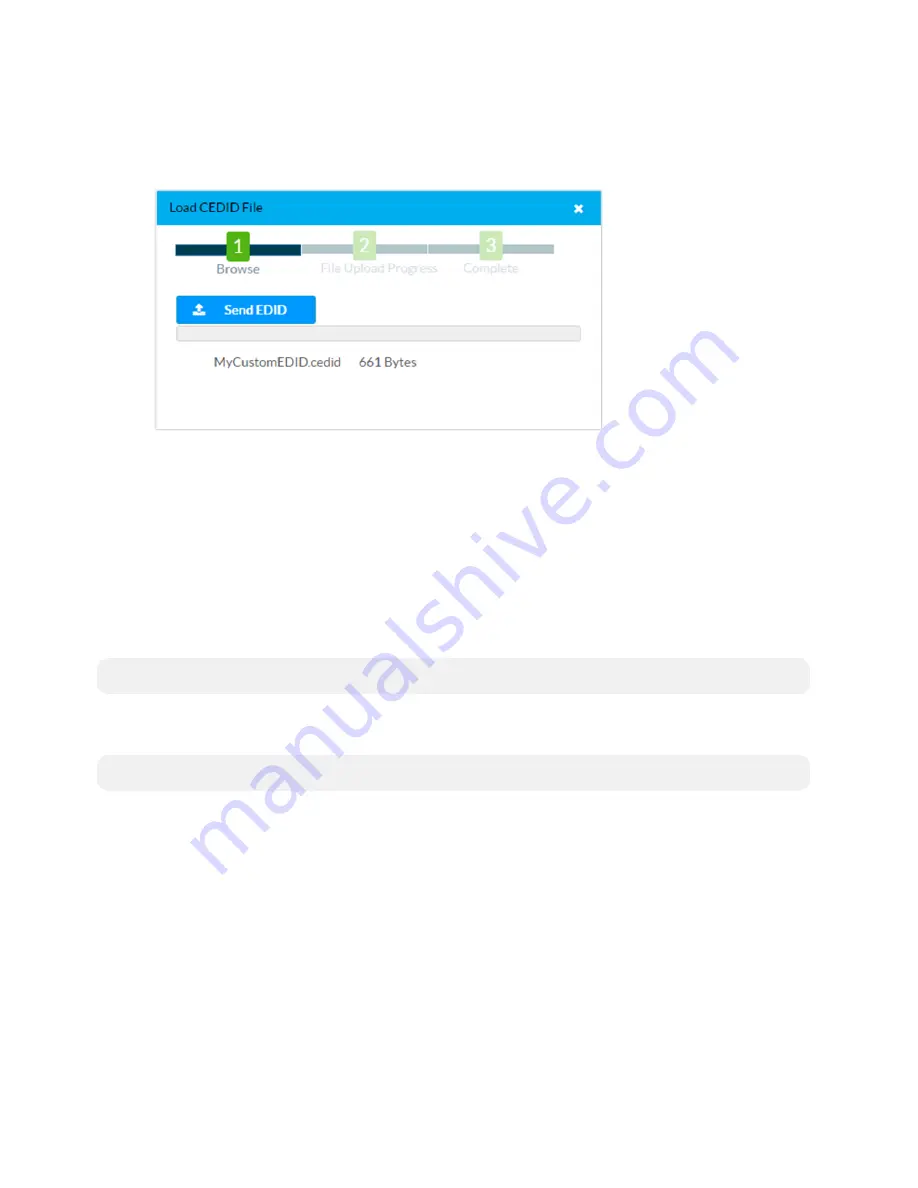
3. In Windows Explorer, navigate to the desired custom EDID file (.cedid extension), select
the file, and then click Open.
The name of the selected custom EDID file is displayed below the progress bar.
4. Click Send EDID. A prompt appears asking for confirmation that the EDID file be uploaded
to the input device.
5. Click OK.
After the EDID file is sent successfully, the following occurs:
l
In the Global EDID section of the INPUTS page, the custom EDID file name is added to the
Send EDID to All inputs drop-down list.
l
In the Global Inputs section of the INPUTS page, the custom EDID file name is added to
each individual input EDID drop-down list.
NOTE:
Any custom EDIDs will be listed (in alphabetical order) after the last built-in EDID.
Deleting a Custom EDID File
NOTE:
Only custom EDID files can be deleted. Built-in EDID files cannot be deleted.
To delete a custom EDID file:
1. Click the User List tab and then click the trashcan button in the row of the custom EDID
file that will be deleted.
2. Click Yes in the Confirmation dialog to confirm the delete operation. Click No to cancel the
operation.
After a successful deletion, the custom EDID file is removed from the Send EDID to All Inputs
drop-down list and also from each individual input EDID drop-down list in the Global Inputs
sections of the INPUTS page.
When a custom EDID file is deleted, the EDID reverts to the default EDID. The default EDID for
an HDMI input is DM Default EDID. The default EDID for the VGA input is DM Default VGA
EDID.


