3D ActiveTrac
®
17
OpErATiON
uSiNg ThE SLimLiNE STABiLizATiON BELT SySTEm
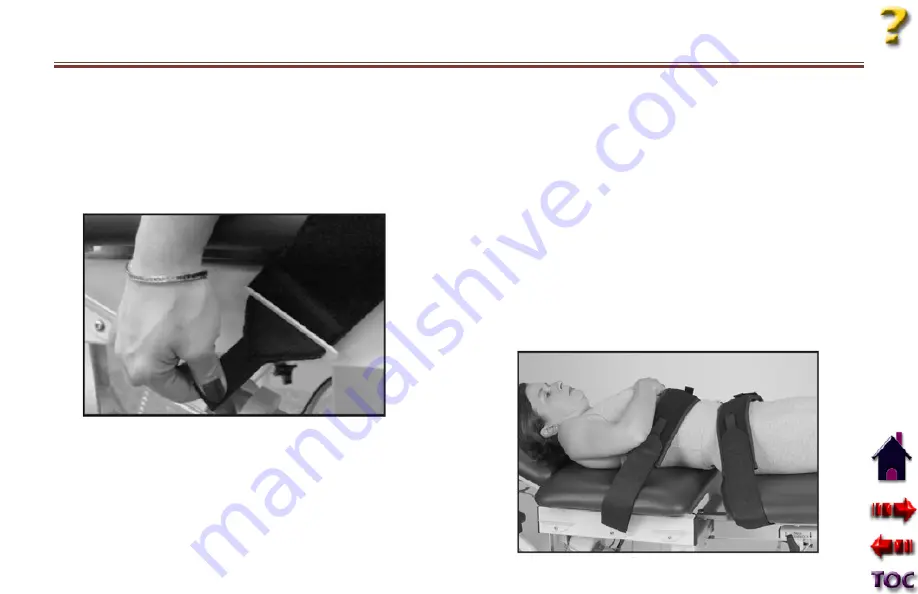
1. Thread the Slimline belts through the desired belt loops.
There are three optional positions for the Thoracic
Stabilization Belt. Choose the correct thoracic belt loop
based on the patient size and comfort, or the particular
traction or manual technique desired.
4. Make sure the table is locked in the closed position before
getting the patient on the table.
5. Carefully assist patient onto the table for prone or supine
treatment as desired.
6. The Slimline Stabilization Belts stay more secure if they are
in direct contact with bare skin. This can easily be done by
slipping the shirt up and pants or trunks down.
7.
Supine Position:
Secure the Pelvic Stabilization Belt so
that the top of the belt is just above the iliac crests or at the
navel level. Secure the Thoracic Stabilization Belt at the
inferior border of the rib cage. Choose the desired thoracic
belt loop based on patient comfort.
2. Adjust the height of the table so that the patient can easily
get onto the table.
3. Adjust the position of the table as needed (lumbar section
up/down, side bending and/or rotation) for patient comfort
or to accommodate any postural deformities. See Annex for
an example.


