64
65
(
2
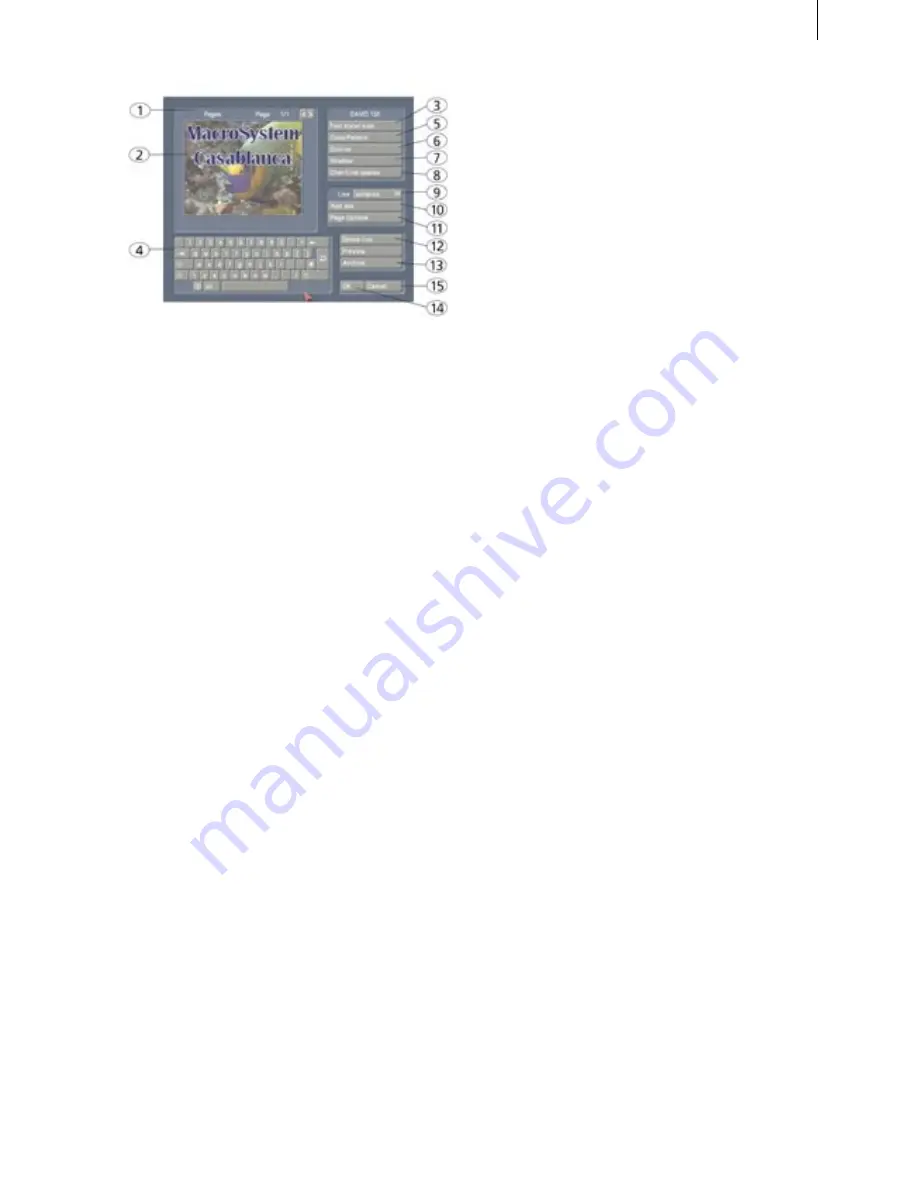
) In the upper-left part of the screen you see the
first frame of your video scene.
This image serves as orientation for adding text.
This lets you immediately see how the text looks
overlaid on the particular scene you are editing.
(
3
)A click on the button "
Font/size
" opens a
window in which you have a choice of fonts and
many type sizes (10-500 points). The font can be
selected by clicking on its name or with the slider,
as you already know from the effect list.
In the list you may also see various symbols next
to the fonts.
Most of the supplied fonts are marked with an "
A
"
(this font contains all the usual Western European
characters).
A font marked with a
happy face
(there is one
supplied in the standard package) contains pictu-
res and/or symbols instead of letters and punctu-
ation.
Fonts marked with an "
A+
" also contain Eas-
tern European characters. These fonts can be
purchased separately.
Fonts marked with an "
A-
" are not always comple-
te or deviate from the norm. These fonts are not
sold, but can be obtained free of charge in appro-
priate instances.
Note:
The Carolann font supplied with the stan-
dard package has two different forms for "s", in
addition to "ß". The "s" key on the keyboard is the
more frequently used long "s", that is something
like an "f " without the horizontal stroke. The
small, round "s" is mapped to the "#" key.
Font size is specified with the slider. The font and
size are displayed with the text "
Casablanca II
".
After confirming with "
OK
" the selected font and
type size are displayed to the right in the Text
entry menu.
(
4
)
With the keyboard in the lower-left quarter
you can enter the text of your choice. It is also
possible to connect an external keyboard (e.g.
PowerKey option) to enter the text. Any adjust-
ments you make to the settings will automatically
be applied to the next line of text entry.
If you want, you can enter the text later, but it is
recommended that you enter some letters now in
order to better judge the results later.
If you would like to format every line with its own
settings (e.g. font, size, color), then click on the
newline key after every line you enter and then
specify the desired format. Separate formatting
for individual words or letters in the same line is
not possible.
(
5
) Clicking on the button "
Color/Pattern
" opens
another window. Under "
Pattern
" you can decide
whether the text is to be "
Unicolor
" or "
Textured
".
If you select "
Unicolor
", then a screen appears in
which you can click on the "
Color
" button below
(the only button available) and then select a color
in the color box. If you have selected "
Textured
",
then you can click on the "
Texture
" button (the
only button available) to open the "
Select pat-
tern
" screen.
In this screen you can select a pattern of your
choice, just as described in
section 3.3
under
"
Image pool
". The mode (positive/negative) and
alpha value can also be specified.
Clicking on "
OK
" in "
Select pattern
" confirms
your settings and you are returned to the "
Color/
Pattern
" menu.
In case you have used the alpha value to set a
light but visible opaqueness, a large arch appears
to the right in the
Color/Pattern display box
.
If you have selected "
Textured
" under "
Pattern
",
then you can choose the pattern with the "
Select
Texture
" button that is then displayed enlarged in
the right box.
(
6
) Clicking on the "
Outline
" button displays a
window in which you can decide if you want to
"
enable
" or "
disable
" the feature. If you select
"
enable
", click the "
Color
" button to call up the
color box. After deciding the desired color setting,
confirm with "
OK
".
Содержание Prestige
Страница 1: ...Casablanca Prestige User manual ...
Страница 20: ...20 ...
Страница 40: ...40 ...
Страница 88: ......


