Basic Sending Methods
2-27
Se
ndin
g
Docume
nt
s
2
●
If you want to delete the
s
pecified de
s
tination:
❑
Press [Erase].
For help, see step 4 in “Sending an E-Mail Message,” on p. 2-2.
NOTE
If Confirm Entered Fax Numbers in Restrict the Send Function is set to ‘On’, you
should enter the fax number again for confirmation. Enter the fax number you entered
in step 3
➞
press [OK]. (See Chapter 4, “Setting the Send Function,” in the
System
Settings Guide
.)
6
Pre
ss
(
S
tart) to
s
tart
s
cannin
g
your ori
g
inal
s
.
To cancel scanning, press [Cancel] or
(Stop).
If the original is placed on the platen glass, follow the instructions that appear on the
touch panel display
➞
press
(Start) once for each original. When scanning is
complete, press [Done].
The scanned data is sent to the specified destination when scanning is complete.
IMPORTANT
•
The machine automatically detects the size of the original when scanning it. For the
size of the original the machine can detect, see Chapter 2, “Basic Operations,” in the
Reference Guide
.
•
If the machine cannot detect the size of the original correctly, the Original Size screen
appears when you press
(Start). Specify the size of the original manually
➞
press
[OK].
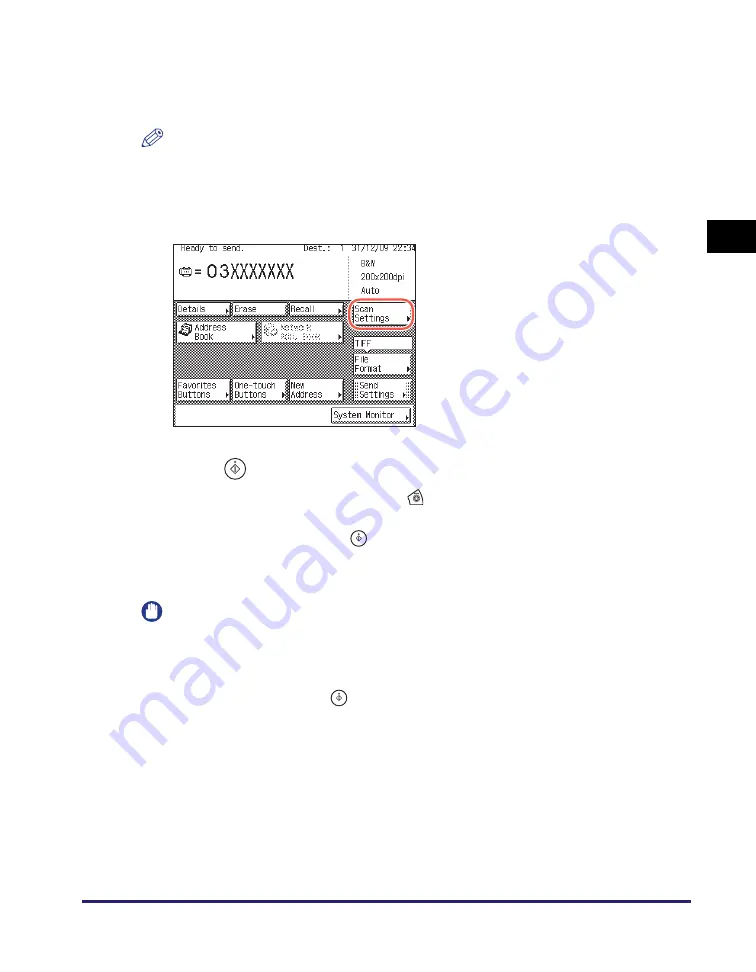
5
Pre
ss
[
S
can
S
ettin
gs
] to
s
pecify
the
s
can
s
ettin
gs
you require.
For more information, see Chapter 3,
“Specifying the Scan Settings.”
Содержание imageRUNNER 2545i
Страница 2: ...imageRUNNER 2545i 2545 2535i 2535 2530i 2530 2525i 2525 2520i 2520 Sending and Facsimile Guide ...
Страница 137: ...Address Book 4 30 Specifying Destinations Easily and Quickly 4 4 Press Reset to return to the top screen ...
Страница 175: ...LDAP Server 4 68 Specifying Destinations Easily and Quickly 4 ...
Страница 257: ...Reception Related Items 7 44 Customizing the Machine s Settings 7 ...
Страница 299: ...Self diagnostic Display 9 24 Troubleshooting 9 ...
Страница 319: ...Index 10 20 Appendix 10 U User s Data List 8 8 ...
Страница 320: ...Index 10 21 10 ...


