


122
Appending Dust Delete Data
3
Shoot a solid-white object.
z
A
t a distance of 20–30 cm (0.7–1.0 ft.),
fill the screen with a patternless, solid-
white object and take a picture.
z
Since the image will not be saved, the
data can still be obtained even if there
is no card in the camera.
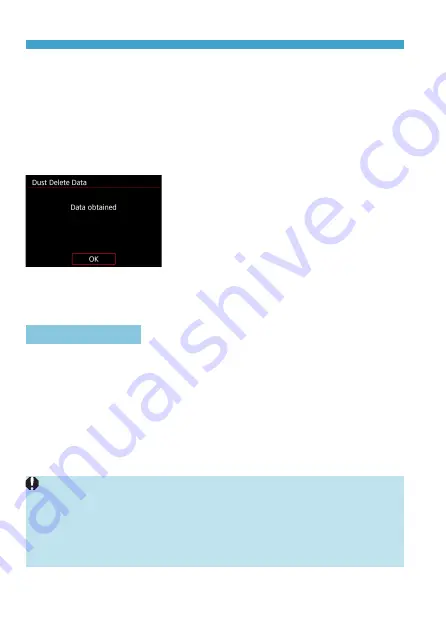
g
When the picture is taken, the camera
will start collecting the Dust Delete
Data. When the Dust Delete Data is
obtained, a message will appear.
z
If the data is not obtained successfully,
an error message will appear. Follow
the “Preparation” procedure on the
preceding page, then select
[OK]
.
Take the picture again.
Dust Delete Data
After the Dust Delete Data is obtained, it is appended to all the JPEG
and RAW images captured thereafter. Before an important shoot, it is
recommended that you update the Dust Delete Data by obtaining it again.
For details about using Digital Photo Professional (EOS software) to
erase dust spots automatically, refer to the Digital Photo Professional
Instruction Manual.
The Dust Delete Data appended to the image is so small that it hardly
affects the image file size.
o
Dust Delete Data is not obtained when EF-S lenses are used, or when
[
z
1:
z
Cropping/aspect ratio]
is set to
[1.6x (crop)]
.
o
Be sure to use a solid-white object such as a new sheet of white paper.
If the object has any pattern or design, it may be recognized as dust
data and affect the accuracy of the dust deletion with the Digital Photo
Professional (EOS software).
Содержание EOS R
Страница 1: ...E Advanced User Guide ...
Страница 256: ...256 Tab Menus AF Still Photos z z AF1 p 262 p 265 p 276 p 277 p 278 p 279 z z AF2 p 283 p 284 ...
Страница 258: ...258 Tab Menus AF Still Photos In A mode the following screen is displayed z z AF1 p 278 p 279 p 263 p 284 ...
Страница 259: ...259 Tab Menus AF Movies z z AF1 p 265 p 279 p 286 z z AF2 p 283 p 284 ...
Страница 261: ...261 Tab Menus AF Movies In y mode the following screen is displayed z z AF1 p 279 p 286 p 284 ...
Страница 360: ...360 ...
Страница 383: ...383 Setting the Interface Language 1 Select 52 LanguageK 2 Set the desired language ...
Страница 447: ...447 Connecting to a Smartphone via Wi Fi 5 Set Size to send z z Select the image size then press 0 6 Take the picture ...
Страница 541: ...541 Tab Menus Customization z z C Fn4 p 555 p 555 p 561 p 555 z z C Fn5 p 550 p 551 p 551 p 552 p 553 z z C Fn6 p 554 ...
Страница 565: ...565 Tab Menus My Menu p 566 p 569 p 569 p 570 ...
Страница 571: ...571 571 8 Reference This chapter provides reference information on camera features ...
Страница 631: ...631 ...
Страница 632: ...632 ...


