5
5
5-88
5-88
Adjustment > Auxiliary Adjustment > Saddle Stitch/Fold Placement Adjustment > Saddle stitch adjustment
Adjustment > Auxiliary Adjustment > Saddle Stitch/Fold Placement Adjustment > Saddle stitch adjustment
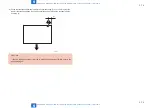
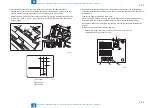
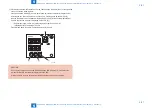
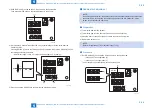
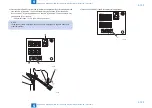
6) If the measured value (A, B) is within the specified range (|A-B| is 0.5mm or less), press
push switch SW385 [1] once to complete the adjustment mode. It the measured value is
out of the specified value, execute the following work.
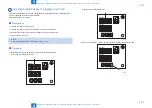
SW382
SW381
SW383
(-)
(+)
ENTER
SW384 SW385
DSP381
[1]
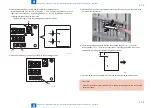
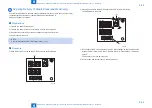
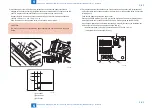
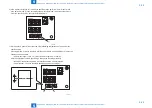
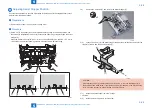
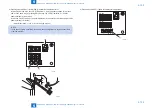
7) Work with the 2 push switches (SW383, 384) according to displacement amount for the
specified value.
Pressing SW383 [1] moves the staple position upward while pressing SW384 [2] moves the
staple position downward.
• Adjustment range: +10 to -10 (correction amount per unit: 0.125mm)
After the adjustment value is specified, go through the following procedure.
• No paper→the adjustment value is overwritten and the mode terminates.
• Paper present→re-check the staple position and go back to step 4).
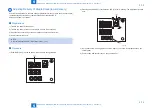
SW382
SW381
SW383
(-)
(+)
ENTER
SW384 SW385
DSP381
[1]
[2]
F-5-202
F-5-203
Содержание Booklet Finisher-D1
Страница 12: ... Notes Before Servicing Points to Note at Cleaning Safety Precautions ...
Страница 14: ...1 1 Product Outline Product Outline Product Specifications Names of Parts ...
Страница 60: ...3 3 Periodic Servicing Periodic Servicing User Maintenance Maintenance and Inspection ...
Страница 177: ...5 5 Adjustment Adjustment Basic Adjustment Adjustment at Time of Parts Replacement Auxiliary Adjustment ...
Страница 315: ...6 6 Troubleshooting Troubleshooting Upgrading ...
Страница 357: ... Service Tools Solvents and Oils List of Signals General Circuit Diagram Appendix ...

