5
5
5-54
5-54
Adjustment > Adjustment at Time of Parts Replacement > Bufferless Mode > Procedure
Adjustment > Adjustment at Time of Parts Replacement > Bufferless Mode > Procedure
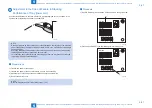
Bufferless Mode
Execute this mode if meeting the following conditions:
• In the case of alignment failure with the 2nd set (the first 3 sheets) when
making multiple sets of copy.
• In the case of Jam caused by paper corner bend.
• In the case of buffer path 2 sensors stationary jam (Jam Code: 1109).
• In the case of replacing the finisher controller PCB.
Buffer operation is disabled once selecting this mode regardless of stacking
method (non-staple stack/staple stack).
Following describes the setup procedure of this mode:
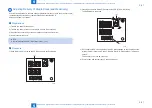
■
Preparations
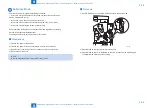
1) Turn ON the power of the finisher.
2) Turn ON the power of the host machine to be on to be on standby.
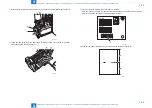
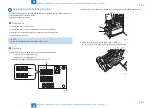
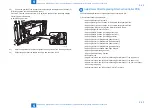
3) Open the front cover and put the door switch tool into the door switch.
4) Remove the switch cover.
NOTE:
Refer to "Preparations 5-6" for details of step 1) to 4).
■
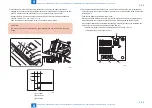
Procedure
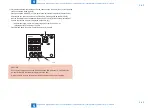
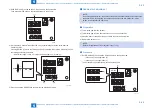
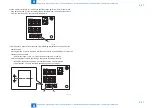
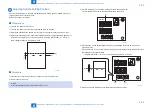
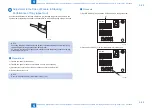
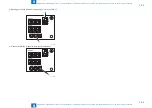
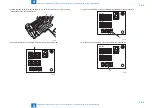
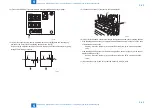
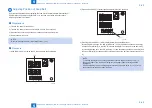
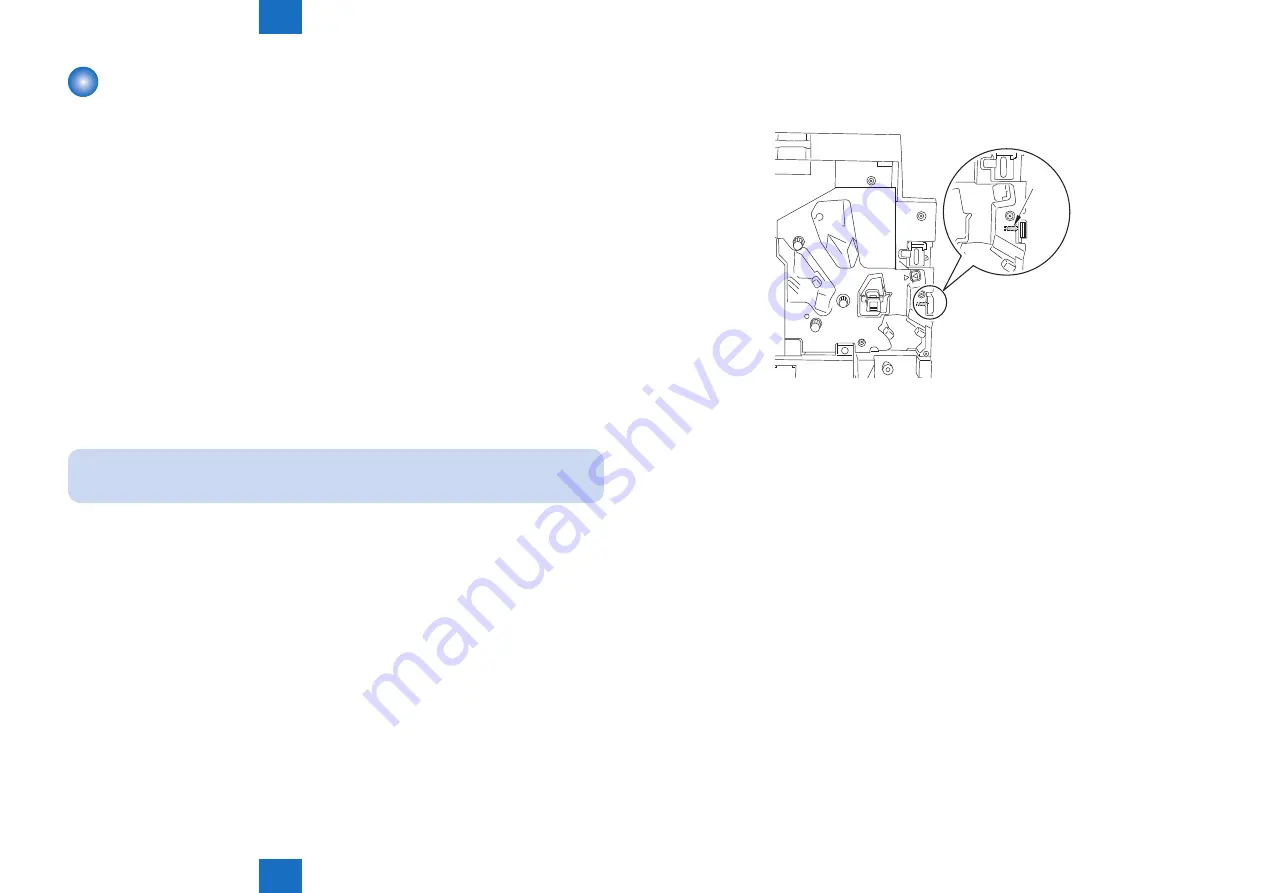
1) Set DIP SW382 [1] on the switch PCB as shown in the figure below.
[1]
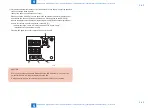
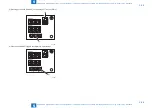
2) Press SW385 so that the adjustment is ready now.
3) Press SW384 so that "1" is displayed on the LED, and then press SW385 again.
To determine the bufferless mode setting.
F-5-125
Содержание Booklet Finisher-D1
Страница 12: ... Notes Before Servicing Points to Note at Cleaning Safety Precautions ...
Страница 14: ...1 1 Product Outline Product Outline Product Specifications Names of Parts ...
Страница 60: ...3 3 Periodic Servicing Periodic Servicing User Maintenance Maintenance and Inspection ...
Страница 177: ...5 5 Adjustment Adjustment Basic Adjustment Adjustment at Time of Parts Replacement Auxiliary Adjustment ...
Страница 315: ...6 6 Troubleshooting Troubleshooting Upgrading ...
Страница 357: ... Service Tools Solvents and Oils List of Signals General Circuit Diagram Appendix ...

