5
5
5-11
5-11
Adjustment > Basic Adjustment > Adjusting Sensor Light Intensity > Procedure
Adjustment > Basic Adjustment > Adjusting Sensor Light Intensity > Procedure
■
Procedure
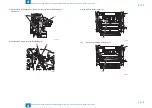
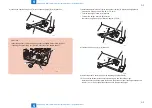
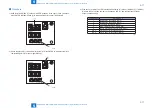
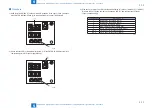
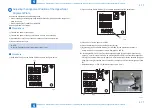
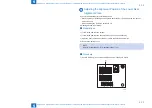
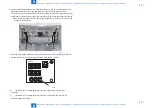
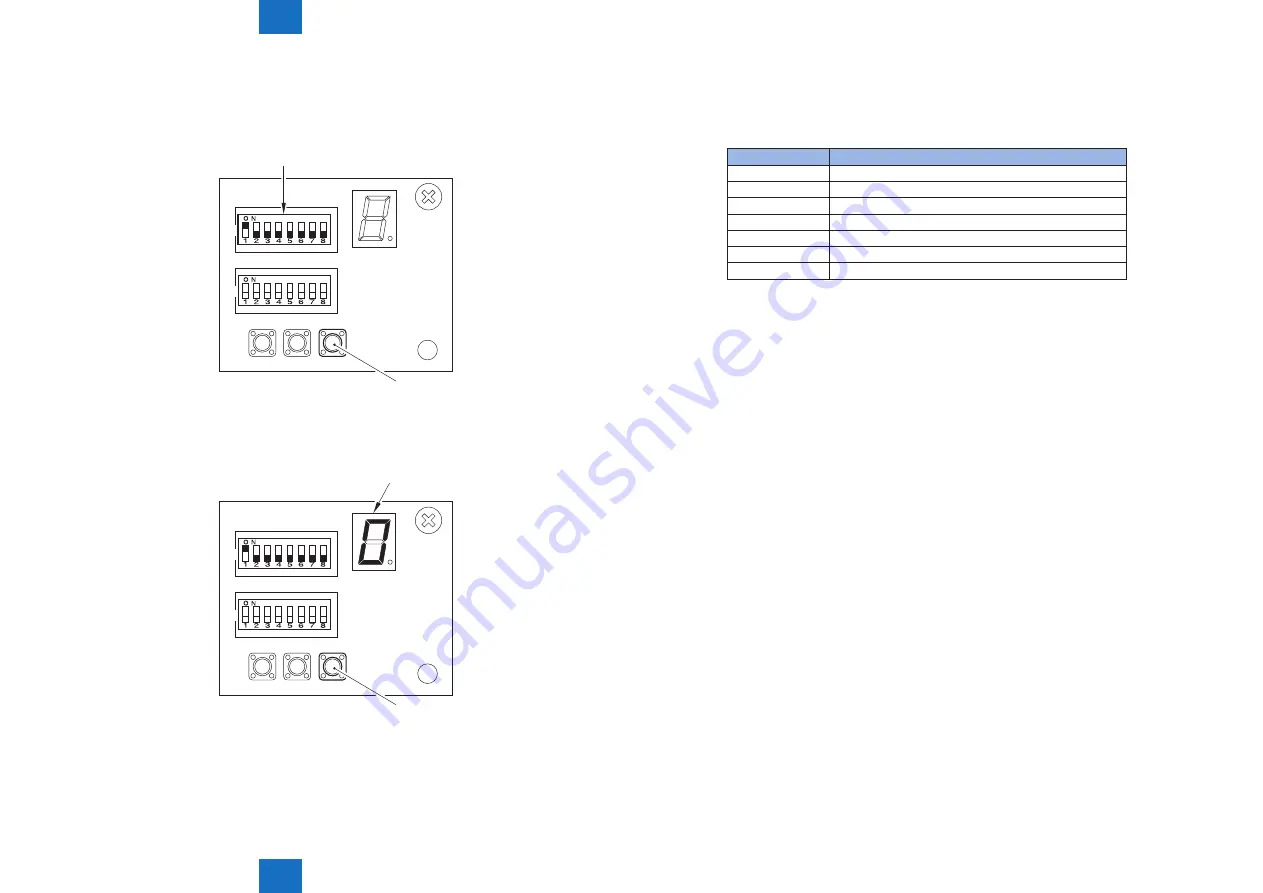
1) Set DIP switch SW382 [1] on the switch PCB as shown in the figure (1: ON), and then
press ENTER (SW385) button [2] to start adjustment for sensor light intensity.
SW382
SW381
SW383
(-)
(+)
ENTER
SW384 SW385
DSP381
[2]
[1]
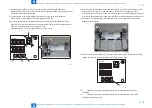
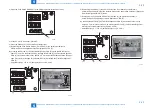
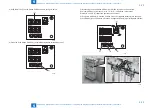
2) Check that the LED [1] indicates with lighted "0". Press ENTER (SW385) button [2] to
complete adjustment for sensor light intensity.
SW382
SW381
SW383
(-)
(+)
ENTER
SW384 SW385
DSP381
[2]
[1]
F-5-24
F-5-25
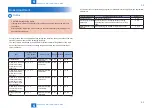
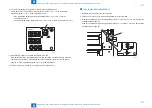
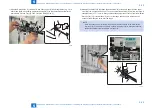
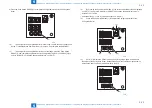
3) If the sensor is faulty (The LED indicates with blinking "0"), press + (SW384) [1]/ - (SW383)
[2] button to find the code number on the blinking LED [3], and then replace the faulty
sensor correspondingly.
Code Number
Sensor Name
1
Buffer path 1 sensor PCB (UN13)
2
Buffer path 2 sensor PCB (UN14)
3
Lower path sensor PCB (UN22)
4
Side registration sensor PCB (UN12)
5
Punch waste full level sensor PCB (UN21)
6 to 8
Tray A paper surface sensor (UN16)
9, A, b
Tray B paper surface sensor (UN18)
T-5-3
Содержание Booklet Finisher-D1
Страница 12: ... Notes Before Servicing Points to Note at Cleaning Safety Precautions ...
Страница 14: ...1 1 Product Outline Product Outline Product Specifications Names of Parts ...
Страница 60: ...3 3 Periodic Servicing Periodic Servicing User Maintenance Maintenance and Inspection ...
Страница 177: ...5 5 Adjustment Adjustment Basic Adjustment Adjustment at Time of Parts Replacement Auxiliary Adjustment ...
Страница 315: ...6 6 Troubleshooting Troubleshooting Upgrading ...
Страница 357: ... Service Tools Solvents and Oils List of Signals General Circuit Diagram Appendix ...

