5
5
5-35
5-35
Adjustment > Adjustment at Time of Parts Replacement > Adjusting Staple Position (1-stapling at the front) > Procedure
Adjustment > Adjustment at Time of Parts Replacement > Adjusting Staple Position (1-stapling at the front) > Procedure
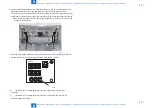
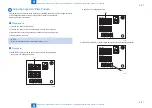
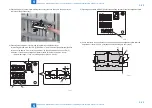
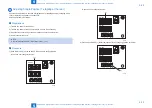
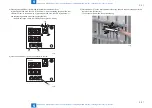
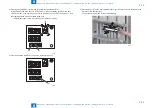
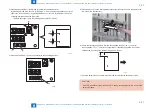
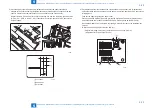
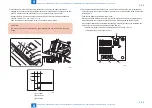
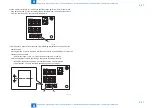
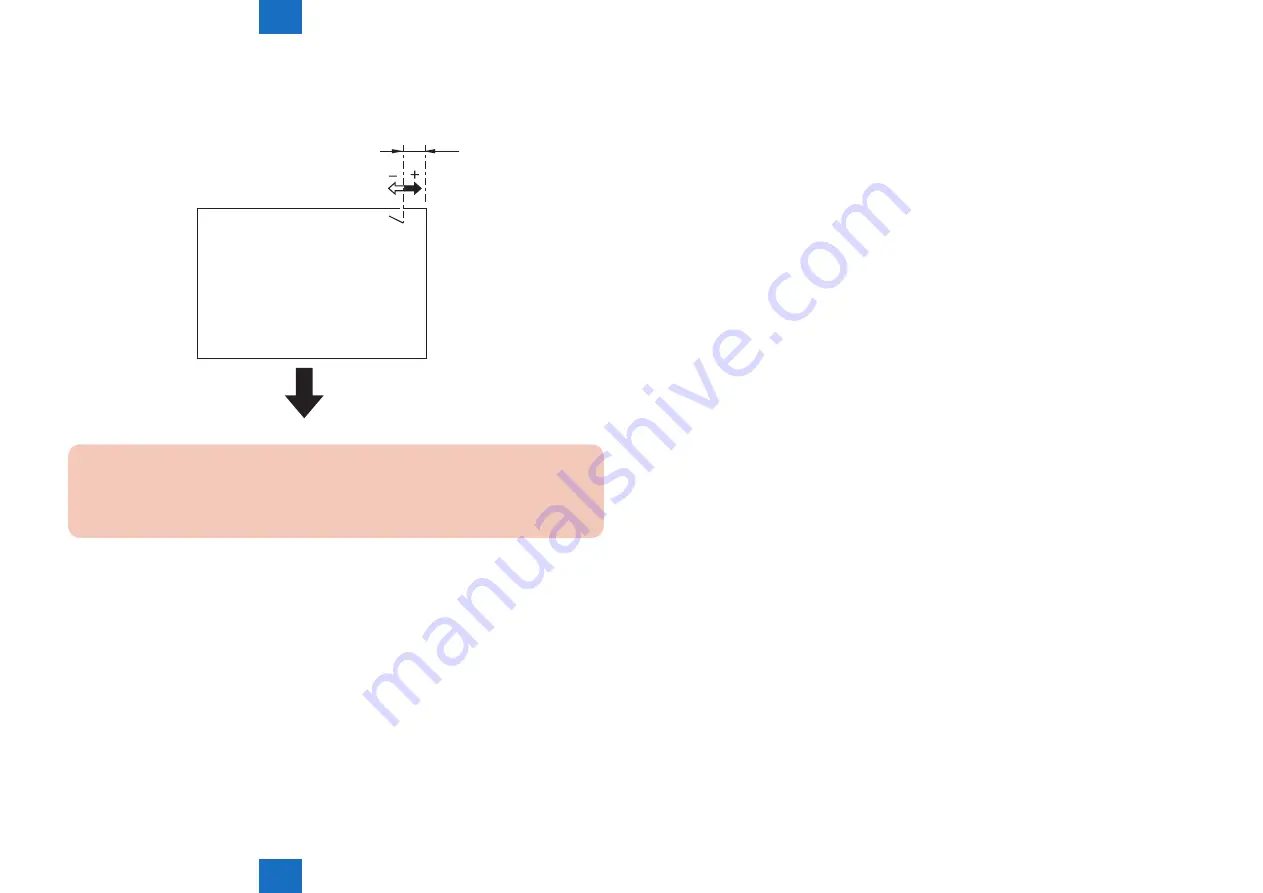
6) Check that the stapling position is within the specified range [1] of 5 +/- 2mm using this
result. If the stapling position is out of the specification, go through the procedure again
from step 2).
[1]
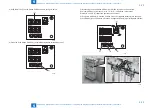
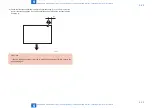
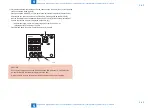
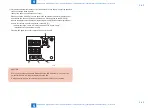
CAUTION:
If the LED indicates anything other than "0" meaning the adjustment failure, execute the
adjustment again.
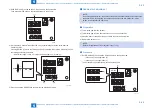
F-5-78
Содержание Booklet Finisher-D1
Страница 12: ... Notes Before Servicing Points to Note at Cleaning Safety Precautions ...
Страница 14: ...1 1 Product Outline Product Outline Product Specifications Names of Parts ...
Страница 60: ...3 3 Periodic Servicing Periodic Servicing User Maintenance Maintenance and Inspection ...
Страница 177: ...5 5 Adjustment Adjustment Basic Adjustment Adjustment at Time of Parts Replacement Auxiliary Adjustment ...
Страница 315: ...6 6 Troubleshooting Troubleshooting Upgrading ...
Страница 357: ... Service Tools Solvents and Oils List of Signals General Circuit Diagram Appendix ...

