Viper SC+™ IP Router for Licensed Spectrum PN 001-5008-000 Rev. C
| Page 36
4.
VIPER SC+ WEB INTERFACE
All operating parameters of the Viper SC+ are set through a web interface in your web browser once you have logged
in. The built-in web server of the Viper SC+ makes configuration and status monitoring possible from any computer
with network access to the Viper, either locally or remotely.
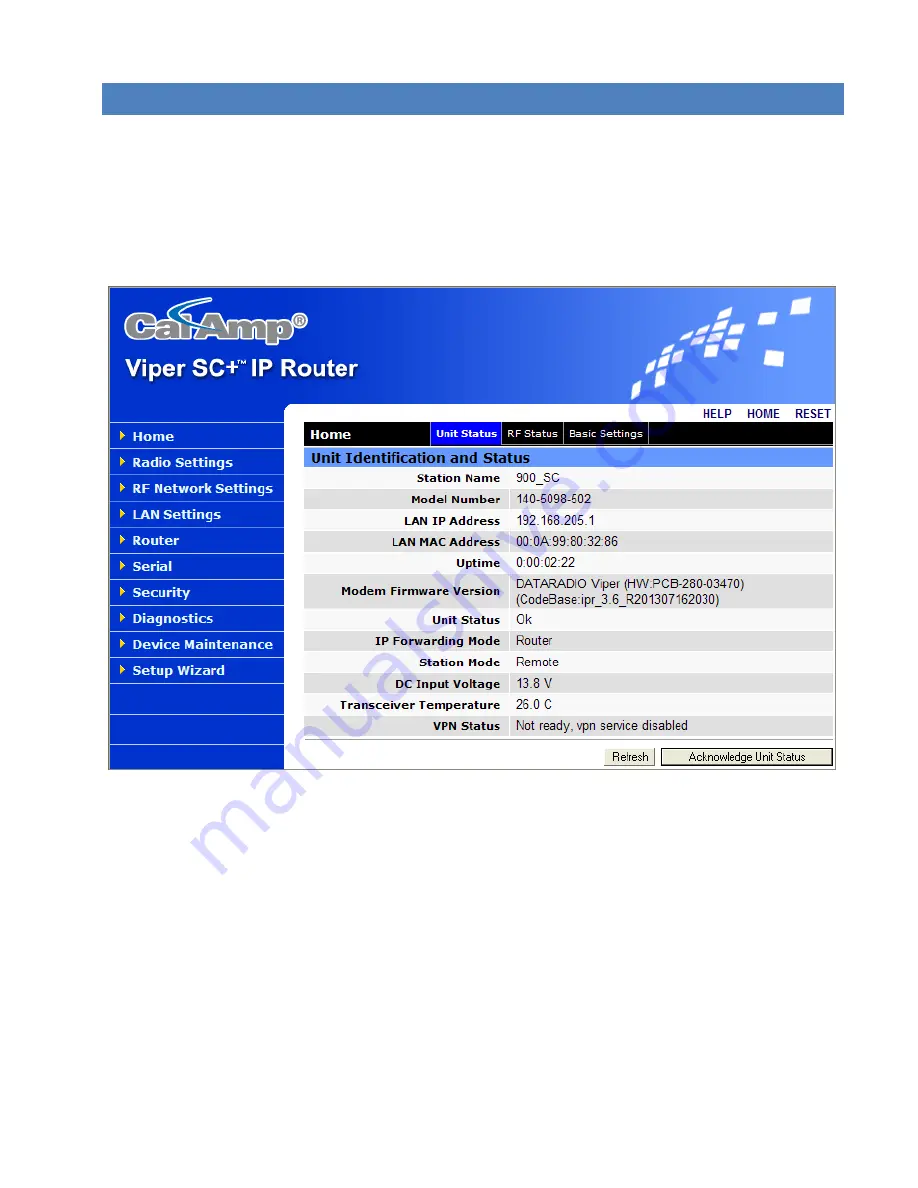
The Viper SC+ IP Router Web interface is divided into two sections. In the left pane is the main navigation menu. On the
right is the content area for each page and displays the parameter settings available for the selected menu item.
Figure 25 – CalAmp Viper SC+ IP Router Web Interface home page
The first time you log in to the Viper SC+ if no configuration changes have been made to the unit from the factory, you
will see a message instructing you to Change default settings (Use the Set Up Wizard).
Note:
If the computer you are using has previously been used to set up a CalAmp router, you may need to delete
browser history (specifically temporary internet files) for some pages of the web interface to display correctly.
The navigation menu on the left allows you to navigate to configuration pages for the Viper SC+ Router. Settings for the
Viper SC+ are arranged by pages. Pages typically contain several tabs, each of which containing status information or
configuration settings, which are distributed along the horizontal bar that contains the page label.
The Home page for example, shown in the previous figure, has three tabs: Unit Status, RF Status, and Basic Settings.
You can navigate to each tab by clicking the tab label. The current tab, Unit Status in this example, is indicated by the
tab label highlighted in blue.
-
To access online Help for content of a specific tab in the Viper Web Interface, click the
Help
link (near the top of the
page) while in the tab.


