Viper SC+™ IP Router for Licensed Spectrum PN 001-5008-000 Rev. C
| Page 30
3.6.
INTRODUCTION TO THE VIPER SC+ WEB INTERFACE
All operating parameters of the Viper SC+ are set through a web interface in your web browser once you have logged
in. The built-in web server of the Viper SC+ makes configuration possible from any computer with network access to
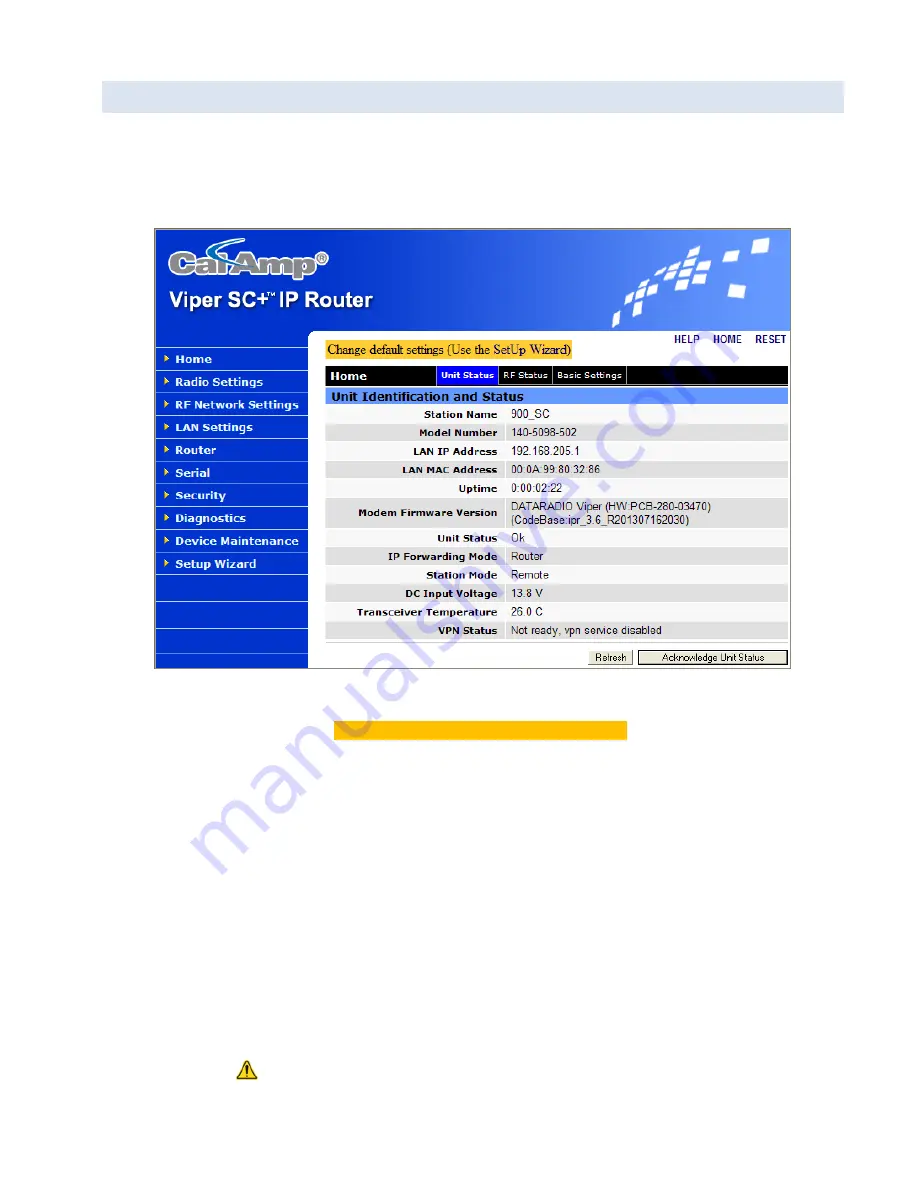
the Viper. The following figure shows the Home page of the Viper Web Interface.
Figure 18 – CalAmp Viper SC+ IP Router Web Interface home page
The first time you log in to the Viper SC+ if no configuration changes have been made to the unit from the factory, you
will see a message instructing you to Change default settings (Use the Set Up Wizard
)
.
Note:
If the computer you are using has previously been used to set up a CalAmp router, you may need to delete
browser history (specifically temporary internet files) for some pages of the web interface to display correctly.
The Viper SC+ IP Router Web interface is divided into two sections. In the left pane is the main navigation menu. On the
right is the content area for the page.
The navigation menu on the left allows you to navigate to configuration pages for the Viper SC+ Router. For quick setup
of a few key parameters, select
Setup Wizard
at the bottom of the main menu. The remainder of this chapter will take
you through configuration pages of the Setup Wizard. More advanced information about parameters available for
selection and configuration in all of the tabbed pages is provided in the following chapter.
-
To access online Help for content of a specific tab in the Viper Web Interface, click the
Help
link (near the top of the
page) while in the tab.
-
To return to the Home page Unit Status tab from any tab in the Viper Web Interface, click the
Home
link.
For some settings, a reset of the Viper is required before the setting will take effect. These settings are indicated by a
yellow alert symbol (
).


