Chapter 2
Ink Delivery System Installation
Page 2-9
2.
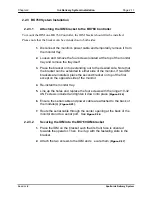
Loosen all four screws (
10-32 UNF BHCS
) on the side of the controller
bracket. DO NOT remove them (they secure the inkwell).
3.
Remove the existing HP reservoir container (
p/n 9100275A
) and HP
reservoir rear cover (
p/n 9100280
).
4.
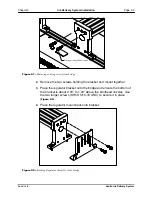
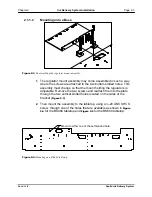
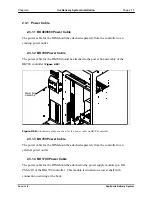
Slide the IDM mounting bracket over on top of the screws (
Figure 2-13:
Mounting bracket for BK700 Controller.
5.
Re-tighten the four screws onto the controller.
6.
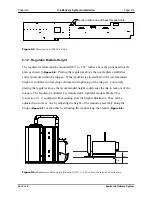
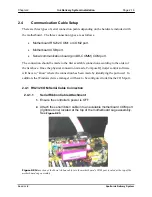
Ensure the serial cable is attached to the back of the system (
7.
Route the serial cable through the center opening on the top of the
controller box.
See
8.
Take the power cable and route the IEC end of it through the same center
opening from the bottom up. Attach the power cable to the back of the
module.
9.
Repeat steps 1 to 6 if a second IDM is used for the opposite side of the
controller.
Buskro Ltd.
Apollo Ink Delivery System
Содержание Apollo BK-IDM-4H
Страница 1: ...Apollo Ink Delivery System Part No 9103326 User s guide V1 2 ...
Страница 5: ...General Information Chapter 1 1 0 General Information Buskro Ltd Apollo Ink Delivery System ...
Страница 46: ...Operating Instructions Chapter 3 3 0 Operating Instructions Buskro Ltd Apollo Ink Delivery System ...
Страница 54: ...Printhead Maintenance Chapter 4 4 0 Printhead Maintenance Buskro Ltd Apollo Ink Delivery System ...
Страница 59: ...Troubleshooting Guide Chapter 5 5 0 Troubleshooting Guide Buskro Ltd Apollo Ink Delivery System ...


