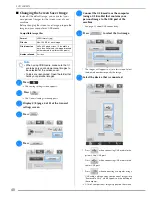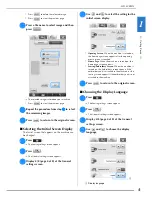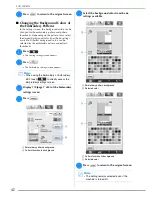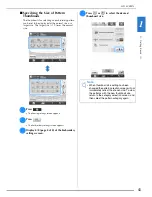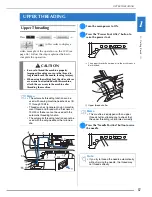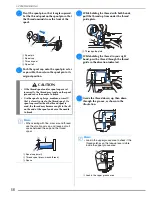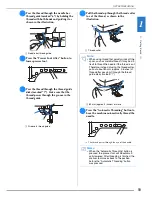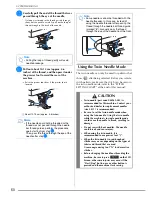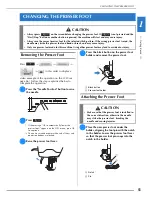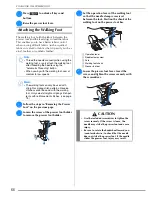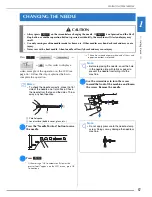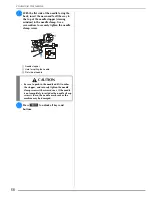
LOWER THREADING
54
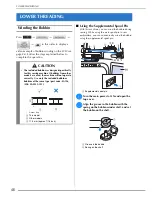
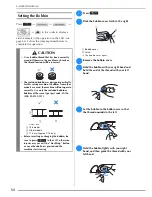
Setting the Bobbin
Press
→
→
→
→
in this order to display a
video example of the operation on the LCD (see
page 46). Follow the steps explained below to
complete the operation.
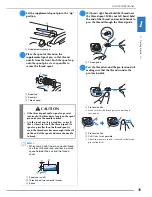
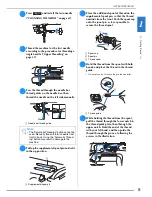
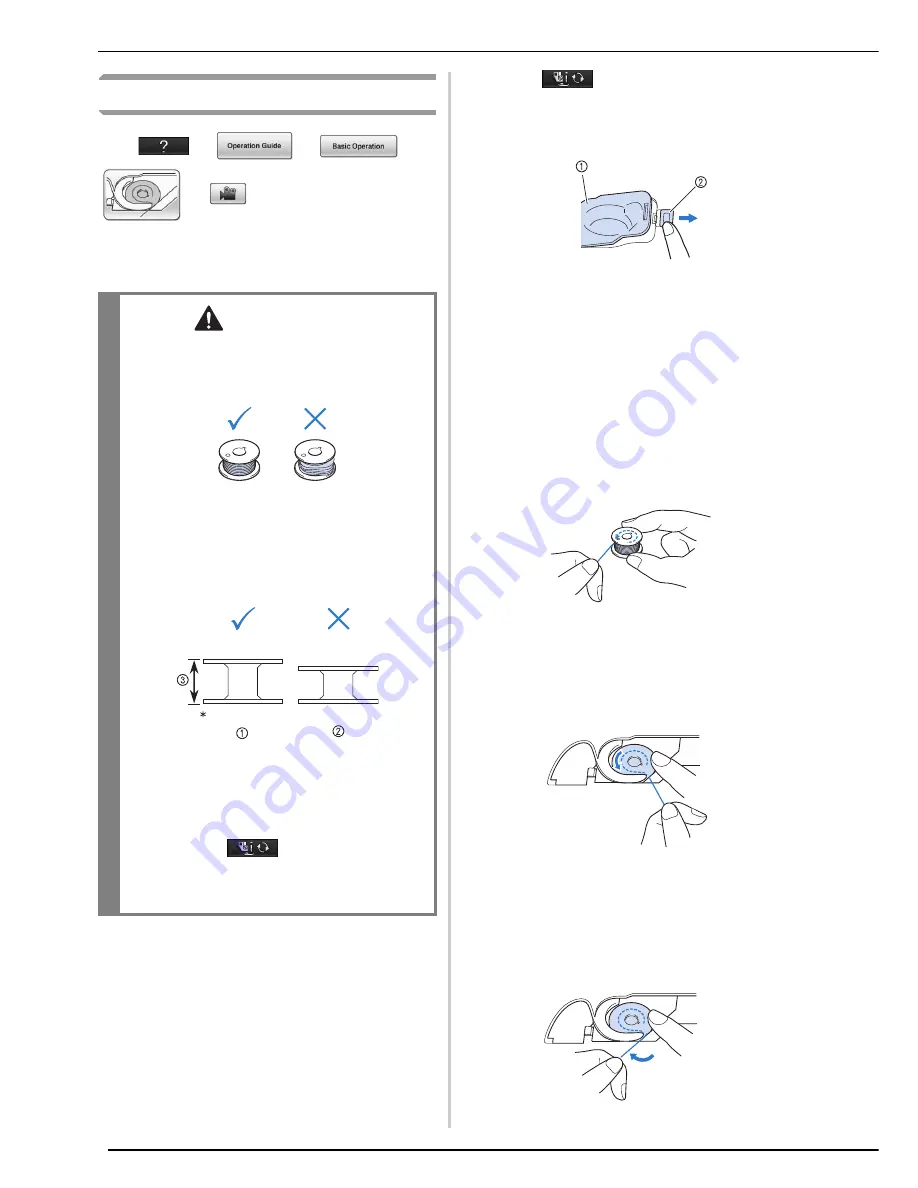
a
Press .
b
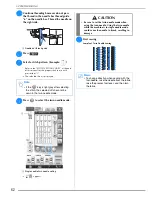
Slide the bobbin cover latch to the right.
a
Bobbin cover
b
Latch
→
The bobbin cover opens.
c
Remove the bobbin cover.
d
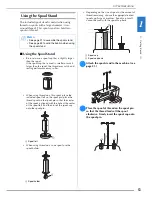
Hold the bobbin with your right hand and
hold the end of the thread with your left
hand.
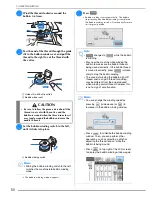
e
Set the bobbin in the bobbin case so that
the thread unwinds to the left.
f
Hold the bobbin lightly with your right
hand, and then guide the thread with your
left hand.
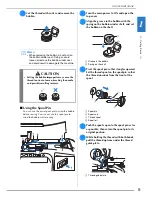
CAUTION
• Use a bobbin thread that has been correctly
wound. Otherwise, the needle may break or
the thread tension will be incorrect.
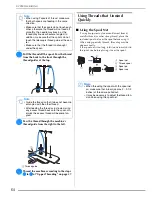
• The included bobbin was designed specifically
for this sewing machine. If bobbins from other
models are used, the machine will not operate
correctly. Use only the included bobbin or
bobbins of the same type (part code: SA156,
(SFB: XA5539-151)).
*
Actual size
a
This model
b
Other models
c
11.5 mm (approx. 7/16 inch)
• Before inserting or changing the bobbin, be
sure to press
in the LCD, otherwise
injuries may occur if the “Start/Stop” button
or any other button is pressed and the
machine starts sewing.
Содержание 882-W04
Страница 7: ...IMPORTANT SAFETY INSTRUCTIONS 5 ...
Страница 72: ...CHANGING THE NEEDLE 70 ...
Страница 90: ...USEFUL FUNCTIONS 88 ...
Страница 186: ...USING THE MEMORY FUNCTION 184 ...
Страница 326: ...TROUBLESHOOTING 324 ...
Страница 335: ...ENTERING STITCH DATA 333 MY CUSTOM STITCH 8 A new point is entered and moves to it c Use to move the point ...
Страница 338: ...USING STORED CUSTOM STITCHES 336 ...
Страница 373: ......
Страница 374: ......
Страница 375: ......
Страница 376: ...English 882 W04 W05 XF0228 0011 Printed in Taiwan ...

