5
4.0 Installation
The
was designed to be mounted either on a desktop or shelf (horizontal model) or vertically in
a counter top (see
for installation of vertical printers).
Prior to site preparation and installation, the printer should be powered up and run in the self-test mode.
•
Lay the printer flat on a counter top.
•
Attach the AC cord into the 24VDC power supply and plug the other end into the round DC in port of the
printer.
•
Install ticket hopper (if applicable) to catch the t
ickets. Lemur printer without a cutter won’t have a ticket
hopper.
•
IF YOU HAVE A LEMUR-C CONFIGURED FOR RECEIPT MODE THEN SEE
•
Turn power on. If the printer has an optional cutter, then you will hear the cutter motor cycle.
•
Wait six seconds after power up. Begin loading tickets through the entrance slot with a smooth motion until
the printer automatically positions the ticket. See section
NOTE:
You want to make sure that the black timing mark is in the correct location before loading the tickets into the
paper path. See
www.bocasystems.com/tickets_specs9.html
•
After the ticket is automatically positioned (the green READY led will be illuminated), press the center TEST
button located on the control panel to print a test ticket. The next page shows sample self-test ticket
printouts.
•
Verify that the printer properly works with your system by issuing a ticket through your computer system.
You may also use out customer-based program to test the printer independently of your ticketing system
(see
You may now install the printer in its permanent location. Adequate room should be provided behind the printer for
the smooth feeding of ticket stock. Please do not prevent the ticket hopper (horizontal models) from operating by
touching tickets during the printing cycle.
Lemur cover removal
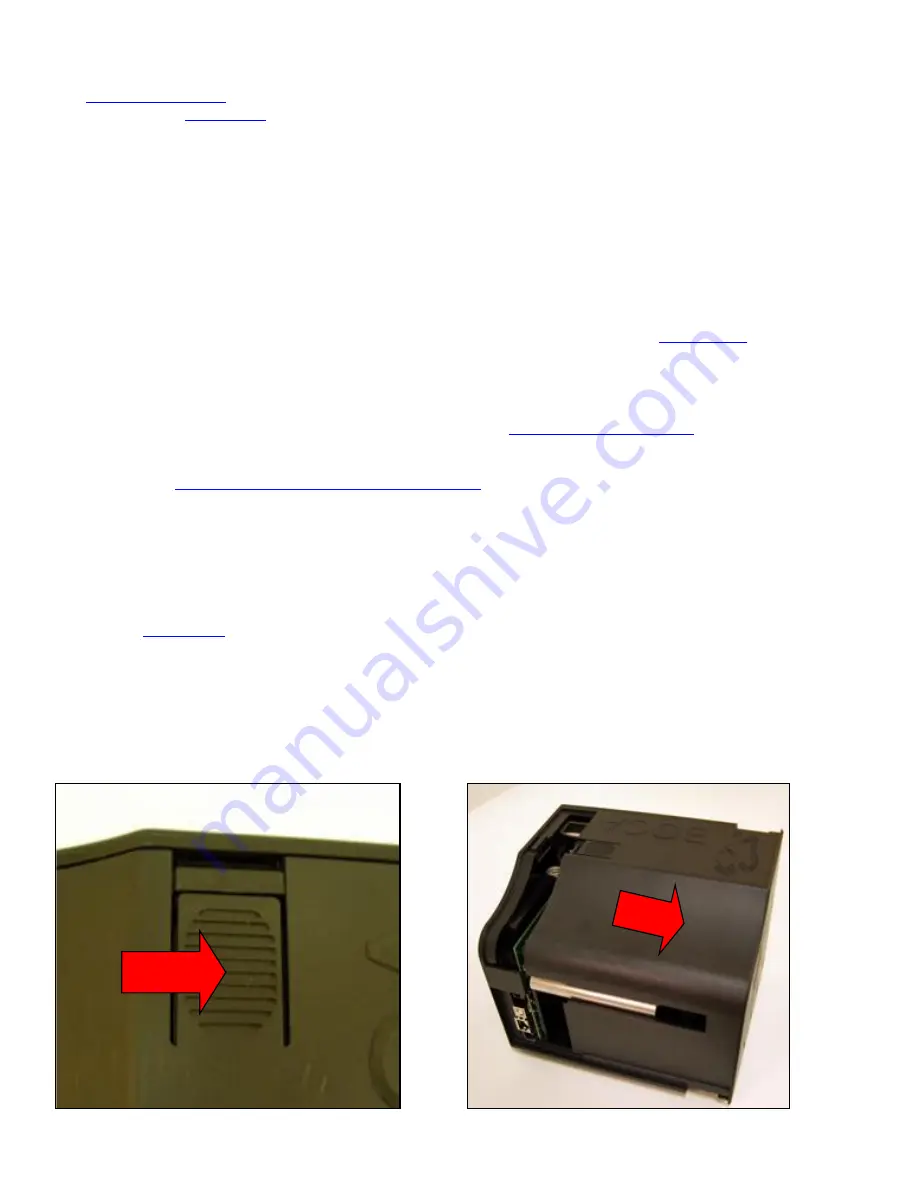
– The cover may be removed by depressing the cover lock tab that is located on top of the
cover. Slide the cover off.


