


- 27 -
GAS vALvE
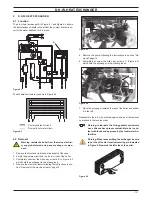
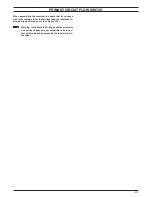
figure 11.9
L
M
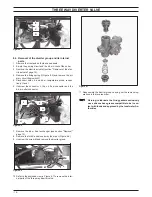
6 Unscrew the screws N and remove the valve (Figure 11.10).
7 Reassemble the valve carrying out the removal operations in
reverse order.
figure 11.10
N
Before fitting a new gas valve, it is advisable to pre-set it as
hereafter explained.
8 Remove the brass plug and turn the plastic screw inside it
fully clockwise until it stops. Do not over tight.
9 Turn it counter-clockwise 2 and 3/4 turns.
10 Adjust the gas valve using the flue analyser as described in
section "Adjustment" page 25.
After any service operation on the components of the gas
circuit check all the connections for gas leaks.
Warning: After cleaning or replacement as detailed
above, it is deemed necessary to undertake a com-
bustion analysis as detailed in section "Adjust-
ment" page 25.