38
pressing the ENTER key to accept the new number or the EXIT key to escape from
the edit and return to the original number.
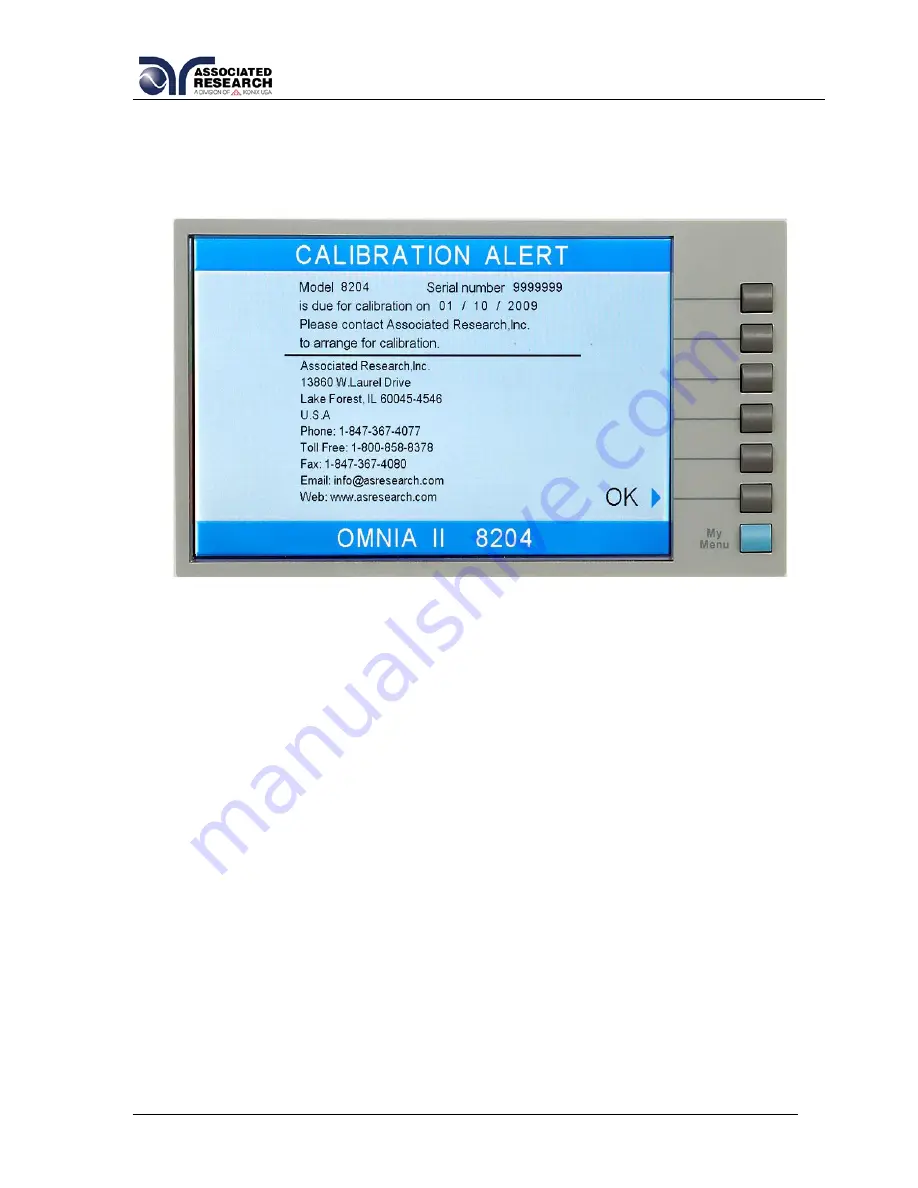
The Calibration Alert Warning screen appears as follows:
At the Calibration Alert Warning screen there are three options:
“Show this screen
again?”, Password, and OK. “Show this screen again?” is asking if you would like to
continue seeing the Calibration Alert Warning screen every time you power up the
instrument. You may turn this screen OFF
by toggling to the word “No” using the soft
key next to this parameter. If the instrument is password-protected you will need to
enter the password in order to turn off the “Show this screen again” parameter.
Selecting the “Show this screen again” parameter OFF will disable the Calibration
Alert function. Pressing the OK soft key will exit the Calibration Alert Warning screen
and go to the standard introduction screen.
Calibration Alert On/Off
From the Cal. Alert Setting screen you may turn the Calibration Alert function ON and
OFF by pressing the “Calibration Alert” soft key. If the “Show this screen again?”
function has been turned OFF at the Calibration Alert Warning screen, this parameter
will automatically be set to OFF. Turning this parameter ON will activate the Cal Alert
function and when the date matches the Alert Date, the instrument will display the
Calibration Alert Warning screen upon power up.
4.2.4. Hardware
From the System Setup screen, press the “Hardware” soft key. The Hardware Setting
screen will now be displayed. From the Hardware Setting screen, six different
parameters may be accessed: Smart GFI, Continuity Scanner, PLC Remote, DUT-HV
Setup, AC Source, and Measurement. The Hardware Setting screen will appear as
follows:
Содержание OMNIA II 8204
Страница 8: ...2 This Page Intentionally Left Blank ...
Страница 87: ...81 conditions The different combinations are represented in the table below ...
Страница 91: ...85 ...
Страница 92: ...86 ...
Страница 139: ...133 7 128 Power On PROMPT ESR ESE STB SPOLL SRE ESE SRE ...
Страница 141: ...135 and added to with the ADD command This will avoid constantly writing to the non volatile memory ...
Страница 142: ...136 ...
Страница 156: ...150 appear on the display ...
Страница 169: ...163 Print Report Example ...
Страница 181: ...175 ...


