


OVER
Steps
Do This
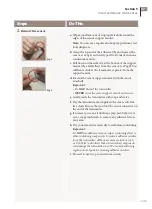
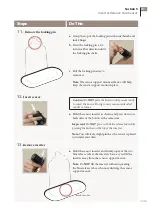
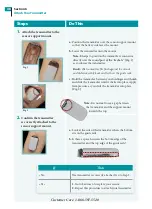
3.
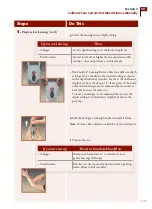
Apply an over-bandage
(Optional).
Apply an over-bandage to hold down the transmitter and
sensor support mount. Use an over-bandage if you find
that the sensor support mount is not adhering well during
daily activities.
Go to the next step.
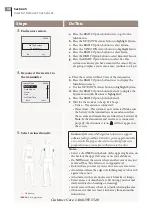
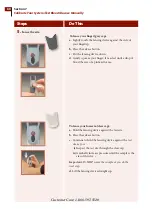
4.
Enter the sensor code into
your receiver.
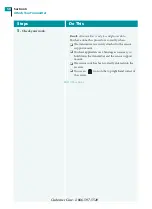
a. When you hear the receiver beep, press the RIGHT
Option button once to turn the receiver on.
Result:
The receiver screen says, “New Sensor Detected
Have You Recently Inserted a New Sensor?”
(Fig. 1)
Note: Typically, it may take up to 3 minutes after
attaching the transmitter before the receiver beeps. See
Section 10 to troubleshoot if you do not get the sensor
detection message.
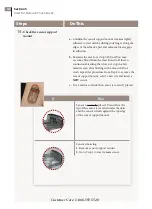
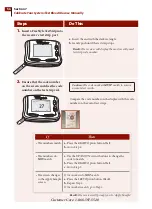
b. Press the RIGHT Option button (Yes).
Note: If you ever see this message at any other time,
press the LEFT Option button (No).
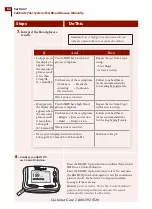
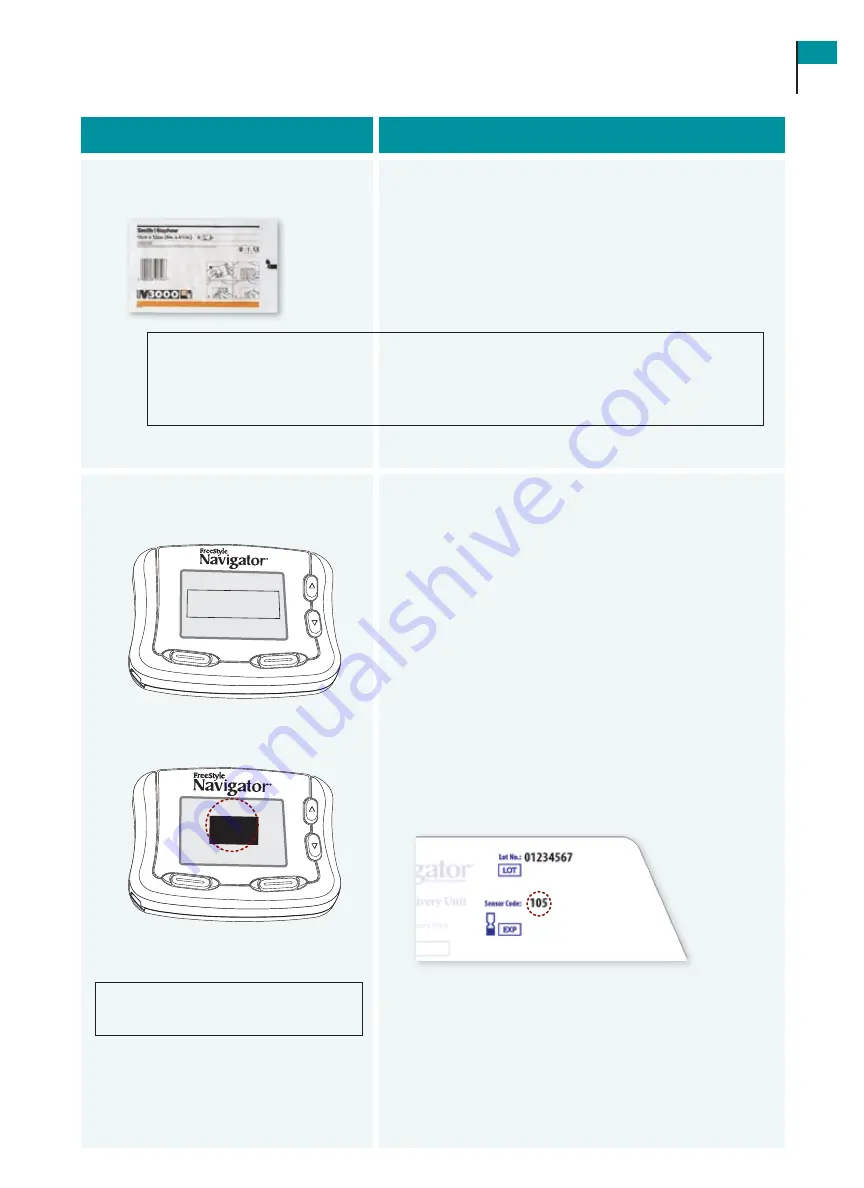
c. Press the UP or DOWN Arrow button to change the
number on the receiver screen to the number on the
packaging. (Fig. 2).
Important:
Once the code has been entered and you
have hit the Set button as instructed below, you will not
be able to change the sensor code number. If you have
entered the code incorrectly, you will have to replace the
sensor and enter the right sensor code. If you choose the
wrong sensor code, you may get erroneous results from
the sensor.
d. Press the RIGHT Option button (Set) to
accept the number on the screen.
Fig. 1
Fig. 2
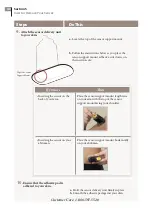
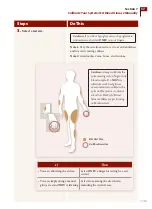
Caution:
If your results from the Continuous Monitoring mode seem erroneous, check and
make sure that the sensor has not dislodged. If you notice the sensor is dislodged from the
skin, or if you see that the adhesive on your overbandage or the sensor support mount is
coming loose, discard the old sensor and insert a new sensor.
Caution:
The code numbers
MUST
match to ensure accurate test results.
Section 6
49
Attach Your Transmitter
08:30A
No Yes
New Sensor Detected
Have You Recently
Inserted a New Sensor?
Sensor Code
08:30A
Cancel Set
105
Содержание FREESTYLE NAVIGATOR
Страница 2: ......
Страница 4: ......
Страница 8: ......
Страница 9: ...1 Getting Acquainted ...
Страница 23: ...2 Install or Replace Transmitter and Receiver Batteries ...
Страница 29: ...3 Set the Time and Date ...
Страница 34: ...Customer Care 1 866 597 5520 ...
Страница 35: ...4 Perform a Control Solution Test ...
Страница 42: ...Customer Care 1 866 597 5520 ...
Страница 43: ...5 Insert or Remove Your Sensor ...
Страница 54: ...Customer Care 1 866 597 5520 ...
Страница 55: ...6 Attach Your Transmitter ...
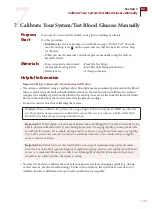
Страница 61: ...7 Calibrate Your System Test Blood Glucose Manually ...
Страница 74: ...Customer Care 1 866 597 5520 ...
Страница 75: ...8 Set Review or Change the Alarm Settings ...
Страница 89: ...9 Daily Use ...
Страница 96: ...Customer Care 1 866 597 5520 ...
Страница 97: ...10 Respond to Alarms Errors and Problems ...
Страница 119: ...11 Add Events ...
Страница 125: ...12 Review Reports and Edit Events ...
Страница 135: ...13 Clean Your System ...
Страница 136: ...Section 13 Key Terms n Receiver n Transmitter n Contact Points Customer Care 1 866 597 5520 ...
Страница 139: ...14 Link and Unlink Your Transmitter and Receiver ...
Страница 140: ...Section 14 Key Terms n BG Mode n CM Mode n Link Unlink n Receiver n Transmitter Customer Care 1 866 597 5520 ...
Страница 144: ...Customer Care 1 866 597 5520 ...
Страница 145: ...15 Reset User Settings ...
Страница 146: ...Customer Care 1 866 597 5520 ...
Страница 149: ...16 Change Country Settings ...
Страница 155: ...17 Appendix A Site Maintenance ...
Страница 158: ...Customer Care 1 866 597 5520 ...
Страница 159: ...18 Appendix B Specifications ...
Страница 173: ...19 Appendix C FCC Compliance Information ...
Страница 174: ...Customer Care 1 866 597 5520 164 Section 18 Appendix B Specifications ...
Страница 182: ...Customer Care 1 866 597 5520 ...
Страница 183: ...20 Glossary ...
Страница 184: ...Customer Care 1 866 597 5520 174 Section 19 Appendix C Classification Compliance Declaration ...
Страница 191: ...21 Index ...
Страница 192: ...Customer Care 1 866 597 5520 ...
Страница 195: ......