37
Instructions For Use
EN
6. Monitoring Fetal Parameters
6.1 Preliminary
Ensure that the transducers and transducer belts are clean and ready for use. In particular, check the
transducers for cracks or signs of damage. See also cleaning instructions in Section 14.
1. Switch on Team3.
2. Check the printer (If fitted). Ensure there is sufficient paper.
3. Check the printer setup (FHR offsets, Twins grids).
4. Enter patient details, if required.
6.2 Ultrasound Monitoring
1. Connect the green transducer to the green socket marked FHR1 on Team3. On the main screen, the ULT1
region becomes active.
2. Palpate the abdomen to determine fetal lie and position.
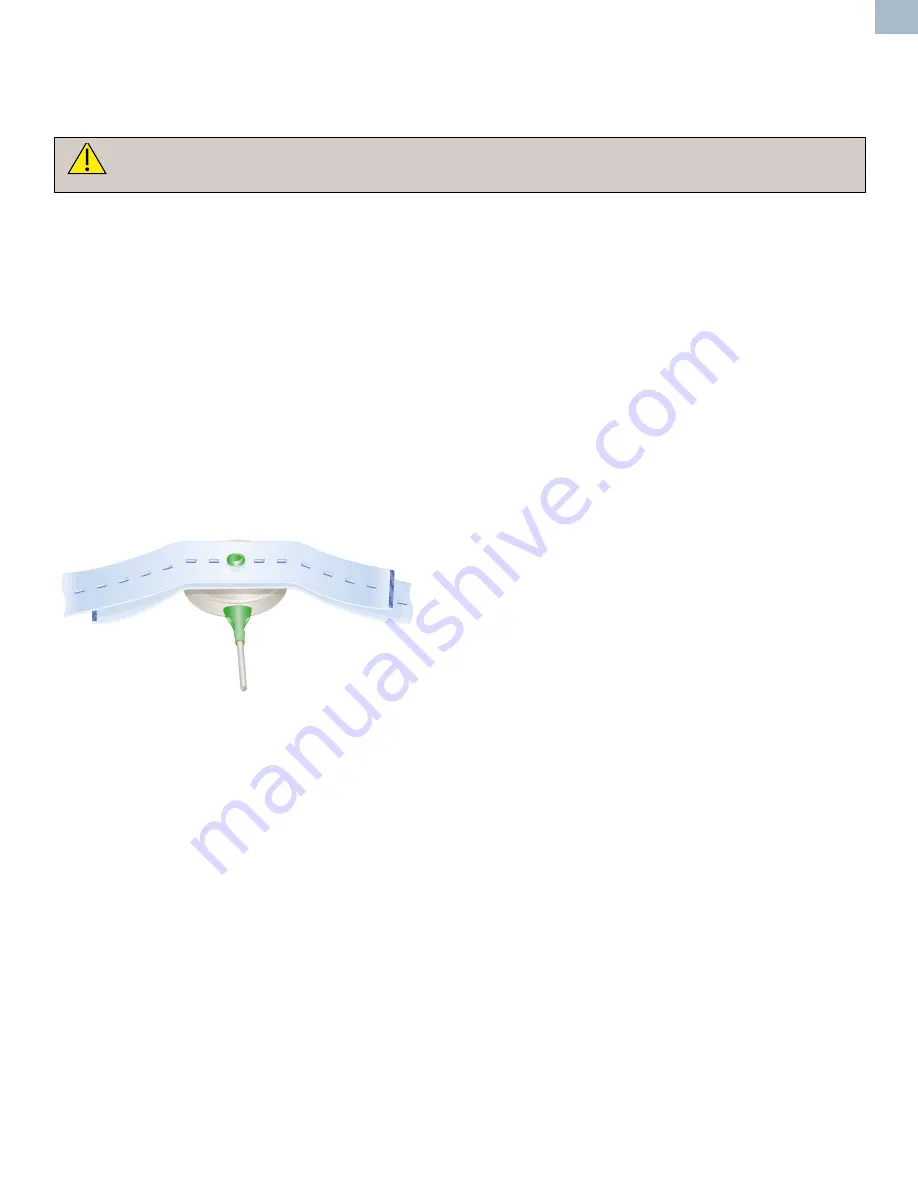
3. Make the patient comfortable in a semi-recumbent or sitting position. Place the belt around the abdomen,
and secure over transducer button.
Transducer and belt
attachment
4. Apply Aquasonic coupling gel liberally to the face of the transducer. Position the transducer on the
abdomen over the fetal site. Move it slowly until the characteristic hoof-beat sound of the fetal heart is
heard.
5. When a good signal is being obtained, Team3 displays the FHR. Check that the fetal heart pulse lamp
flashes with each fetal heartbeat, and that the FHR is different from the maternal pulse rate taken at the
mother’s wrist (or by alternative means). Make a note of the maternal pulse on the chart paper.
6. Connect the fetal event marker to the socket on the rear panel. Explain to the mother how and when to use
it. Note that a timeout between presses prevents markers being generated continuously.
7. Adjust the sound level with the volume controls on the touchscreen.
8. To start printing/recording, press the printer/recorder on/off button on the touchscreen.


