116
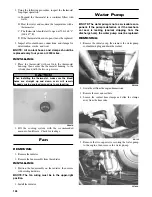
CC668
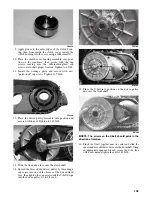
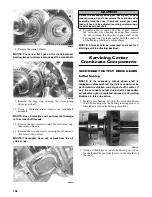
10. Install the front and rear secondary driven shaft
assemblies into the left side of the crankcase making
sure the bearing locating pins are toward the top of
the crankcase and the bearing C-ring is fully seated
in the crankcase.
PR787B
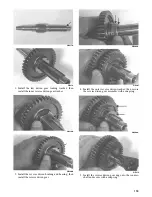
11. Place the oil strainer into position; then secure with
the two screws.
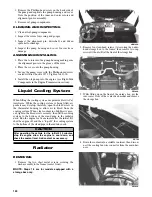
12. Place the oil strainer cap into position making sure
silicone sealant is applied; then secure the cap with
cap screws. Tighten to 10 ft-lb.
Joining Crankcase Halves
1. Apply High-Temp Sealant to the left-side mating
surface smoothing out any build-up or bumps.
2. Lightly oil all bearings and grease all shafts in the
right-side crankcase.
3. Using a plastic mallet, lightly tap the case halves
together until cap screws can be installed.
4. From the right side, install the 8 mm cap screws;
then tighten only until snug.
NOTE: Rotate the shafts back and forth to ensure
no binding or sticking occurs.
5. From the left side, install the remaining 8 mm cap
screws (two inside the case); then tighten only until
snug.
NOTE: Rotate the shafts back and forth to ensure
no binding or sticking occurs.
6. From the left side, install the case half 6 mm cap
screws; then tighten only until snug.
NOTE: Rotate the shafts back and forth to ensure
no binding or sticking occurs.
7. From the right side, install the 6 mm cap screws;
then tighten only until snug.
NOTE: Rotate the shafts back and forth to ensure
no binding or sticking occurs.
8. In a crisscross/case-to-case pattern, tighten the 8 mm
cap screws (from steps 4-5) until the halves are cor-
rectly joined; then tighten to 20 ft-lb.
NOTE: Rotate the shafts back and forth to ensure
no binding or sticking occurs.
9. In a crisscross/case-to-case pattern, tighten the 6 mm
cap screws (from steps 6-7) to 8 ft-lb.
NOTE: Rotate the shafts back and forth to ensure
no binding or sticking occurs.
Installing Engine/
Transmission
NOTE: Arctic Cat recommends new gaskets and O-
rings be installed whenever servicing the vehicle.
1. Using a suitable lifting sling and engine hoist,
lower the engine into the vehicle engaging the
slotted rear engine mount brackets with the engine
mounts; then install the front through-bolt.
2. Tighten the flange nuts on the rear cradle to 25 ft-
lb; then tighten the nut on the front through-bolt to
40 ft-lb.
HDX157A
AT THIS POINT
After completing center crankcase components, pro-
ceed to Installing Right-Side Components, to Installing
Left-Side Components, and to Installing Top-Side Com-
ponents.
Содержание PROWLER HDX 2015
Страница 3: ......
Страница 191: ...188 NOTES...
Страница 192: ...Printed in U S A Trademarks of Arctic Cat Inc Thief River Falls MN 56701 p n 2260 410...


