28
HDX132A
INSTALLING
1. Route the cable into position making sure there are
no kinks or sharp bends.
2. Install the cable housing onto the transmission
holder; then connect the cable end to the shift arm
and secure with the E-clip.
3. Install the shift cable into the shift cable support;
then connect the shift cable end to the shifter and
secure with a cap screw and nut. Tighten to 8 ft-lb.
4. Adjust the shift cable (see Periodic Maintenance -
Shift Lever).
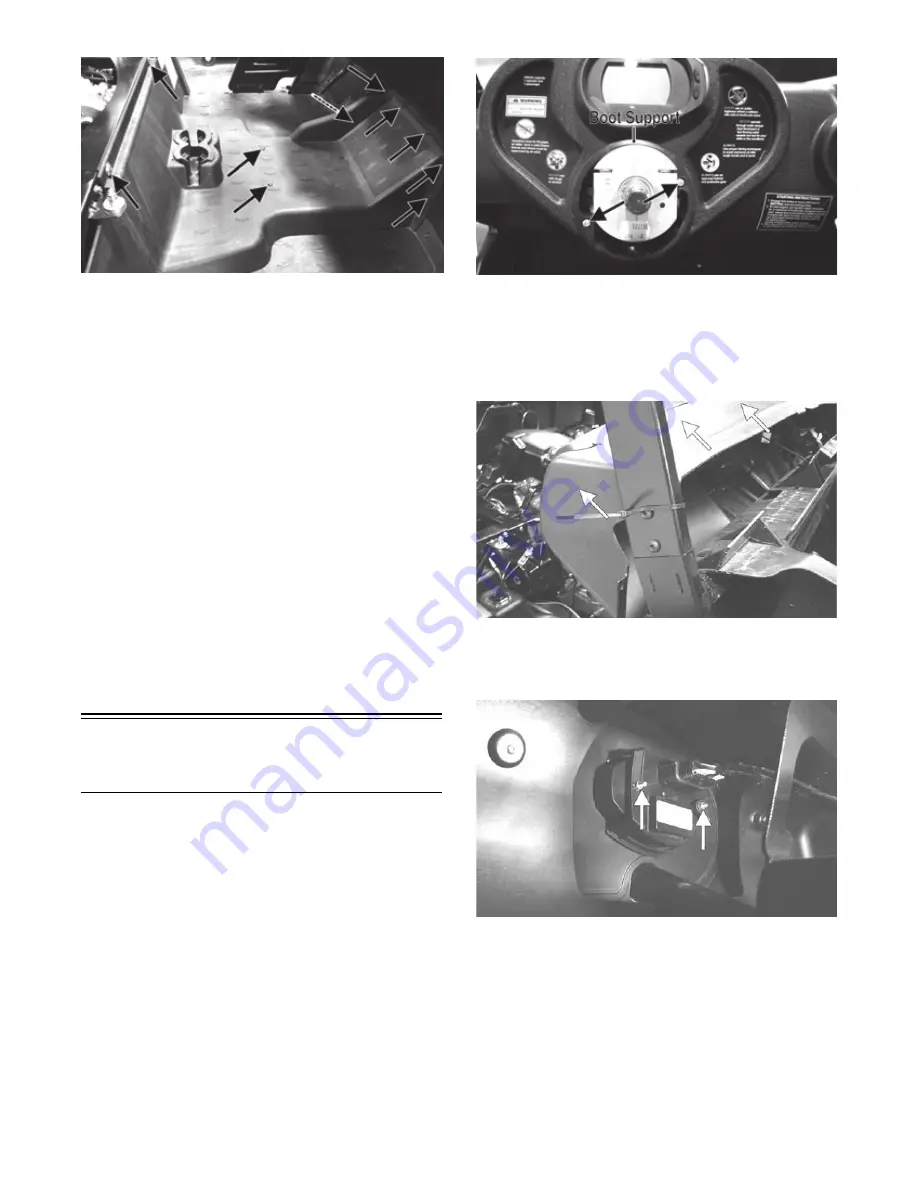
5. Install nylon ties on the shift cable where removed;
then install the center floorboard and tighten the
machine screws securely.
6. Install the dashboard (see Dashboard in this section).
7. Shift the transmission through all positions making
sure the gear position icons indicate the appropriate
gears selected and that the Park Indicator illuminates
only when fully in Park. (See Periodic Maintenance -
Shift Lever).
LCD Gauge/Indicator
Lights
REPLACING
1. Remove the steering wheel; then remove the steering
wheel boot.
2. Remove the two machine screws securing the steer-
ing wheel boot support to the steering support assem-
bly. Remove the boot support.
PR762A
3. Remove the six screws securing the dash panel to the
frame; then remove the shifter handle and shift lever
boot.
4. Slide the dash panel to the rear sufficiently to access
the components.
PR181A
5. Remove the nuts securing the gauge assembly to the
dash; then unplug the multi-pin connector and
remove the gauge from the vehicle.
PR284A
6. Place the new gauge into the dash panel opening;
then place the gauge holder over the mounting
screws and secure with the nuts.
7. Plug the multi-pin connector into the gauge; then
turn the ignition switch to the ON position and check
gauge functions.
8. Slide the dash into position and secure with the six
screws.
9. Install the shifter handle; then install the shift lever
boot.
Содержание PROWLER HDX 2015
Страница 3: ......
Страница 191: ...188 NOTES...
Страница 192: ...Printed in U S A Trademarks of Arctic Cat Inc Thief River Falls MN 56701 p n 2260 410...

