168
Upgrading from G2 to G3 Firmware
Color Active-Matrix LCD Mini-Touch Panels
5.
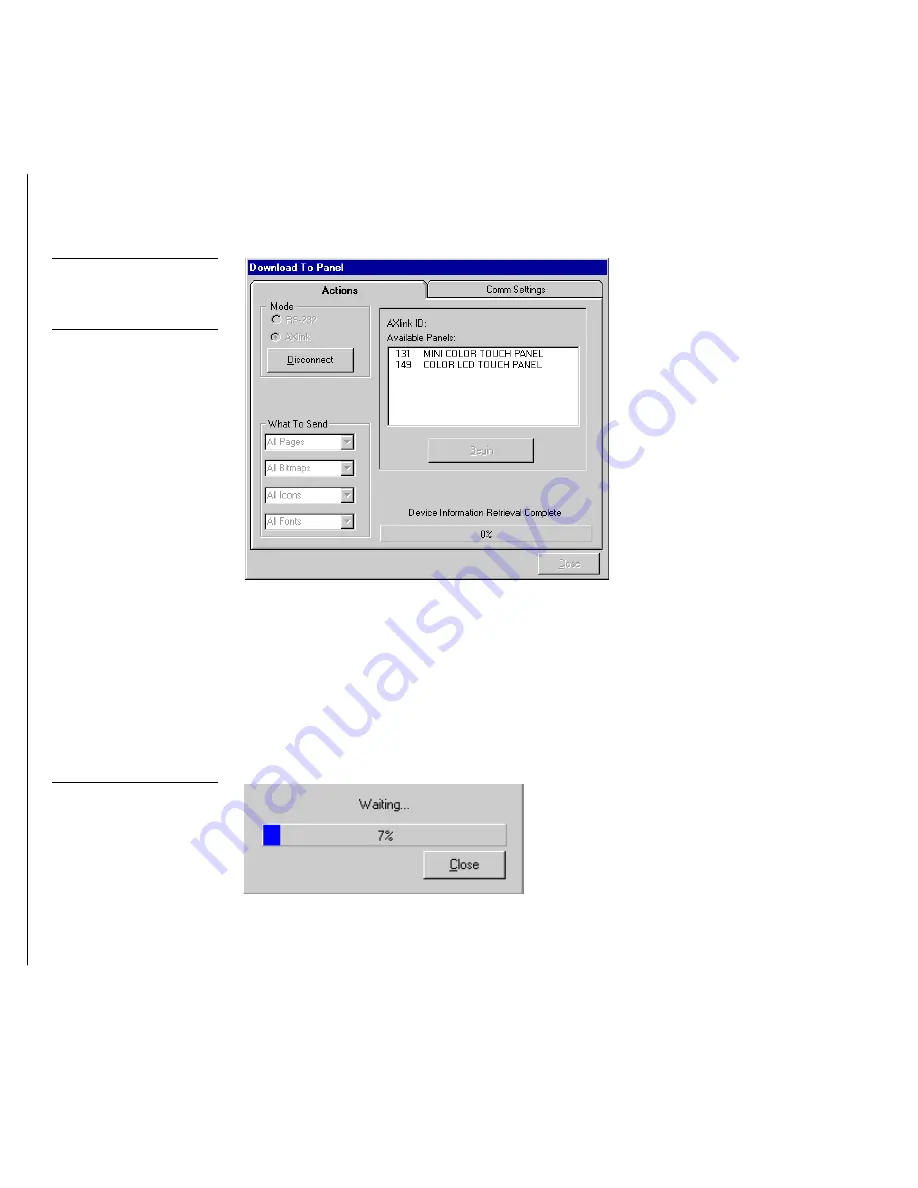
Select AXlink as the mode of communication with the touch panel. After clicking
Connect, the AXlink dialog box (Figure 247) then displays both the AXlink ID
and Available Panels fields.
6.
The AXlink ID field displays the selected AXlink address. The Available Panels
field the device addresses that are available.
7.
Click Begin, once you have completed the selection of any other features you
want to send in the What To Send section. The vertical download bargraph
(Figure 248) at the bottom center of the Download To Panel box indicates prog-
ress in percent of the file being downloaded.
8.
Touch the panel’s screen after completing the download to ensure that the page
flips are operational.
Figure 247
AXlink dialog box
Note
AXlink ID is entered either
manually from the Available
Panels list or by double-
clicking it within the same lo-
cation.
Figure 248
Vertical download bargraph
Содержание AXD-MCA
Страница 30: ...22 Installing Mini Touch Panels Color Active Matrix LCD Mini Touch Panels ...
Страница 68: ...60 Designing Touch Panel Pages Color Active Matrix LCD Mini Touch Panels ...
Страница 130: ...122 Touch Panel Program Reference Color Active Matrix LCD Mini Touch Panels ...
Страница 180: ...172 Memory Upgrade Color Active Matrix LCD Mini Touch Panels ...


