VISTA-10SE Installation and Setup Guide
8-2
PROMPT
PROCEDURE
Default Descriptor
↓
✱
Z N 0 1 Z O N E 0 1
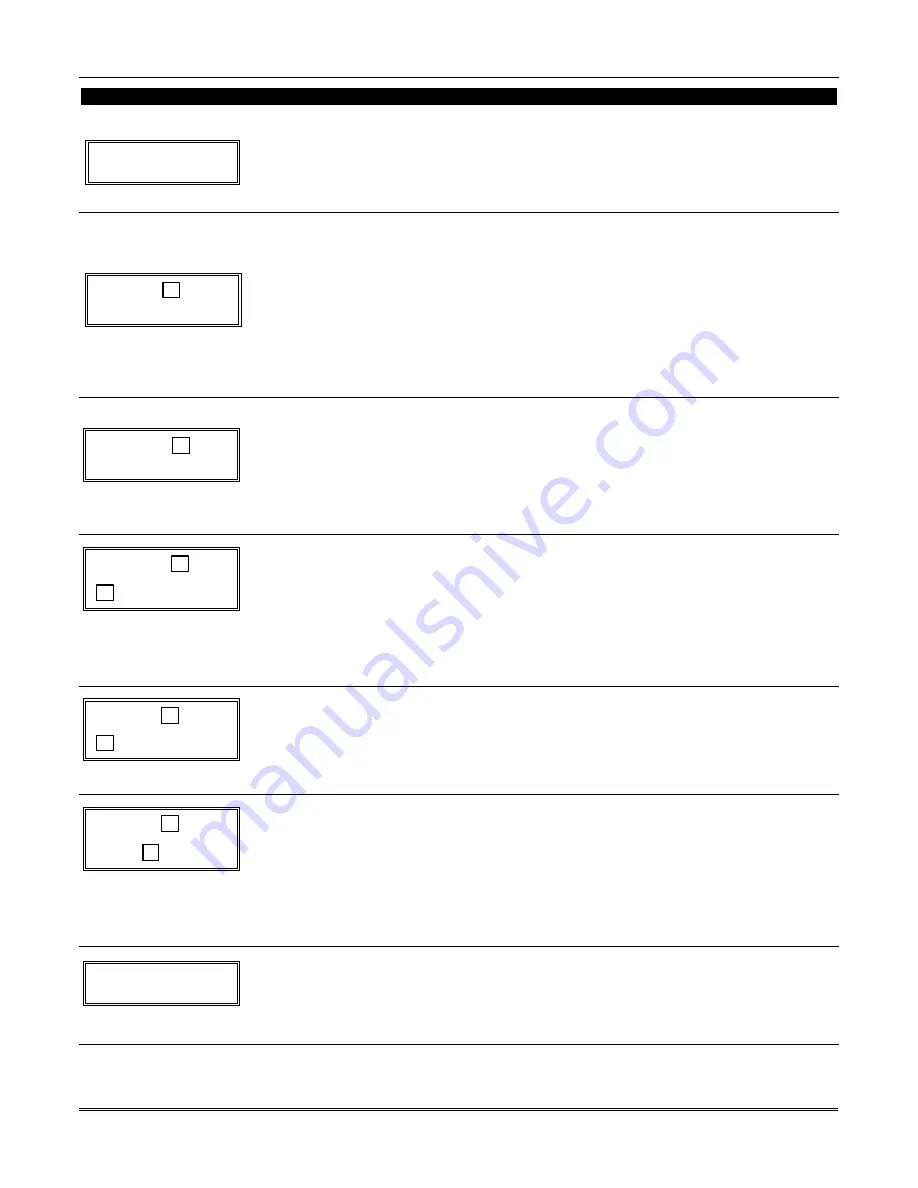
If a descriptor was not entered previously for zone 01, the default descriptor for zone 01 will be
displayed.
Note that no entries can be made. Entries can be made only when the display contains a flashing cursor,
which signifies the “entry mode.”
Flashing Cursor (system is
ready for entry of word).
↓
✱
Z N 0 1 A
6.
To delete or change the default descriptor for zone 1, press [
✱
] plus the same zone number
(01). This will clear that descriptor and gain access to the entry mode with flashing cursor,
allowing changes to be made.
NOTE: If you do not wish to change the existing descriptor for zone 01, enter [
✱
] plus the next zone
number for which you wish to enter (or check) a descriptor. A summary display for that zone will
appear. You must then press [
✱
] plus the same zone number again to gain access to the entry mode
(flashing cursor) for that zone.
Flashing Cursor
↓
✱
Z N 0 1
B A C K
7.
Press [#] plus a 3-digit number for the first word from the ALPHA VOCABULARY LIST on a
following page. Example: The descriptor that we wish to enter for zone 01 is BACK DOOR. From
the LIST, BACK = 013.
Therefore, we enter # 0 1 3.
NOTE:
If you accidentally enter the wrong word, simply press [#] plus the correct 3-digit
number for the word you want.
✱
Z N 0 1 B A C K
↑
Flashing Cursor if [6] is
pressed (system is ready
for next word).
8.
Press [6] to accept the first word and continue.
NOTE: If this is the only word you are using for the descriptor, press [8] instead of [6] to save that
word in memory, and then go to step 12.
✱
Z N 0 1 B A C K
D O O R
↑
Flashing Cursor
9.
Enter the 3-digit number for the next word. In our example, the word is DOOR, whose
number is “057.”
10. Enter
# 0 5 7. The display at left appears.
✱
Z N 0 1 B A C K
D O O R A
↑
Flashing Cursor if [6] is
pressed (system is ready
for next word).
11. Press [6] to accept the first two words.
NOTE: If these are the only words you are using for the descriptor, press [8] instead of [6] to save
them in memory.
12. The two words in our example have now been entered. Note however, that up to three words may
be entered (provided the number of characters will fit on the screen). Press [8] to save all words
in memory.
✱
Z N 0 1 B A C K
D O O R
The “A” with the flashing cursor disappears, indicating that the word(s) are stored in memory for
that zone, as shown in the display at the left. To exit this mode, skip to step 13.
13. To enter a descriptor for the next zone, press [
✱
] plus the desired zone number (e.g.,
✱
02. The
display following step 5 appears. Repeat steps 6 through 11 to enter the descriptor for the next
zone.
Содержание VISTA-10ES
Страница 24: ...VISTA 10SE Installation and Setup Guide 3 4...
Страница 34: ...VISTA 10SE Installation and Setup Guide 4 10...
Страница 44: ...VISTA 10SE Installation and Setup Guide 5 10...
Страница 58: ...VISTA 10SE Installation and Setup Guide 9 4...
Страница 66: ...VISTA 10SE Installation and Setup Guide 11 6...
Страница 68: ...VISTA 10SE Installation and Setup Guide 12 2...
Страница 80: ...1 9 l N7227V6 7 01 165 Eileen Way Syosset New York 11791 Copyright 2001 PITTWAY CORPORATION...


