7451A/7461A/7461P Digital Multimeter Operation Manual
8.3.4 Calibration Procedure
8-9
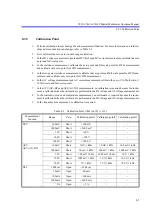
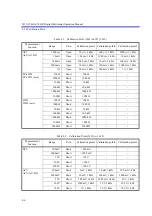
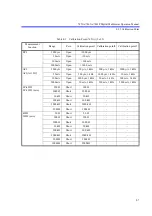
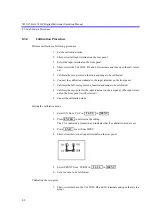
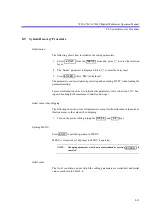
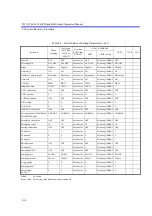
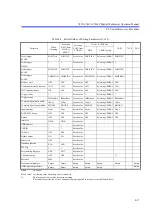
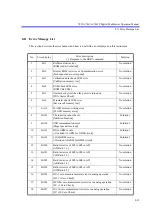
8. Set a range to be calibrated.
9. Pressing the
key displays the measurement value as a setting value.
10. Adjust the setting value to the calibration value by using the
,
,
,
keys.
NOTE:
Press the
key if calibration must be cancelled due to a mistake
such as entering an incorrect number.
11. Press the
key to execute the calibration.
12. Repeat steps 8 to 11 when calibrating other ranges.
Calibrating the full-scale point
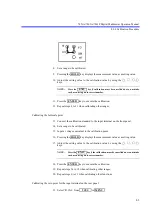
13. Connect the calibration standard to the input terminal on the front panel.
14. Set a range to be calibrated.
15. Input a voltage equivalent to the calibration point.
16. Pressing the
key displays the measurement value as a setting value.
17. Adjust the setting value to the calibration value by using the
,
,
,
keys.
NOTE:
Press the
key if the calibration must be cancelled due to a mistake
such as entering an incorrect number.
18. Press the
key to execute the calibration.
19. Repeat steps 14 to 18 when calibrating other ranges.
20. Repeat steps 6 to 19 when calibrating other functions.
Calibrating the zero point for the input terminal on the rear panel
21. Select ‘R.CAL’ from
in
.
HOLD
EXIT
ENTER
HOLD
EXIT
ENTER
9 SYS
MENU


