Chapter 32 Link Layer Discovery Protocol (LLDP)
XGS1930 Series User’s Guide
261
32.6.2 LLDP Configuration Org-specific TLV Setting
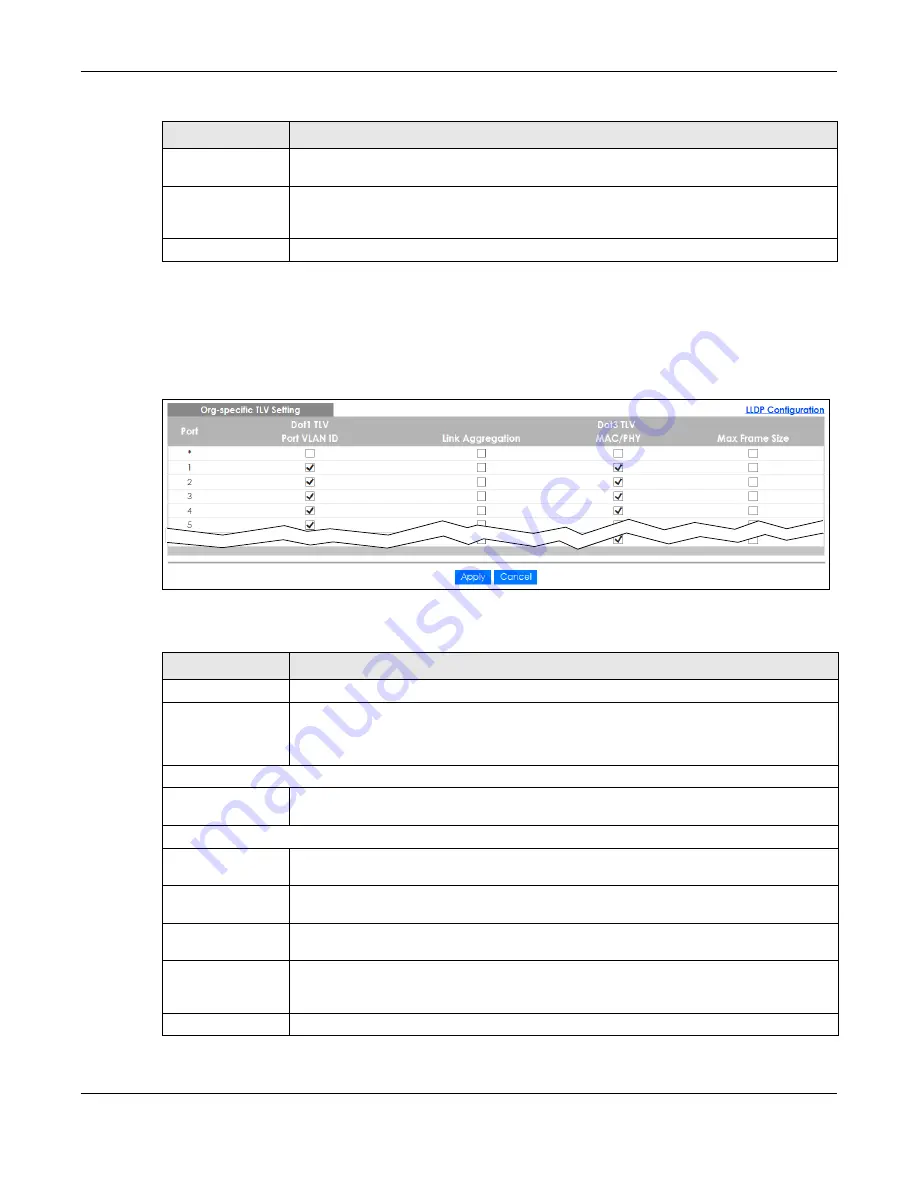
Use this screen to configure organization-specific TLV settings. Click
Advanced Application
>
LLDP
>
LLDP
Configuration (Click Here)
>
Org-specific TLV Setting
to display the screen as shown next.
Figure 186
Advanced Application > LLDP > LLDP Configuration> Org-specific TLV Setting
The following table describes the labels in this screen.
System Name
Select the check boxes to enable or to disable the sending of System Name TLVs on the
ports.
Apply
Click
Apply
to save your changes to the Switch’s run-time memory. The Switch loses these
changes if it is turned off or loses power, so use the
Save
link on the top navigation panel to
save your changes to the non-volatile memory when you are done configuring.
Cancel
Click
Cancel
to begin configuring this screen afresh.
Table 128 Advanced Application > LLDP > LLDP Configuration > Basic TLV Setting (continued)
LABEL
DESCRIPTION
Table 129 Advanced Application > LLDP > LLDP Configuration > Org-specific TLV Setting
LABEL
DESCRIPTION
Port
This displays the Switch’s port number.
*
Use this row to make the setting the same for all ports. Use this row first and then make
adjustments to each port if necessary.
Changes in this row are copied to all the ports as soon as you make them.
Dot1 TLV
Port VLAN ID
Select the check boxes to enable or disable the sending of IEEE 802.1 Port VLAN ID TLVs on
the ports. All check boxes in this column are enabled by default.
Dot3 TLV
Link
Aggregation
Select the check boxes to enable or disable the sending of IEEE 802.3 Link Aggregation TLVs
on the ports.
MAC/PHY
Select the check boxes to enable or disable the sending of IEEE 802.3 MAC/PHY
Configuration/Status TLVs on the ports. All check boxes in this column are enabled by default.
Max Frame Size
Select the check boxes to enable or disable the sending of IEEE 802.3 Max Frame Size TLVs on
the ports.
Apply
Click
Apply
to save your changes to the Switch’s run-time memory. The Switch loses these
changes if it is turned off or loses power, so use the
Save
link on the top navigation panel to
save your changes to the non-volatile memory when you are done configuring.
Cancel
Click
Cancel
to begin configuring this screen afresh.
Summary of Contents for XGS1930-28HP
Page 19: ...19 PART I User s Guide...
Page 39: ...39 PART II Technical Reference...


