Touch-MyDesign Plus
http://www.zennio.com
Technical Support:
http://zennioenglish.zendesk.com/
9
After importing the corresponding database in ETS and adding the device into the
topology of the project, the configuration process begins by right-clicking into the
device and selecting
Edit parameters
.
This will bring the window shown in
Figure 4
, which contains the following parameters:
Main Buttons
: read-only parameter to make it evident that the Main Buttons
configuration tab (containing all the parameters involved in the configuration of
the main buttons of the device) is always enabled in the tab tree on the left. See
section 0 for details.
Additional Buttons
: read-only parameter to make it evident that the Additional
Buttons configuration tab (containing all the parameters related to the
configuration of the additional buttons of the device) is always enabled in the
tab tree on the left. See section 0 for details.
Inputs
: enables or disables the Inputs tab in the tree on the left, depending on
whether the device will or will not be connected any external accessories. See
section 2.7 for details.
Thermostat
: enables or disables the Thermostat tab in the tree on the left,
depending on whether this function is needed or not. See section 0 for details.
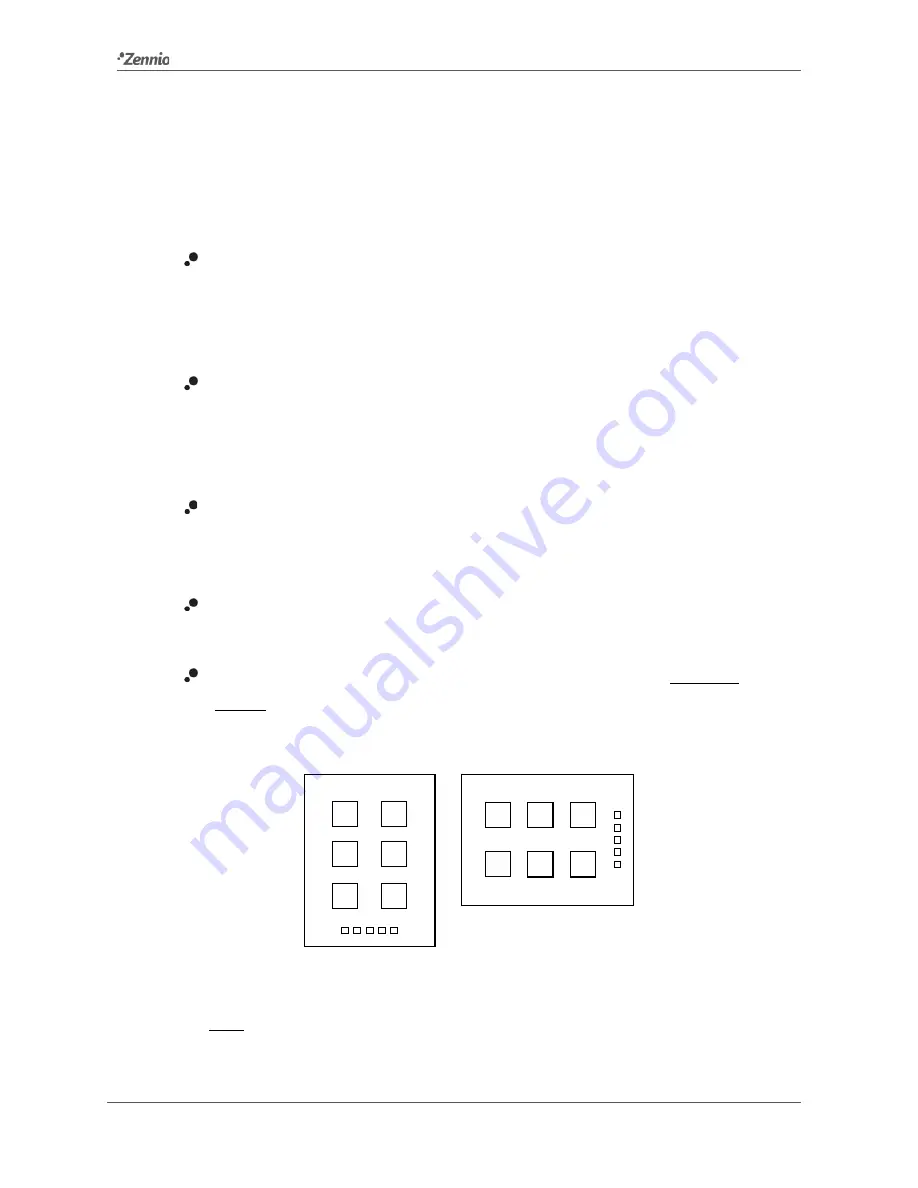
Touch-MyDesign Plus Orientation
: defines the orientation (“Horizontal” /
“Vertical”) of the device, with the aim of implementing a logical behaviour in the
two-button controls.
Figure 5
Device Orientation
Note
:
the particular behaviour of the two-button controls (which one does what)
is defined through Button Pair Action, as explained below
.


