| Getting Started |
14
Port Name
Description
③
USB
• Connect to a USB flash drive
Insert a USB flash drive for storing screenshots, recording videos or capturing
packets. If multiple USB flash drives are connected, only the latter one can be
identified.
• Insert a WF50 Wi-Fi USB Dongle for connecting to Wi-Fi or providing
wireless AP.
• Insert a BT42 Bluetooth USB Dongle for connecting to the CPW90-BT
Bluetooth wireless microphones.
• Insert a PSTN box CPN10 for connecting to the PSTN (Public Switched
Telephone Network).
④
Camera Port
Connect to a third-party camera.
⑤
RCA In
Connect to an audio input device via a RCA cable.
⑥
RCA Out
Connect to an audio output device via a RCA cable.
⑦
Display
Connect to a monitor for displaying video images.
⑧
VC Hub/Camera
• If you want to use wired sharing to present, connect this port to the Codec port
on the VCH50 video conferencing hub.
• Connect this port to the Camera port on theVCC22 video conferencing
camera.
• If you need an audio device, connect this port to the Internet port on the
CP960 Conference phone.
⑨
Internet
Connect to the network device.
⑩
DC48V
Connect to the power source via a power adapter.
⑪
Slot hole
Use the screws to lock the PVT980 system to the rack.
Hardware of VC800 Codec
VC800 codec compresses the outgoing video and audio data, transmits the data to the far site, and decompresses the
incoming data.
Supporting 16:9 and 4:3 aspect ratios, it is compatible with different audio devices, and can adapt to the monitors
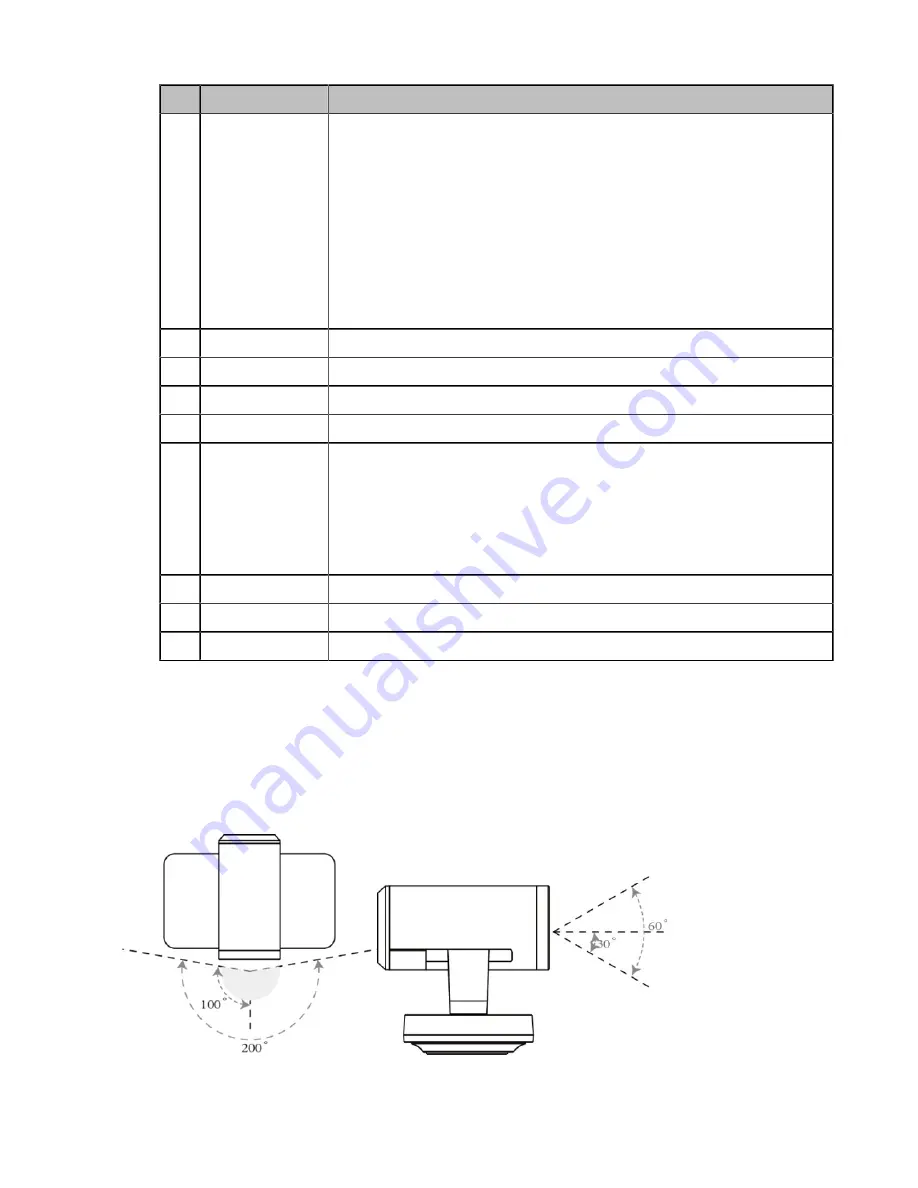
automatically. The VC800 camera can be panned (± 100 degrees range), tilted (± 30 degrees range) and supports 12 x
optical zoom, white balance, automatic gain and so on.
•


