The process of voice editing
Editing a voice is a three-step process; select a voice, modify parameters as necessary, and store the
edited voice. If you do not store the voice after editing it, the original voice will reappear and your edits will
be lost.
1. Select the voice to edit
The first step in the voice editing process is to select the voice you wish to edit.
Although it is possible to create a voice starting with the initialized data (a
voice where all parameters are set to zero or some basic value), it is usually
more efficient to start with a voice that is similar to what you want, and edit it to
meet your requirements.
To select a voice, press
VOICE
to enter voice play mode. The
VOICE
LED will
light red. Select voice memory
INTERNAL, CARD, PRESET 1,
or
PRESET 2.
Then
select bank A, B, C, or D. Finally select a voice 1-16. The LCD will show the
selected voice name.
2. Edit parameters/
compare with the
original voice
Now that you have selected a voice, press
EDIT
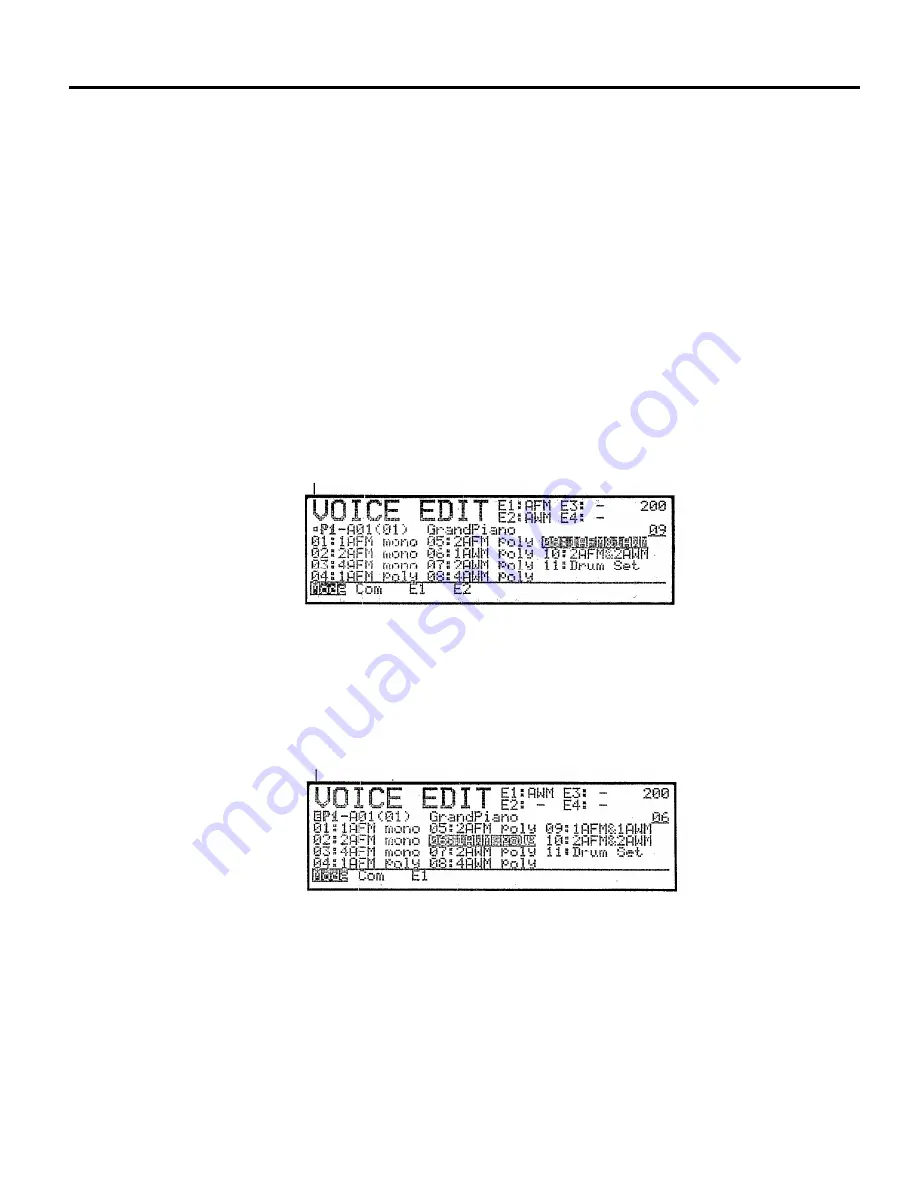
to edit it. The upper left of the
LCD will show “VOICE EDIT”. If “Mode” at the lower left is not displayed in
inverse, press
F1
to get the following display.
Original data unchanged
Notice that a small square is displayed at the left of the voice number. This
indicates that the voice has not yet been edited. Press –1/+1 to modify the voice
mode parameter. (For now, don’t worry about what this parameter actually
does. Here we are simply learning the process of voice editing.) The voice data
has now been edited, and this is indicated by a inverse “E” displayed at the left
of the voice number.
Data has been edited
Note:
While editing, it is often useful to see and hear the original data. (This
Compare function is available in most editing screens, but NOT in the screen
shown above. Move to another editing screen to try out the Compare func-
tion.) To temporarily bring back the original data, press EDIT (COMPARE).
Notice that a “C” is now displayed, indicating that you are in Compare mode.
While in compare mode you can view the various parameters, but will not be
able to modify them. To return to Edit mode, press
EDIT
(COMPARE) once
again, and the “C” will change back to an “E”.
62
Summary of Contents for SY-77
Page 1: ...YAMAHA MUSIC SYNTHESIZER ...
Page 12: ...iv ...
Page 13: ...1 ...
Page 14: ...2 ...
Page 32: ...Front panel right side This page explains the front panel features to the right of the LCD 20 ...
Page 44: ...32 ...
Page 51: ...39 ...
Page 53: ...41 ...
Page 57: ...45 ...
Page 61: ...49 ...
Page 64: ...52 ...
Page 92: ...80 ...
Page 93: ...VOICE PLAY MODE 81 ...
Page 94: ...82 ...
Page 134: ...VOICE EDIT MODE 122 ...
Page 166: ...154 ...
Page 180: ...168 ...
Page 212: ...200 ...
Page 246: ...234 ...
Page 247: ...APPENDIX 235 ...
Page 248: ...236 ...
Page 265: ...253 ...
Page 268: ......


