SONG MODE
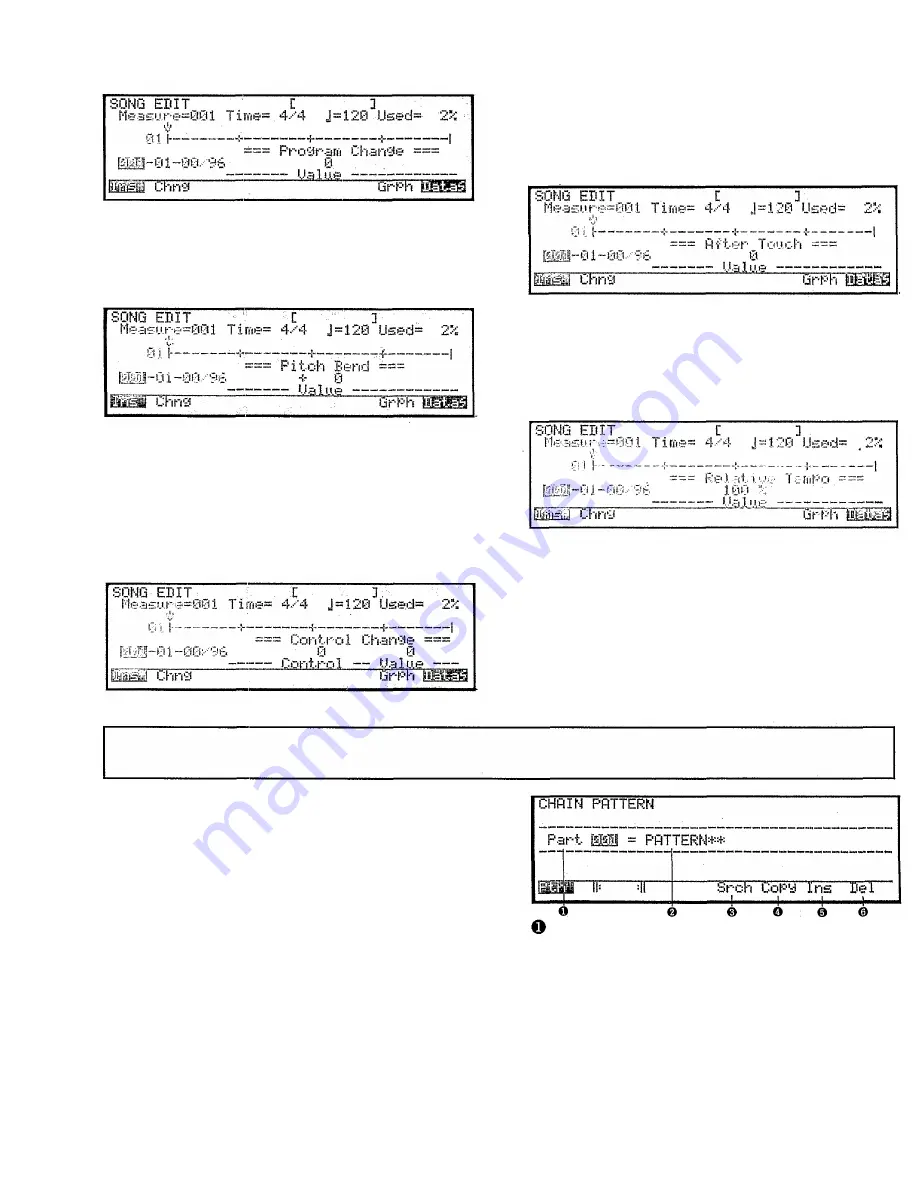
Pitch bend: To enter pitch bend data hold SHIFT and
press F3 (PB). The following display will appear,
and you can move the cursor to specify the pitch
bend data (Value -8192...8191).
After touch: To enter after touch data hold SHIFT
and press F5 (AT). The following display will
appear, and you can move the cursor to specify
the aftertouch data (Value 0...127).
Control change: To enter control change data hold
SHIFT and press F4 (Ctrl). The following display
will appear, and you can move the cursor to
specify the control change number (Control
0...127) and control change data (Value
0...127). Control change number 123 cannot be
selected.
Relative tempo; To enter relative tempo data hold
SHIFT and press F6 (Temp). The following dis-
play will appear, and you can move the cursor to
specify the relative tempo change data (Value
10%...200%).
When playback reaches relative tempo data, the
playback tempo will change by the specified per-
centage. Relative tempo data will have an effect
only if the SY77 sequencer is synchronized to its
own internal clock. Refer to Song Setup job 2.MIDI
Control.
SONG EDIT
Chain pattern
Summary: Track 16 of the sequencer contains pat-
tern numbers and repeat data. Chain pattern
allows you to arrange the pattern and repeat
data in this track.
Procedure:
From: song mode (when the SONG LED is lit
red)
Press: EDIT
Select: track 16
Specify: the pattern played by each part, and
search, copy, insert, or delete parts.
To enter: the specified data for each part press
ENTER.
To exit: chain pattern mode and return to song
play press EXIT.
Track 16 can consist of up to 999 Parts. When
the cursor is located at Part, select an existing
part 001-999. It is not possible to select a part
which contains no data. When you press ENTER
to enter the specified data for a part, this number
will automatically advance to the next part.
182
Summary of Contents for SY-77
Page 1: ...YAMAHA MUSIC SYNTHESIZER ...
Page 12: ...iv ...
Page 13: ...1 ...
Page 14: ...2 ...
Page 32: ...Front panel right side This page explains the front panel features to the right of the LCD 20 ...
Page 44: ...32 ...
Page 51: ...39 ...
Page 53: ...41 ...
Page 57: ...45 ...
Page 61: ...49 ...
Page 64: ...52 ...
Page 92: ...80 ...
Page 93: ...VOICE PLAY MODE 81 ...
Page 94: ...82 ...
Page 134: ...VOICE EDIT MODE 122 ...
Page 166: ...154 ...
Page 180: ...168 ...
Page 212: ...200 ...
Page 246: ...234 ...
Page 247: ...APPENDIX 235 ...
Page 248: ...236 ...
Page 265: ...253 ...
Page 268: ......


