7
TOOLS for 01X/Plug-in Effect Installation Guide
6
Go to [System]
➝
[Hardware]
➝
[Driver Signing]
➝
[File Signature Verifi-
cation], and check the radio button to the left of “Ignore -Install all files,
regardless of file signature” and click [OK].
• After completing the installation, make sure to restore the original setting if nec-
essary.
7
Check that no “!” or “x” marks appear next to “IEEE 1394 Bus host con-
trollers” (in [System]
➝
[Hardware]
➝
[Device Manager]). If one of these
marks is shown, the mLAN (IEEE 1394/i.Link) connection cannot be
used. Refer to the owner’s manual of your computer for details.
8
Click [OK] to close the System Properties window, then click the Close
button ([X]) at the top right of the window to close the Control Panel.
9
Exit from any open applications and close all open windows.
10
Insert the included CD-ROM (“TOOLS for 01X”) into the CD-ROM
drive.
Starting up the Installer for the mLAN Software
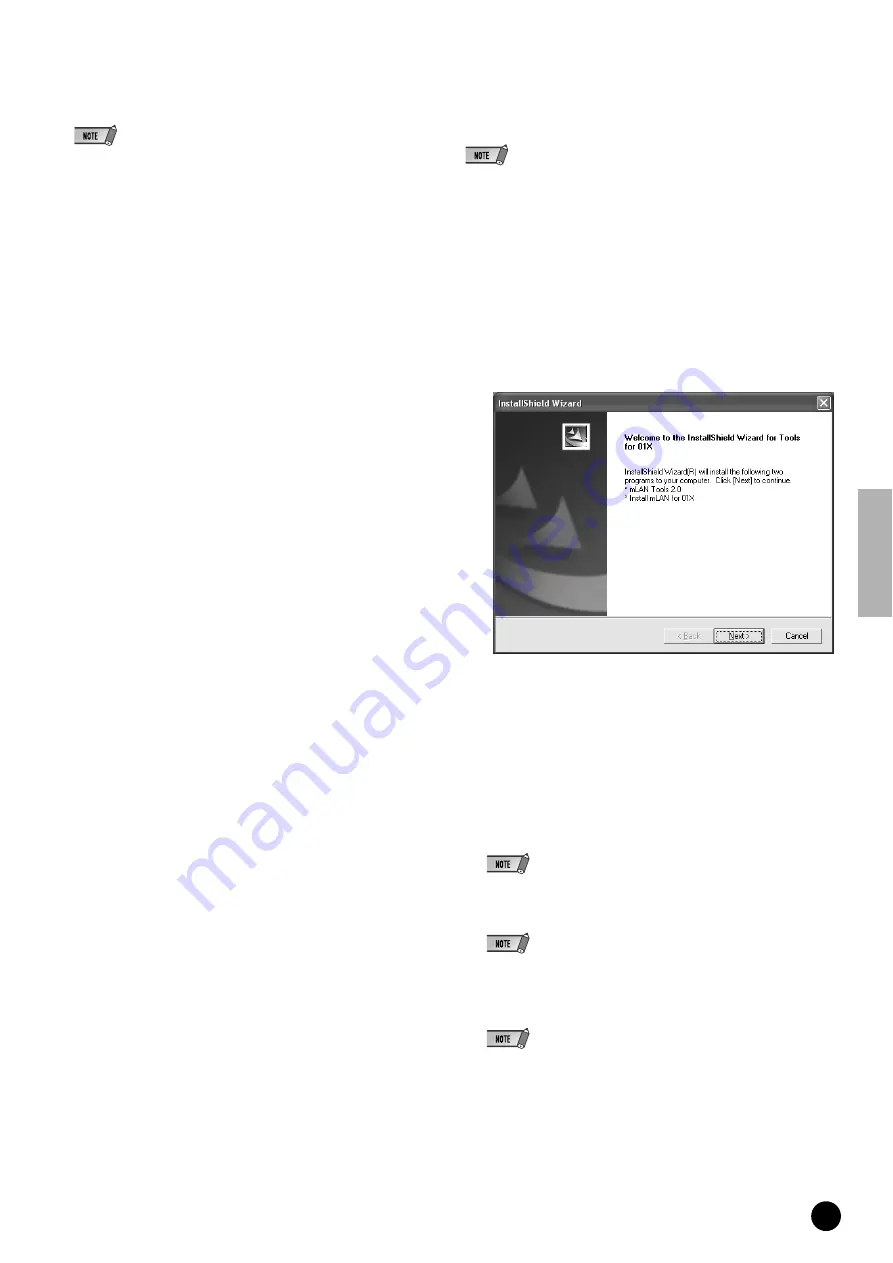
The installer will install the following two programs to your computer.
• mLAN Tools 2.0
• Install mLAN for 01X
• Use the Cancel button or Close button to quit the installation. Quitting by using the
[CTR]+[ALT]+[DEL] buttons or by turning off the power while installation is in process
is can result in problems since the installation is terminated without performing a
proper uninstall.
11
Double-click on the “mLAN_” folder.
Various files are shown, including “Setup.exe.”
12
Double-click on “Setup.exe.”
13
A series of confirmation messages appear. If there are no problems,
click [OK] in each message. When finished, a “Welcome” display
appears.
Installation of mLAN Tools
14
Click [Next]. The display for installing mLAN Tools appears.
15
Click [Next]. The “Destination Directory” window appears, letting you
determine the desired drive and folder name for installing mLAN
Tools. The destination directory is automatically set; however, if you
wish to change it, click the [Browse…] button and select the desired
folder (drive:\folder name). Click [Next] after making or confirming the
selection.
• In general, there is no need to change the destination directory.
16
Confirm the drive and folder name and click [Next] to start installation.
• To cancel the installation, click [Cancel].
17
When installation is finished, a “Completed” message appears. Click
[Finish].
• For information on the “Waiting” display, see page 8.
Proceed to the next step.


