21
TOOLS for 01X/Plug-in Effect Installation Guide
Setting up OMS
• If you are using mLAN on your Macintosh with an optionally installed IEEE 1394
(FireWire) interface card, recreate a new Studio Setup by OMS Setup without using
the 01X-mLAN OMS Setup file included in the installation CD-ROM. For details, refer
to the OMS manual.
22
Double-click on the “OMS” folder and “OMSSetup for YAMAHA”
folder. The “01X-mLAN” file appears. Copy this to the hard disk on
your computer.
23
Double-click on the “01X-mLAN” file to start the OMS Setup.
24
After starting the OMS Setup, the Studio setup file double-clicked in
step
23
opens.
If “
” is not indicated at the right of the setup file name, select “Make
Current” from the “File” menu and execute the save operation.
The OMS studio setup has been completed. You’ll also need to set the
OMS port when using the software (page 22).
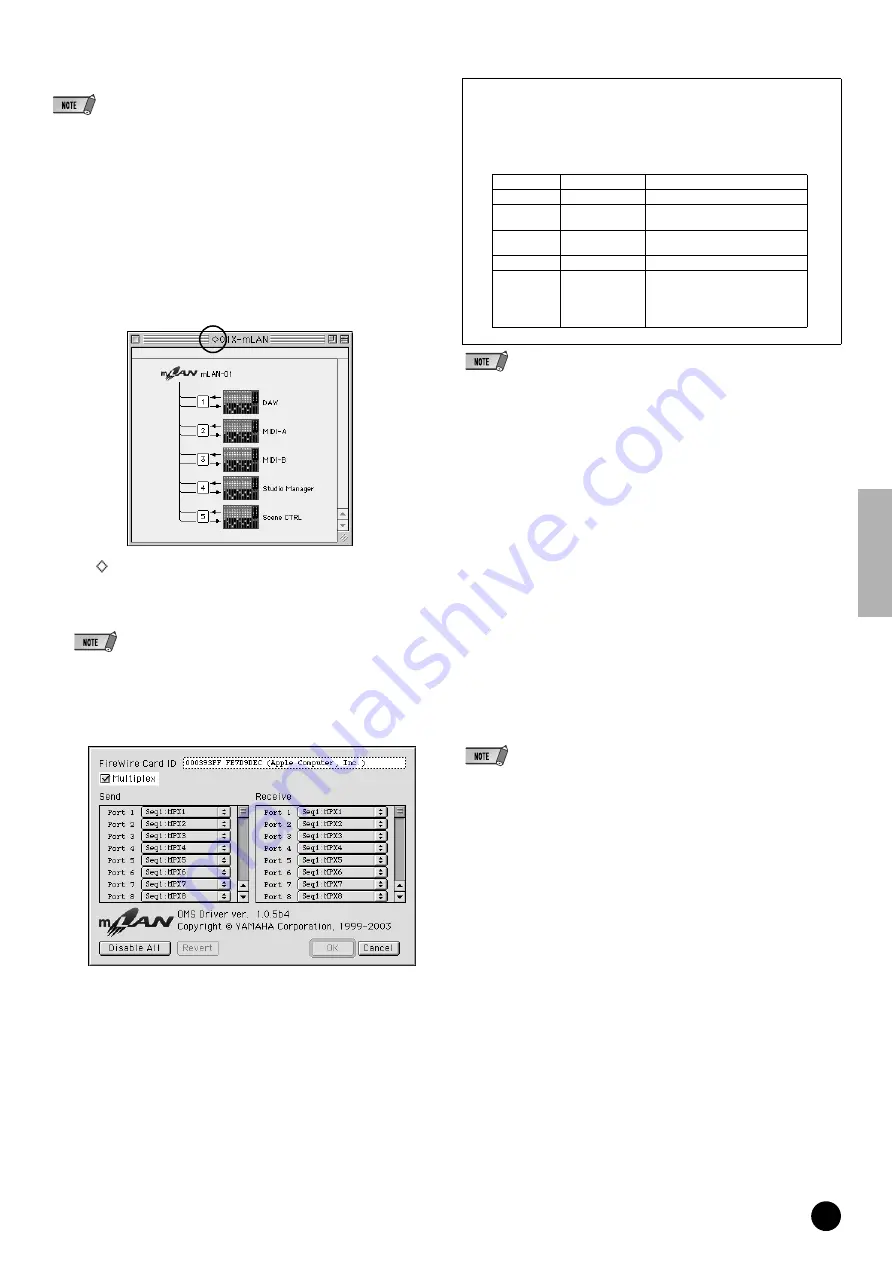
• Double clicking the icon of the mLAN device or executing “MIDI Device Info...”
from the “Studio” menu by selecting the mLAN device, calls up the Device Info
dialog box. We recommend that you not change the channel assignment since
this is already set by the setup application (mLAN Auto Connector, etc.) for opti-
mum use with mLAN devices such as the 01X. Reset the settings as shown in
the illustration below if you have inadvertently changed them.
• After the OMS studio setup above has been completed, your computer will recognize
only the 01X as a MIDI device. If you use another MIDI instrument in addition to the
01X or you add an 01X to the existing system, you should create an original Studio
Setup file. For details,refer to the on-line manual supplied with OMS.
• The included OMS studio setup file may not function even if you follow the above pro-
cedure, depending on your Macintosh/Mac OS version. (MIDI data cannot be trans-
mitted/received even if the setup becomes available.) In this situation, connect your
Macintosh to the 01X and follow the procedure below to re-create the setup file.
1
Start OMS Setup and select “New Setup” from the “File” menu.
2
The “OMS Driver Search” dialog appears. Remove the check from the “Modem”
and “Printer” check boxes, and click [Search] to execute the device search. If the
Search operation has been completed successfully, the [mLAN-01] device is dis-
played in the OMS driver setting dialog.
3
Click the [OK] button to search for ports. Port 1, Port 2 ... appears in the dialog.
Mark the appropriate checkbox of the port and click the [OK] button to store the
setting.
Confirming the installation
The mLAN Installer places the following files in the following locations.
Control panel folder of the startup disk
mLAN Driver Setup (page 10)
• You can use the mLAN Driver Setup (page 10) to check whether data is being prop-
erly transmitted and received via mLAN.
Extensions folder of the startup disk
mLAN Driver
mLAN Expert
mLAN Family
mLAN Transporter Family
The folder you specify
mLAN Tools folder
Opcode/OMS Applications
System folder
Control Panels/mLAN Driver Setup
OMS Folder/mLAN OMS Driver
Preferences/mLAN HALs/01XTransporter.hal
Preferences/mLAN Prefs folder
* Delete the files and folders listed above when
uninstalling
. Be careful
not to delete data already existing before the installation, including files
related to OMS
The setting names (device names) of each MIDI port are as shown
below, when the Studio Setup file of 01X-mLAN is loaded. They
correspond to the functions of the fixed MIDI port of 01X. Select the
proper device (port) for the application you are using.
01X MIDI Port Function
MID Port
Device Name
Function
1
DAW
Remote control
2
MIDI-A
Direct connection to MIDI-A terminal
(MIDI/mLAN MIDIconversion)
3
MIDI-B
Direct connection to MIDI-B terminal
(MIDI/mLAN MIDIconversion))
4
Studio Manager
Studio Manager
5
Scene CTRL
Remote control (Mode is fixed to
“GENERAL.” This is used for control
of the Multi Part Editor, or for
recalling Library Scenes by program
change messages.


