83
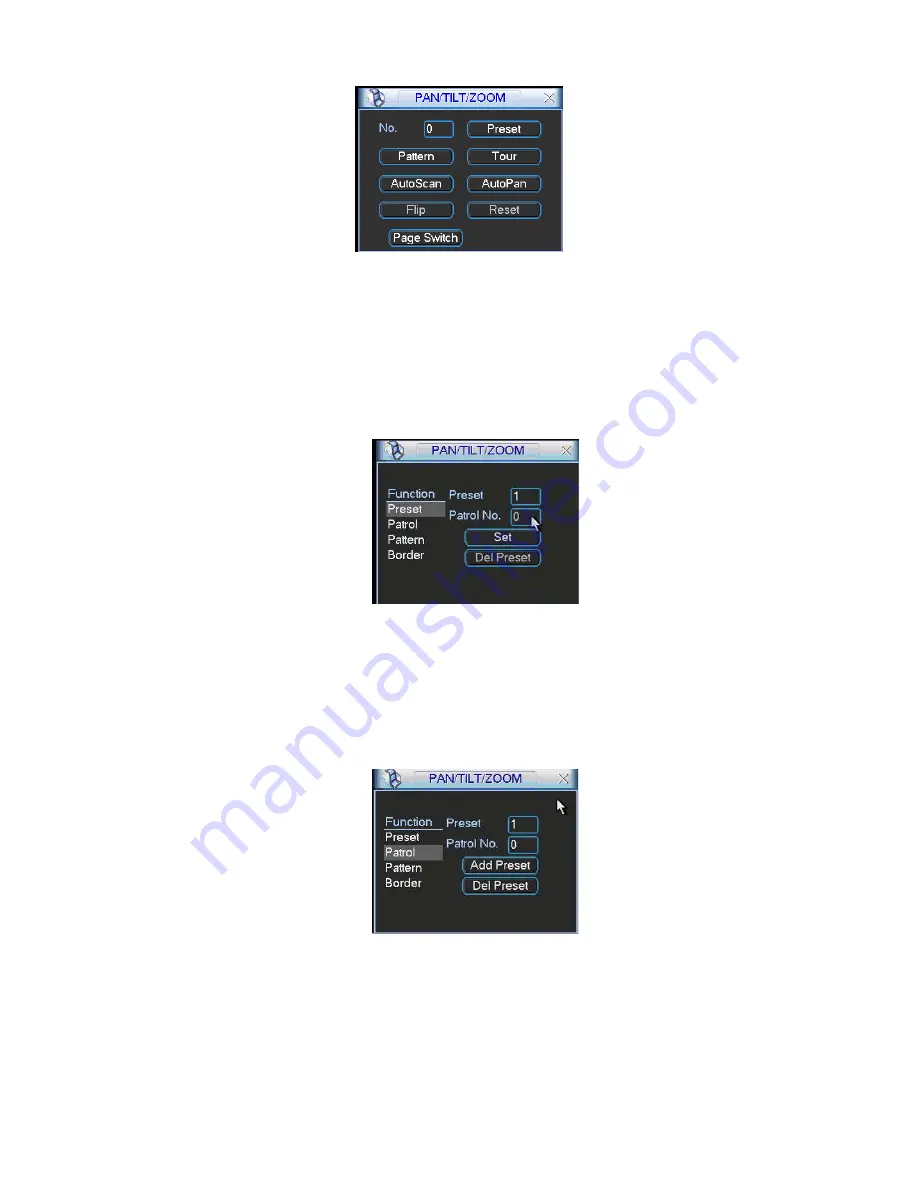
Figure 6-6
6.2.1 Preset Setup
Note:
The following setups are usually operated in the Figure 6-2, Figure 6-5 and
Figure 6-6.
In Figure 6-2, use eight direction arrows to adjust camera to the proper position.
In Figure 6-5, click preset button and input preset number. The interface is shown as
in Figure 6-7.
Add this preset to one patrol number
Figure 6-7
6.2.2 Activate Preset
In Figure 6-6 please input preset number in the No. blank, and click preset button.
6.2.3 Patrol Setup
In Figure 6-5, click patrol button. The interface is shown as in Figure 6-8.
Input preset number and then add this preset to one patrol.
Figure 6-8
6.2.4 Activate Patrol
In Figure 6-6, input patrol number in the No. blank and click patrol button
6.2.5 Pattern Setup
In Figure 6-5, click pattern button and then click begin button. The interface shows
like Figure 6-9.
Summary of Contents for DVR-475EL
Page 1: ...1 DVR 475EL Standalone DVR User s Manual...
Page 18: ...18 Figure 2 5 2 3 Remote Control The remote control interface is shown as in Figure 2 6...
Page 32: ...32 Figure 3 12...
Page 85: ...85 Figure 6 11...
Page 109: ...109 Figure 7 39 Figure 7 40 Figure 7 41...
Page 121: ...121...
Page 125: ...125 Figure 8 5 Add device Add organization structure...


