Using Console Mode
Chapter 9 55
C
C
h
h
a
a
p
p
t
t
e
e
r
r
9
9
:
:
U
U
S
S
I
I
N
N
G
G
C
C
O
O
N
N
S
S
O
O
L
L
E
E
M
M
O
O
D
D
E
E
Before the
XTRALINK IP
is installed on a LAN the
Console Mode
can
be used to change the settings from the defaults. The
XTRALINK IP
is
shipped in the
RS-232 Mode
.
Connect a crossover (null modem) cable
between the COM port on the computer and the appropriate serial port
on the
XTRALINK IP
.
N
N
o
o
t
t
e
e
:
:
See Chapter 5 for details of each Server Property Settings.
Console Mode Setup
Step 1:
Apply power to the
XTRALINK IP
. The power and ready LED
will light.
Step 2:
Using a VT100 Terminal emulation program (typically
HyperTerminal
in Windows) open the computer COM port
connected to the
XTRALINK IP
(via an RS-232 crossover / null
modem cable).
Step 3:
In the HyperTerminal
Port Settings
window set:
o
Baud rate: 9600
o
Data bits: 8
o
Parity: None
o
Stop bits: 1
o
Flow control: None
Click
OK
Step 4:
Ensure all the DIP switches are in the ON position.
Step 5:
To view the
Configuration Menu
, press the
space bar
. The
menu will appear within a few seconds.
Using Console Mode
56 Chapter 9
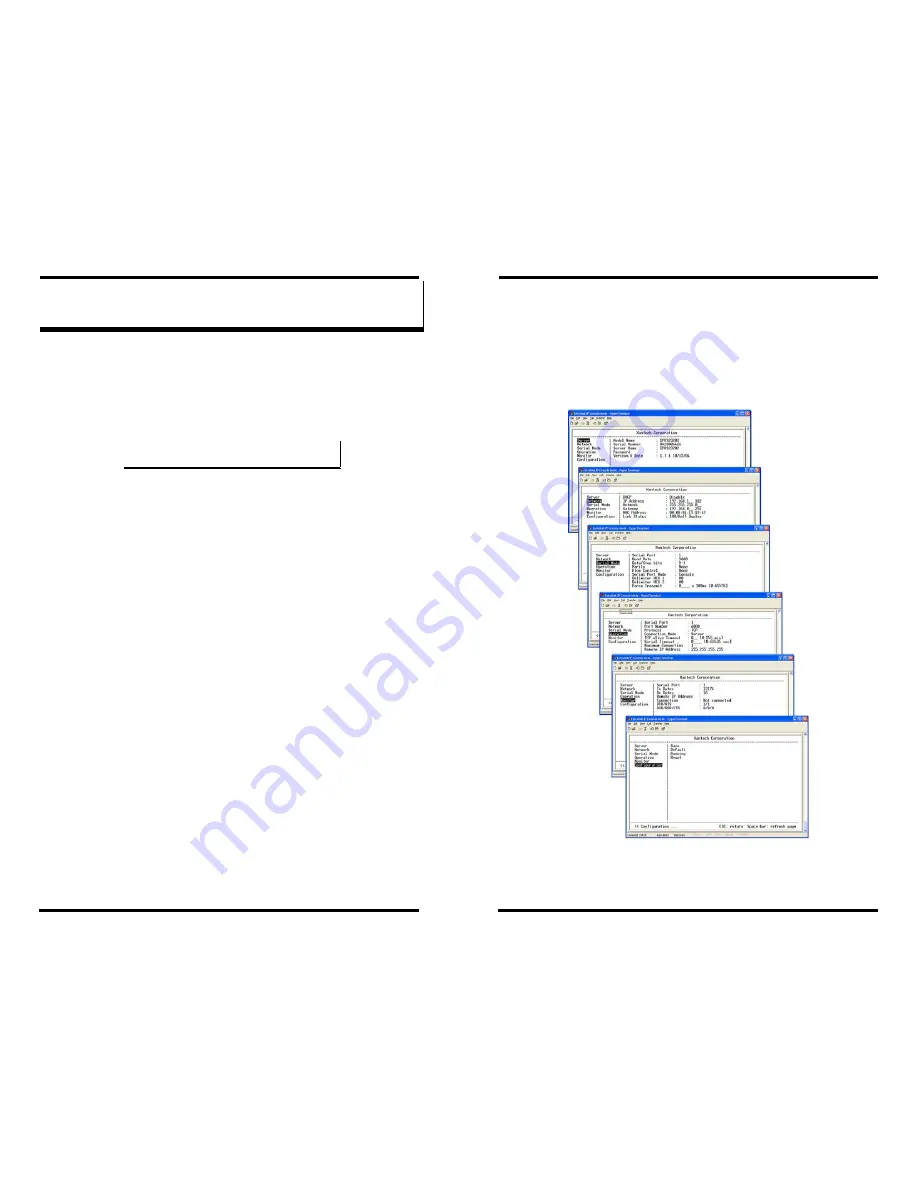
Navigating the Configuration Menus
There are six
Console Mode
screens:
Server
,
Network
,
Serial Mode
,
Operation
,
Monitor
and
Configuration
.
Tab
,
Back Space
and
arrow
keys can be used to highlight the desired function on the screen list.
Pressing
Enter
moves the cursor to the first field with the current
screen. The configuration fields can be changed by pressing
Enter
and
selecting from the list that appears. The
Escape
key moves the cursor
back to the screen list. Pressing the
Space Bar
refreshes the page.
Figure 51. Console Mode Configuration Screens


