


30
same. The exact position will vary between different robots of the same robot model.
The calibration function is updated to two types: internal and external axis calibration and absolute
zero point saving. The difference between the two calibration methods is that after calibrating the
zero point through internal and external axis calibration, when debugging, a non-zero point position
is accidentally calibrated as the zero point (the zero point position is the position calibrated after the
compensation amount is calculated by the plug and professional equipment), resulting in Need to
re-calibrate the zero point; while saving the zero point through the absolute zero point, there is no
need to re-calibrate the zero point, just click to restore the zero point.
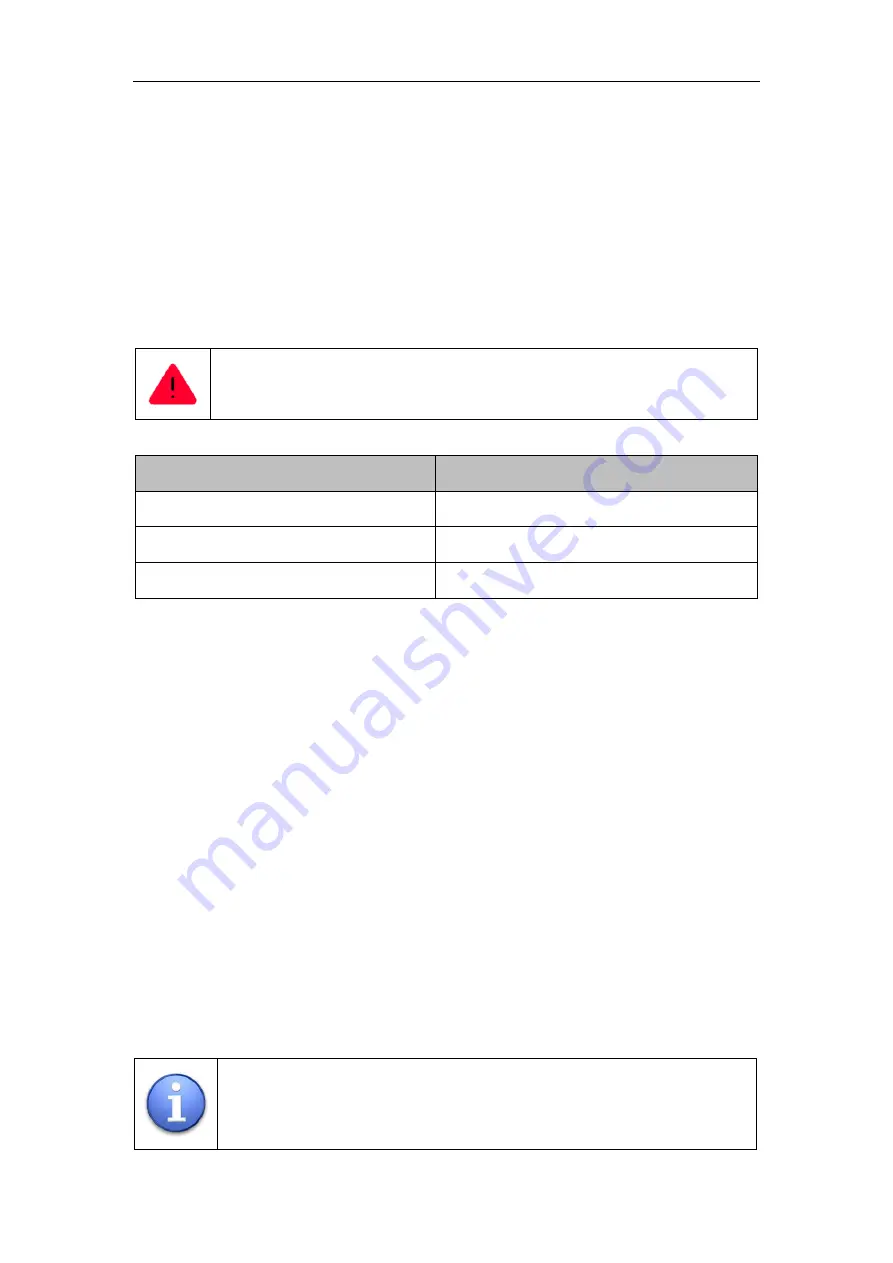
The robot must be calibrated before it can be put into operation, otherwise it will not
function properly
The robot must be calibrated in the following situations
Situation
Note
When the robot is put into operation
Must be calibrated or it will not function properly
After robot collides, the encoder value is lost Must be calibrated or it will not function properly
When replacing the motor or encoder
Must be calibrated or it will not function properly
【
Note
】
Zero-point calibration operations require Final user rights
Internal axis calibration operation steps
1. Click "Menu → Put into Operation → Adjustment → Calibration".
2. Move the robot to the mechanical origin.
3. After each axis moves to the mechanical origin, click each option in the list, and the
input box will pop up, enter the correct data and click OK.
4. After the data of each axis is input, click to save the calibration data, and save the data,
which will take effect immediately. Whether the saving is successful can be verified by
the current actual position data.
External axis calibration operation steps
1. Click "Menu → Put into Operation → Adjustment → Calibration".
2. Move the external axis of the robot to the mechanical origin.
3. Click the [Add Axis] button below.
4. After the external axis moves to the mechanical origin, click each option in the list, and
the input box will pop up, enter the correct data and click OK.
5. After the data input of each axis is completed, click the [Save] button to save the data
and take effect immediately. Whether the saving is successful can be verified by the
current position data.
If it shows that the calibration is unsuccessful, please check whether the network
connection is successful;
It can also support single-axis calibration (after calibration, the current actual
position will become the set calibration value, usually a fixed position fixed
calibration value)