Manual 35086
ProTech-GII with Math Functions
Woodward
95
Editing Configuration Settings from the Front Panel
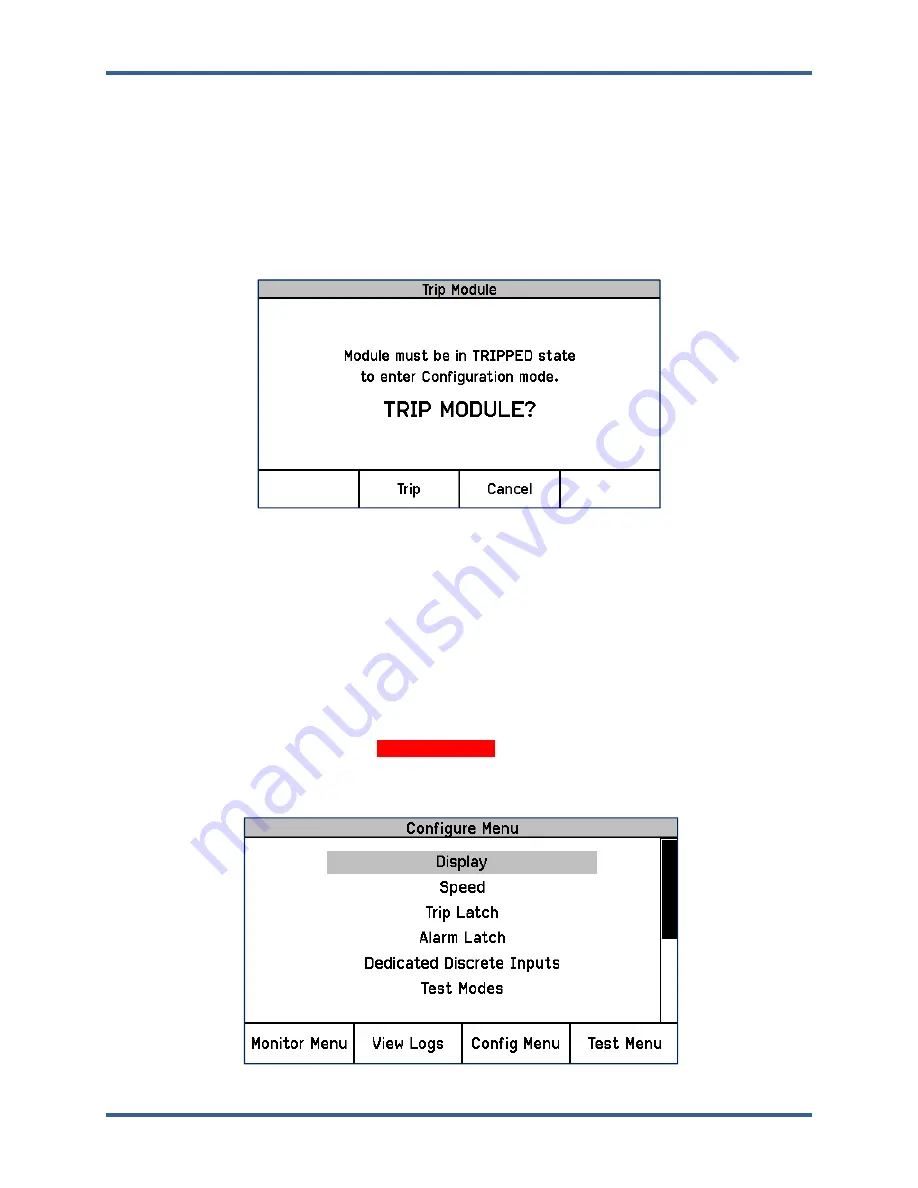
If a parameter setting can be edited, the Screen Message, “Press ENTER to Edit value”, appears when the
parameter is highlighted. If the module is not TRIPPED and the ENTER key is pressed, the Screen
Message “
Module must be in TRIPPED state to enter Configuration Mode. TRIP MODULE?
” appears
and prompts the user to “Trip” or “Cancel” this request. If another module is already in a TRIPPED state, the
unit will not accept the TRIP request, and a message of “Other modules must be running and not tripped”
message will appear for a period of 5 seconds. If the current module is in a TRIPPED state and the ENTER
key is pressed, the Password Entry screen appears. When the correct Config Level Password is entered,
the password will remain in effect until the user exits Configuration mode.
Figure 5-1. Trip Module Screen Example
While in Configuration mode, parameters are highlighted using arrow keys and selected using the ENTER
key. Once selected, the fields can be edited with soft key selections. For example, if the parameter setting
is a multi-digit value, a cursor indicates which digit or character is being edited. The front panel’s soft keys
are used to change the respective digit or character and to move the cursor. The Screen Message
indicates valid ranges or the list of selectable options (e.g. “ACTIVE” or “PASSIVE”, “TRIP” or ”ALARM”,
“DE-ENERGIZE TO TRIP” or “ENERGIZE TO TRIP”). After the parameter changes are complete,
pressing the ENTER key accepts the new parameter setting. Pressing the ESC key abandons the new
parameter setting, restoring the original value.
If an attempt is made to adjust a parameter setting outside of its permitted range, the value is changed to
its closest valid value and the message “
LIMIT REACHED
” appears for 5 seconds.
Configure Menu Page
Figure 5-2. Configure Menu Screen Example
Released


