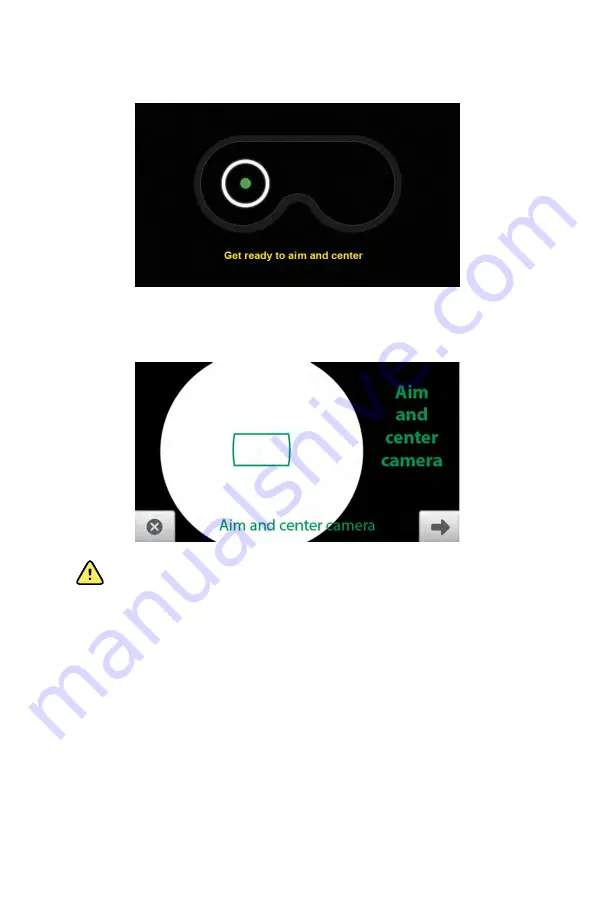
3. Instruct the patient to look at the green fixation light inside the RetinaVue 700
Imager. A message appears on the LCD touchscreen:
"Aim and center
camera"
as the camera is entering the live preview mode.
WARNING
Clean and disinfect the face cup after each
patient to avoid the risk of cross-contamination.
4. Keep the RetinaVue 700 Imager in line.
5. While the camera is locating the eye and self-adjusting to capture the best
image, the
"Keep camera steady and in place"
message appears on the LCD
touchscreen for each eye along with an animation.
6. On the LCD touchscreen, the camera prompts to "
Aim and center the camera
"
until the images for each eye are captured.
7. An audible tone alerts you that the images have been captured.
The acquired images appear on the LCD touchscreen for review after
a few seconds.
24 First time set up of the RetinaVue 700 Imager
Welch Allyn RetinaVue™ 700 Imager
Summary of Contents for RetinaVue 700
Page 1: ...Welch Allyn RetinaVue 700 Imager Directions for use Software version 1 XX...
Page 21: ...Directions for use First time set up of the RetinaVue 700 Imager 17...
Page 26: ...22 First time set up of the RetinaVue 700 Imager Welch Allyn RetinaVue 700 Imager...
Page 102: ...98 Using the RetinaVue 700 Imager Welch Allyn RetinaVue 700 Imager...
Page 120: ...116 Controls Welch Allyn RetinaVue 700 Imager...
Page 140: ...136 Device radio Welch Allyn RetinaVue 700 Imager...
Page 152: ...148 General compliance and standards Welch Allyn RetinaVue 700 Imager...
Page 156: ...152 RetinaVue 700 Imager Accessories Welch Allyn RetinaVue 700 Imager...
Page 158: ...Material No 729216...


