Before you begin
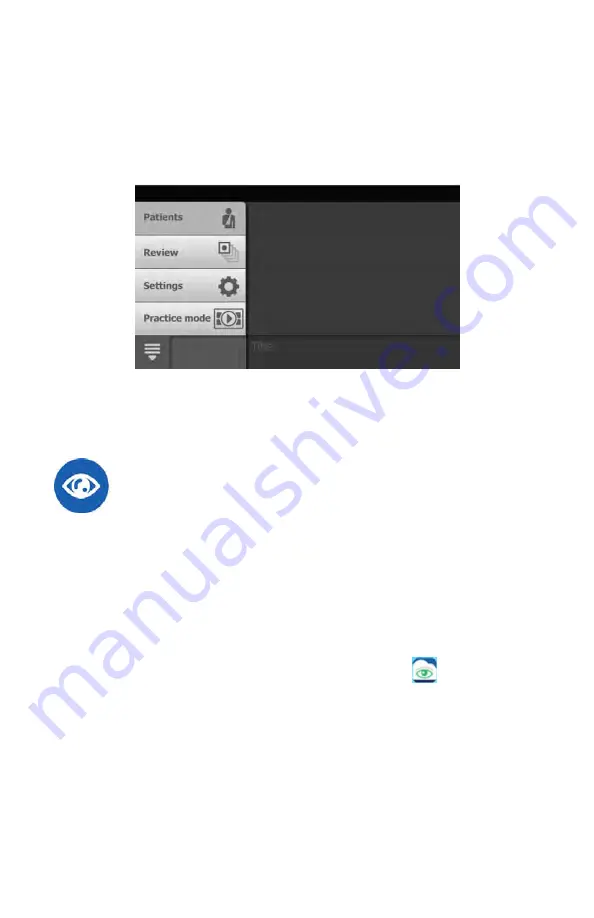
1. Power on the RetinaVue 700 Imager and touch
Practice
on the main
Patients
screen.
2. See the
Practice mode
topic for further instructions.
3. Practice with interactive feedback from the integrated RetinaVue 700 Imager
Practice mode.
Set up the RetinaVue 700 Imager
1. Power on the computer and the RetinaVue 700 Imager.
Note
If prompted to log in to Windows enter your Windows
credentials.
2. Ensure the RetinaVue Network software application is running.
Note
If the RetinaVue Network software application is not
already open, double-click the desktop icon.
3. Ensure that the RetinaVue 700 Imager is powered on and connected to the
computer by the USB cable. Once the camera is connected to the computer,
a notification appears on the RetinaVue 700 Imager display indicating that it is
connected to the computer: "
Camera is connected to computer, disconnect
camera from computer to access camera functions
."
Directions for use
First time set up of the RetinaVue 700 Imager 19
Summary of Contents for RetinaVue 700
Page 1: ...Welch Allyn RetinaVue 700 Imager Directions for use Software version 1 XX...
Page 21: ...Directions for use First time set up of the RetinaVue 700 Imager 17...
Page 26: ...22 First time set up of the RetinaVue 700 Imager Welch Allyn RetinaVue 700 Imager...
Page 102: ...98 Using the RetinaVue 700 Imager Welch Allyn RetinaVue 700 Imager...
Page 120: ...116 Controls Welch Allyn RetinaVue 700 Imager...
Page 140: ...136 Device radio Welch Allyn RetinaVue 700 Imager...
Page 152: ...148 General compliance and standards Welch Allyn RetinaVue 700 Imager...
Page 156: ...152 RetinaVue 700 Imager Accessories Welch Allyn RetinaVue 700 Imager...
Page 158: ...Material No 729216...


