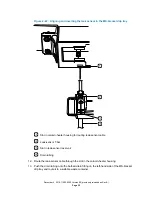
Figure 2–11: CH-A–to–SM retainer bracket
Location for front, left-hand foot of the CH-A chassis
CH-A–to–SM retainer bracket installed on sample manager's top cover
• If the retainer bracket is already installed and the front, left-hand foot of the CH-A rear
enclosure is seated in the retainer bracket on the sample manager's top cover, no
further preparation steps are necessary. Proceed to
Installing the MS-extension bracket
• If the retainer bracket is not installed onto the sample manager's top cover, proceed to
Installing the MS-extension bracket and column-heater housing
27 to install the retainer bracket onto the sample manager's top cover, and to secure
the CH-A rear enclosure.
Warning:
To avoid injuries arising from solvent spills, remove the solvent bottles
from the solvent tray before removing the solvent tray.
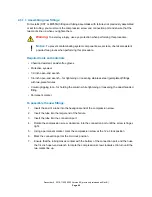
17. Remove the solvent tray and any system modules stacked atop the CH-A rear enclosure.
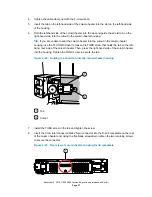
18. Remove and set aside the TORX screw with washer that secures the CH-A back plate to
the sample manager's chassis.
December 4, 2019, 715005052 Version 02 (previously released as Rev.B)
Page 27


