50
Lara | Instructions for Use | RIL-1 W&H Med ENG Rev06 | 14/04/2022 | © W&H Sterilization Srl
Sterilization cycles
Prepare the sterilizer
WARNINGS
Notice
: Use only distilled or demineralized water (see "Feed water
specifications (EN 13060)" on page 109 for technical requirements).
Do not add any chemical / additive to the water.
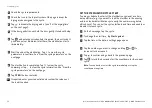
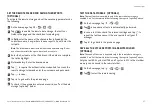
FILLING THE CLEAN WATER TANK
1
Switch the sterilizer ON and remove the tank filling cover-cap.
2
Fill the clean water tank with distilled or demineralized water
until the sterilizer makes a sound. See "Technical data" on
page 105 for the tank volume.
3
Reposition the tank filling cover-cap.
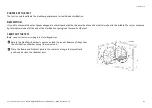
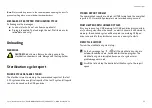
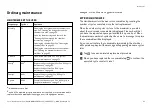
INSERTING THE CHAMBER RACK INTO THE STERILIZER
CAUTION!
Risk of burns. Before touching the chamber rack or
contents, ensure the sterilization chamber is not hot.
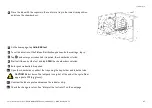
1
Open the chamber door and align the chamber rack at the
center/bottom of the chamber.
2
Push the chamber rack gently into position until it clicks into
place.
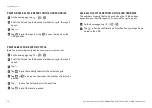
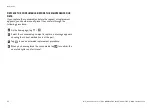
3
Insert cassettes horizontally or vertically, or insert trays. See
"Load maintenance and preparation" on page 48 for load
requirements and "Chamber accessories" on page 20.
4
Close the door.
5
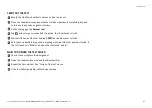
Turn the sterilizer ON: after the initialization the homepage
appears.
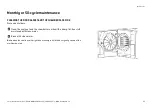
GENERAL RECOMMENDATIONS
Follow these recommendations to obtain the most from the drying:
n
Ensure the paper side of the sterilization bags faces up, and
that the space in-between bags is enough.
n
To enjoy the full benefit of short cycle times when only one
tray is used, always place the load on the upper tray of the
chamber rack and remove all other trays from the chamber.
Sterilization cycle description
AVAILABLE STERILIZATION CYCLES
See "Sterilization cycles" on page 97 for the full list of key program
features, including sterilization time, temperature and recommended
load type.

