71
2. Click
New
to create a new policy. A
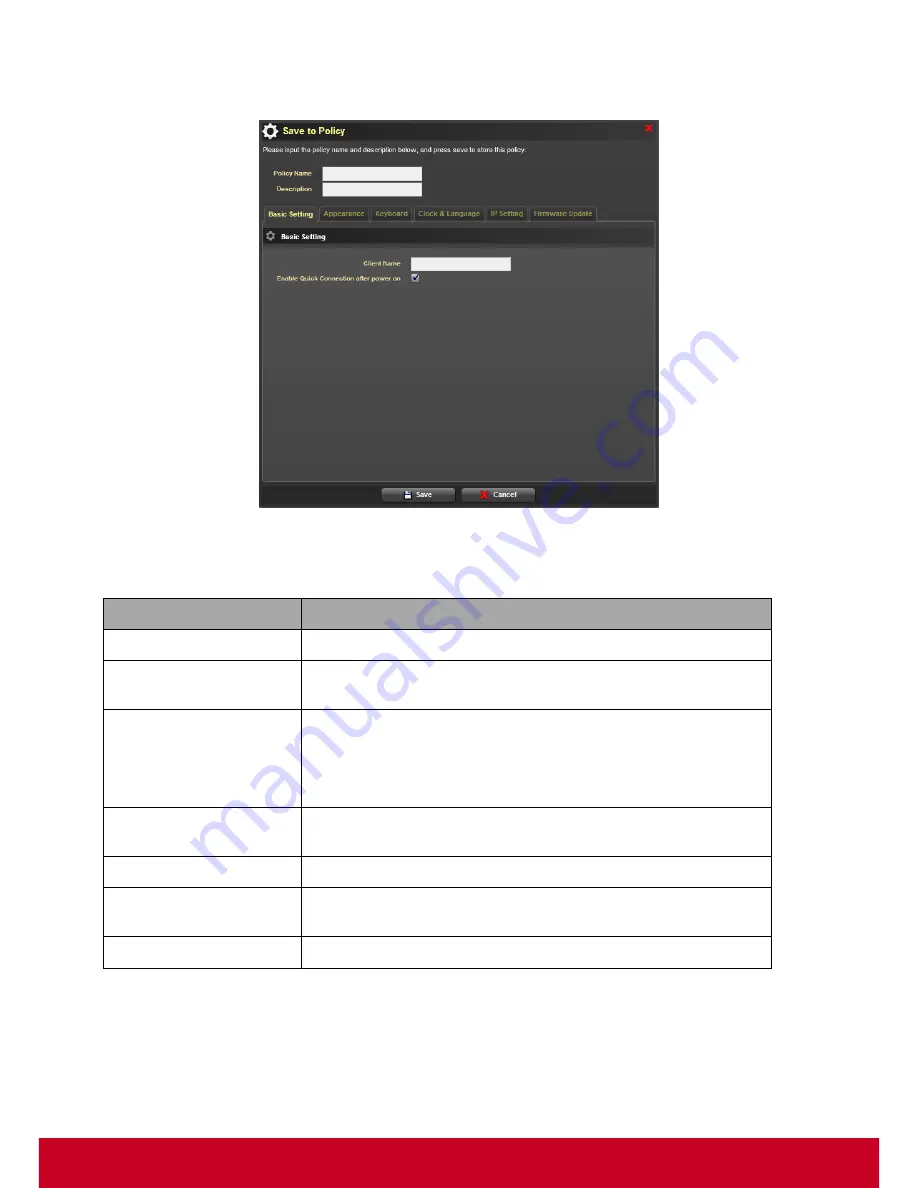
Save to Policy
dialog is displayed as shown in the
subsequent screenshot.
Figure 69: Save to Policy
3. In the
Save to Policy
dialog, enter the required policy name and details in the
Policy Name
and
Description
text fields, respectively.
Field
Description
Basic Setting
Options to enable quick connection after power on
Keyboard
Requires the user to select enable key repeat, show blinking,
model and layout settings.
Clock & Language
Requires the user to select the required multi-languages support
from local thin client UI.
Requires the user to select the required Time zone settings and
sync with internal NTP server options.
Display Power
Management
Requires the user to select the option to Turn on or off monitor
(after ‘n’ minutes).
Volume
Requires the user to adjust the volume output of the system.
IP Setting
Requires the user to select the required DHCP or static IP (IP,
network mask, gateway & DNS)
Firmware Update Setting
Requires the user to select firmware location.
4. Click Basic Setting, Appearance, Keyboard, Clock & Language, IP Setting and Firmware Update
tabs and select the required options.
5. Click Save to save the details successfully.
6. In the
Client Setting Policy Management
dialog, select a required policy and click
Edit
to edit a
policy as similar to create new policy.


