65
12. Select the type of device that needs to be listed from
Any
option Enter the device details in search
bar and click
Filter
.
13. Click
OK
to save the entered details.
14. In the
Choose the devices
step, select the required devices from the group devices list and click
Add to Update List
. The selected devices will be added to the Update List.
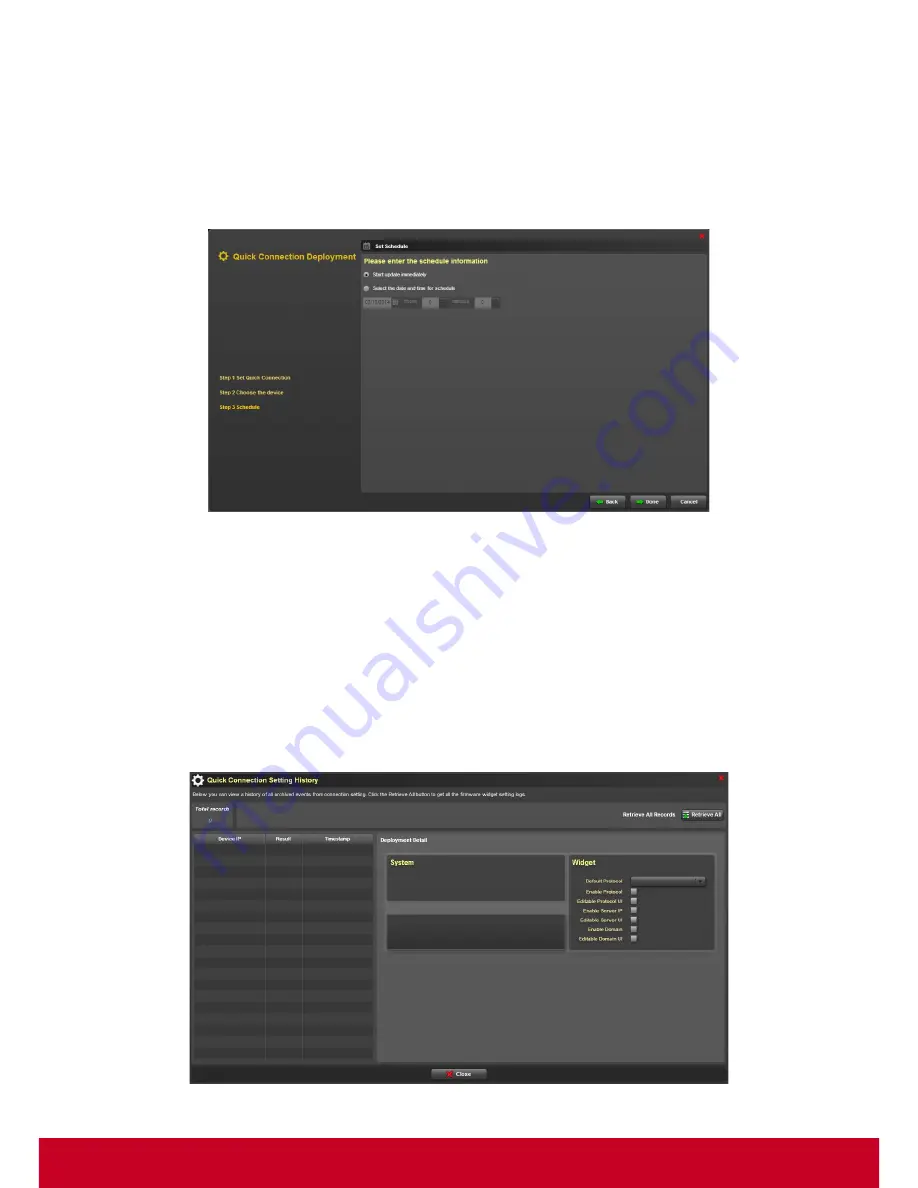
15. Click Next to move to the
Step 3 Schedule
as shown in subsequent screenshot.
Figure 59: Connection Deployment - Set Schedule
16. Select
Start Firmware update immediately
in order to start the firmware update immediately.
17. Choose
Select the date and time for schedule
in order to select a particular date and time for
the schedule to start.
18. Click
Done
in order to start the update process.
Quick Connection Setting History
1. Click Plugins > Smart Client Management > Quick Connection Policy Manager > Quick
Connection Setting History. A Quick Connection Setting History dialog is displayed as shown in
the subsequent screen.
Figure 75: Quick Connection Setting History


