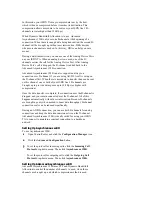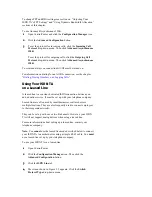
Figure 7-1 “Network” screen
3
If the Dial-Up Adapter is not listed, close the “Network” screen
and return to the Control Panel.
Then double-click the Add/Remove Programs icon.
4
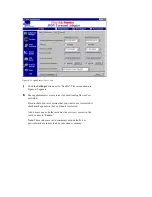
When the “Add/Remove Programs Properties” screen appears,
click the Windows Setup tab, as shown in Figure 7-2.
Figure 7-2 “Add/Remove Programs Properties” screen
5
Double-click Communications in the list labeled “Components.”
6
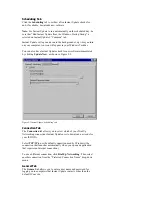
When the “Communications” screen appears, as shown in Figure
7-3, click the box next to Dial-Up Networking to select it. A
check mark appears in the box when it is selected.
7
Click OK. Then click OK again.
8
Follow the onscreen directions to install Dial-Up Networking.


