19
Version 1.612
DMS Setup/Zone Settings/Connect to Zone/System Toolbox
System Toolbox is used to operate the DMS-AV without a remote control. You will use it to calibrate the
speakers with the microphone and to calibrate the TV utilizing the DMS-AV’s Test Patterns.
1. Turn ON the TV and set it to the HDMI input connected to the DMS-AV using the original TV remote
control.
2. Plug in the DMS-AVs included omnidirectional microphone. Do not try to utilize any other microphoneas
the DMS-AV has been calibrated to work with the included microphone.
3. Place the microphone in the client’s favorite listening position.
4. Ensure that any noise in the room is minimized.
5. Position yourself and your laptop so that you are facing the TV and can see the screen clearly, but you
are not blocking the line between each speaker and the microphone.
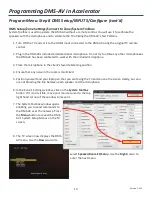
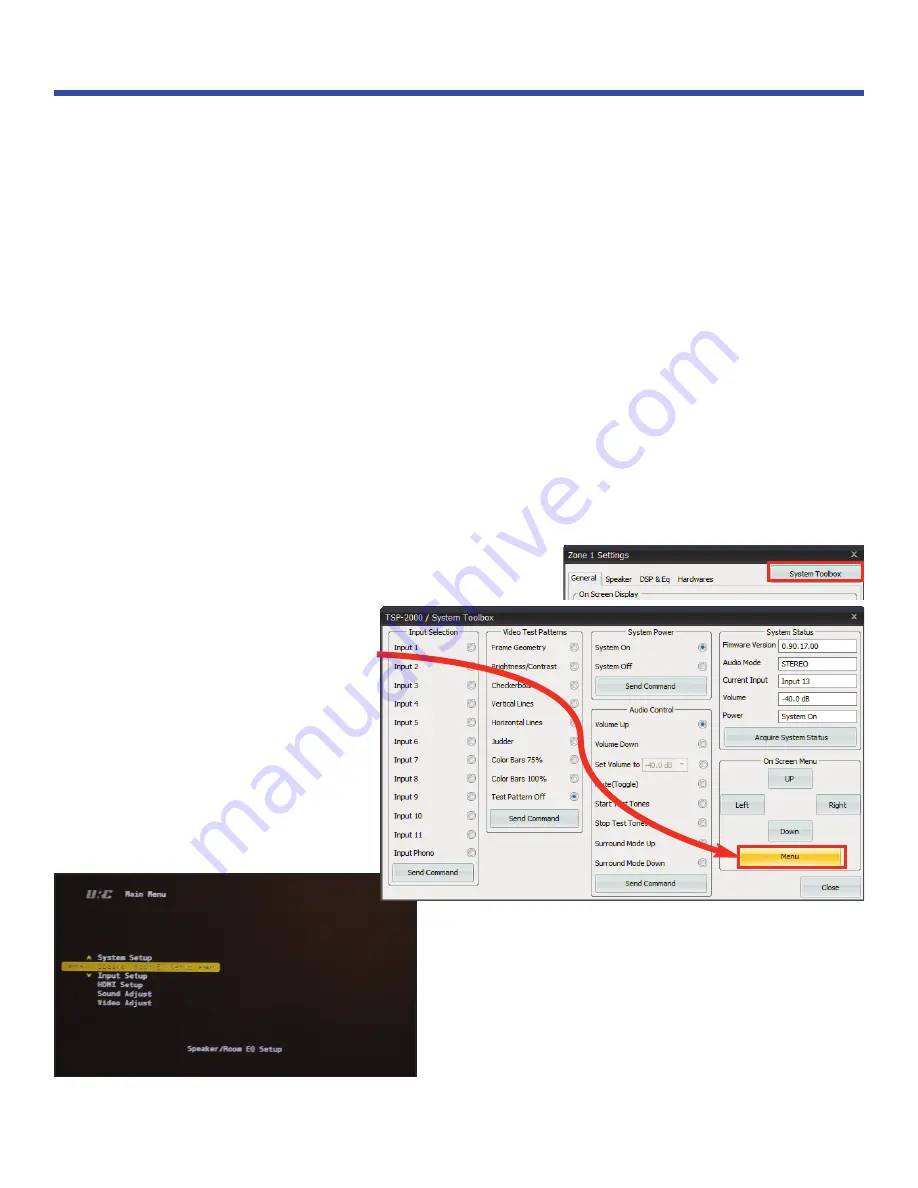
6. In the Zone 1 Settings window, click on the
System Toolbox
button. If it is not visible, move your mouse cursor to the top
right hand corner of the window to reveal it.
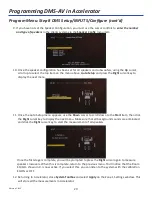
7. The System Toolbox window opens,
enabling you to send commands to
the DMS-AV over the network. Press
the
Menu
button to reveal the DMS-
AV’s System Setup Menus on the TV
screen.
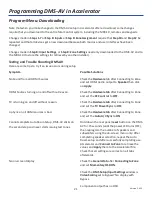
8. The TV screen now displays the DMS-
AV menu. Use the
Down
cursor to
select
Speaker/Room EQ Setu
p. Use the
Right
cursor to
enter the next menu.
Programming DMS-AV in Accelerator
Program Menu: Step 8 DMS Setup/INPUTS/Configure (cont’d)

