Get ready to start a measuring campaign
29/92
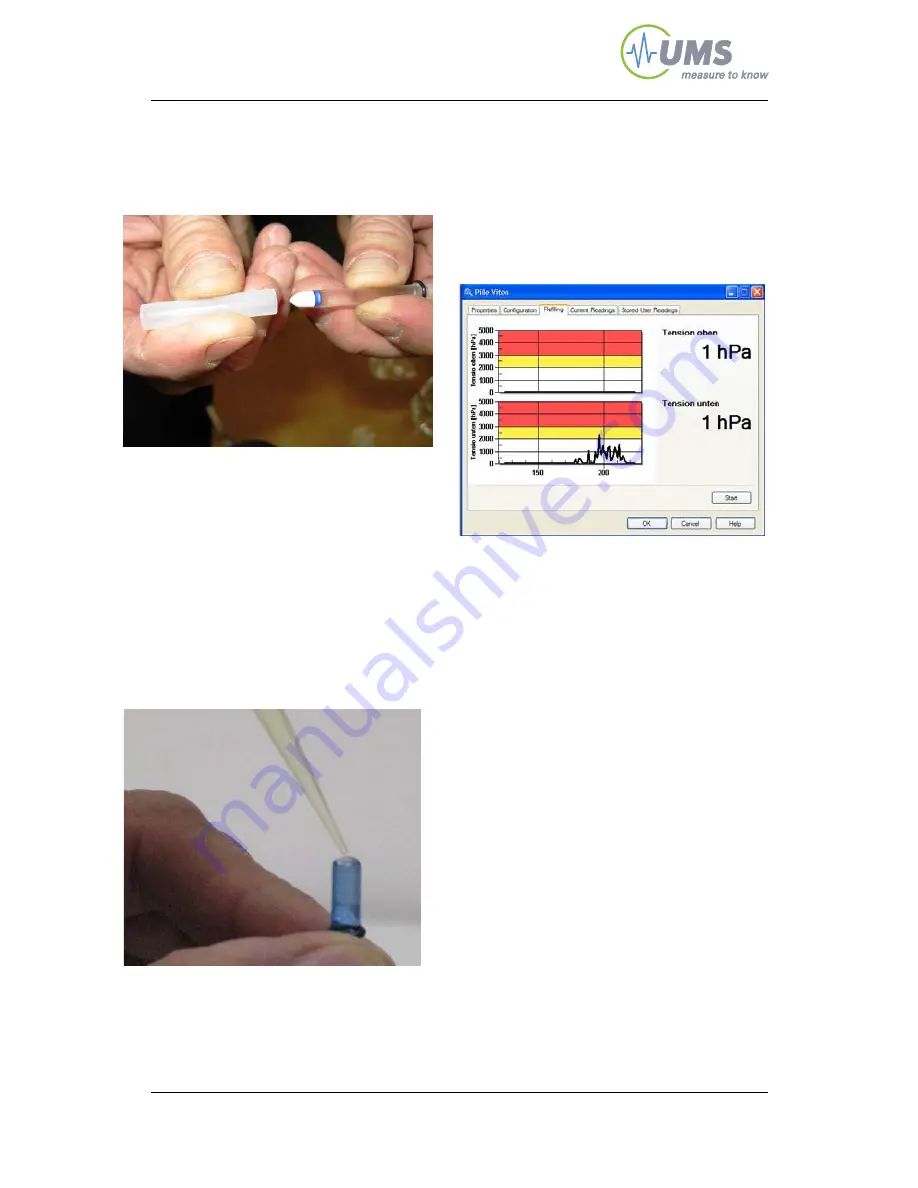
Push the silicone cap (or tube, see
fig. below) over the shafts to
protect the ceramic.
Fig. 26
5. Each hole on the sensor unit is
marked by a groove. The long
shaft is inserted where the long
groove is, and the short shaft
where the short groove is.
6. Add a drop of water on top of
the shaft with the droplet syringe,
so the meniscus is convex (Fig.
27).
Fig. 27
7. Connect the sensor unit with
adapter cable and USB-converter
to your PC and start tensioVIEW
®
.
Click on “Refilling” to open the
“Refilling window” (Fig. 28).
Fig. 28
8. Carefully screw the shaft into
the sensor unit. (Fig 29)
While screwing in the Tensiometer
shaft the pressure must not
exceed 1 bar (burst pressure = 3
bar).
In case the pressure rises to high
stop the turning in and wait until
the pressure has droppedYou will
clearly notice the point when the
shaft hits the O-ring inside the
sensor unit.
From this point do only another
quarter turn!


