


VIDEOSTUDIO HELP
Table of Contents
|
Index
Back
93
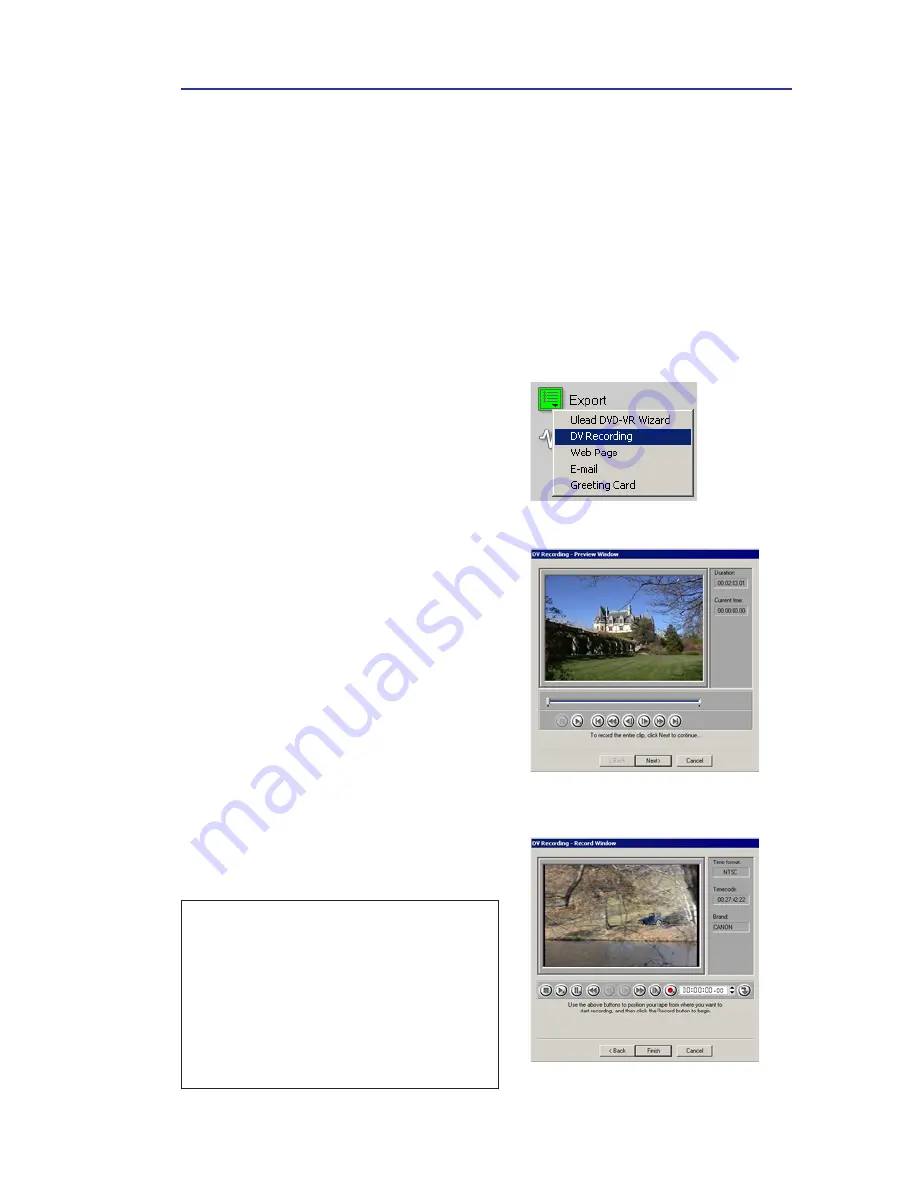
Recording back to a DV camcorder
The most exciting thing about DV is that it can be copied from
your camcorder to your computer, and then back to your camcorder
(after editing) without any loss of quality. VideoStudio offers
comprehensive support for DV in all of its manifestations on the
market. This includes, but is not limited to, Type-1, Type-2, PAL,
NTSC, and even the device control of your camcorder.
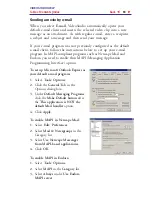
To record a movie to your DV
camcorder:
1.
Turn your camcorder on and set it
to
Play
mode (or
VTR / VCR
mode). See your camcorder’s
manual for specific instructions.
2.
Select a compatible DV AVI file
from the Library. If you want to
use a project, make sure you have
already rendered it using
Create
Video File
.
3.
Click the
Share Step
.
4.
Click
Export: DV Recording
.
5.
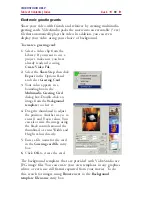
The
DV Recording - Preview
Window
dialog box opens. Click
Next
.
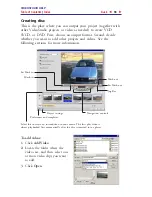
6.
In the
DV Recording - Record
Window
dialog box, click
DV
recording
to begin recording to
the DV camcorder.
7.
Click Finish.
DV Recording - Preview Window
dialog box
DV Recording - Record Window
dialog box
Note:
Before recording a video file back
to your DV camcorder, make sure the
video is saved with the correct codec.
For example, the codec
DV Video
Encoder - Type 1
usually works well for
most NTSC DV camcorders. You can
select it from the Compression Tab in
the Video Save Options dialog box.


