VIDEOSTUDIO HELP
Table of Contents
|
Index
Back
81
To render partially:
1.
Click the ruler on top of the
Timeline to make sure no clip
is selected.
2.
Select a preview range using
the
Trim Bar.
Or, drag the
blue triangle along the ruler
then press
[F3]
and [
F4]
to
mark the start and end points
respectively.
You can also render your project partially.
SmartRender
allows
“changes only” rendering, eliminating the need to re-render an
entire video sequence when slight modifications have been made.
Note:
A red line representing the
selected range should appear on the
ruler.
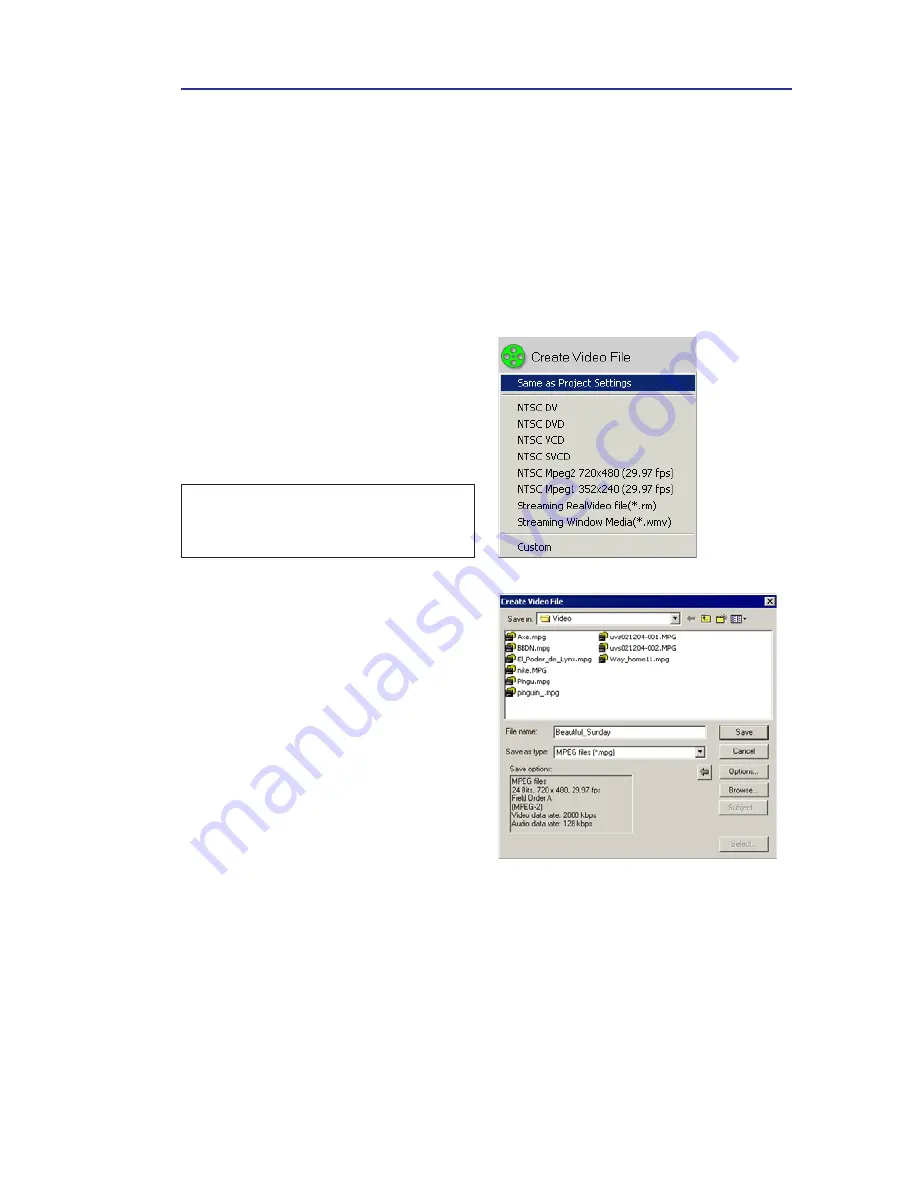
3.
Click
Create Video File
in the
Options Panel.
4.
Select a movie template.
5.
In the Create Video File dialog
box, enter a file name and then
select
Preview range
instead of
Entire project
. (For more
information on Video Save
Options dialog box and
recommendations,
see
page 82
.
6.
Click
Save
.
Another method of partially rendering your project is to click
Play-
Project
while holding down the
[Shift]
key. You don’t have to be in
the
Share Step
to do this. The selected range will be rendered then
shown in the Preview Window. Doing this will create a temporary
video file under the folder specified in the
Preview
tab of the
Preferences
dialog box.


