


T3-OPX installation
Page | 70
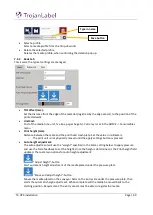
11.
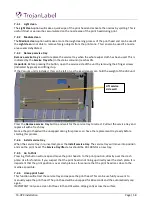
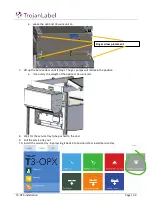
Wait for the service tray to position it selves under the print head and confirm that the service tray
life is 100% (if the service tray is new).
11.2.2
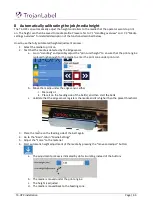
Moving the service tray manually
It is possible to move the service tray manually in both directions.
Requirements:
Torx T20 screwdriver
1.
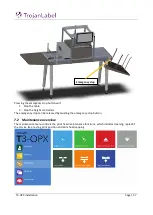
Go to the back side of the unit
2.
There is a hole under the ink doors
3.
Insert the Torx screwdriver and locate the service tray screw (should be straight in)
Warning:
Moving the service tray will uncap the print head. So be careful with this operation.
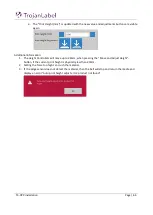
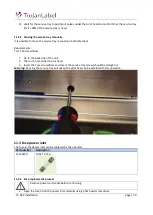
11.3
Fuse power inlet
The fuse in the power inlet can be replaced by the operator
Part number
Description
15140120
FUSE T3.15A
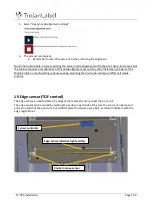
11.3.1
Fuse replacement process
1.
Open the fuse lid on the power inlet carefully using a flat head screw driver.
Remove power cord cable before continuing
Summary of Contents for T3-OPX
Page 1: ...T3 OPX user guide Version 1 2...
Page 5: ...T3 OPX installation Page 4...
Page 7: ...T3 OPX installation Page 6 1 1 1 Emissions...
Page 13: ...T3 OPX installation Page 12...
Page 17: ...T3 OPX installation Page 16 2 2 Backside Height controllers 3 Inlets Ink lid Serial plate...
Page 20: ...T3 OPX installation Page 19...
Page 34: ...T3 OPX installation Page 33 i The process will use the purge height in the settings menu...


