

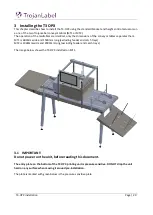
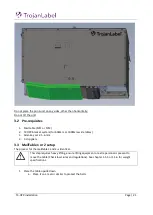


T3-OPX installation
Page | 29
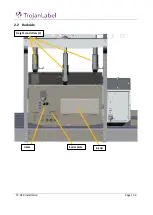
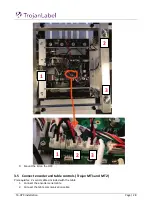
3.6
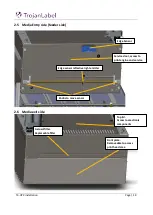
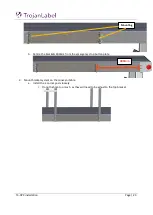
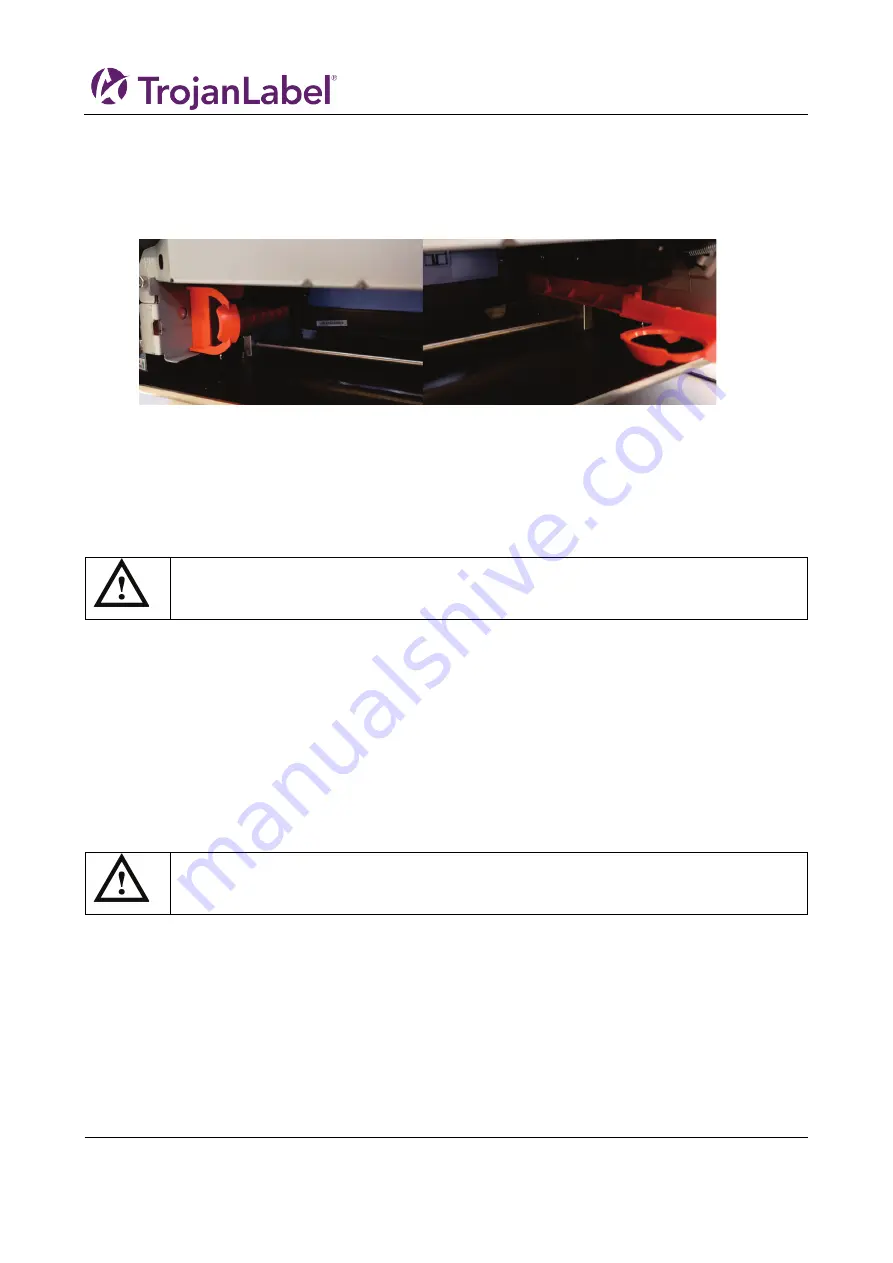
Remove service tray plastic protection
Remove the orange plastic protection, that ensures the service tray do not shift position during
transportation.
1.
Open the service door
2.
Remove the two plastic parts
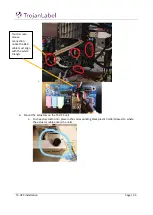
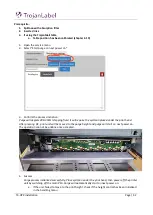
3.7
Connect T3-OPX power supply cord and network cables
Prerequisites:
1 x power supply cord (with grounding)
1 x network cable
1.
Connect the power supply cord to the printer power inlet
a.
See 2.3 Inlets detail for location
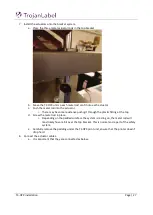
2.
Connect the power supply cord plug to the power source outlet (grounded wall or extension
cables)
3.
Connect the network cable to the network inlet
3.8
Connect MT1/2 power supply cord
Prerequisites:
1 x power supply cord (with grounding)
1.
Connect the power supply cord to the Mail Table power inlet
Grounding:
Always use the supplied power supply cord connected to a grounded power outlet.
Grounding:
Always use the supplied power supply cord connected to a grounded power outlet.
Summary of Contents for T3-OPX
Page 1: ...T3 OPX user guide Version 1 2...
Page 5: ...T3 OPX installation Page 4...
Page 7: ...T3 OPX installation Page 6 1 1 1 Emissions...
Page 13: ...T3 OPX installation Page 12...
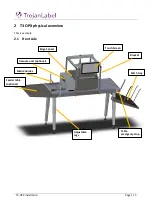
Page 17: ...T3 OPX installation Page 16 2 2 Backside Height controllers 3 Inlets Ink lid Serial plate...
Page 20: ...T3 OPX installation Page 19...
Page 34: ...T3 OPX installation Page 33 i The process will use the purge height in the settings menu...


